By Jess Lacey
Since the introduction of EU Regulation (EC) No 853/2004. you are not allowed to buy raw fish in order to make sushi, but rather have to use fish which has been frozen no less than 24 hours in order to kill off any potential parasites. I can see the logic in this, but having spent most of my life co-existing with mice, the idea of food parasites strikes less fear into my heart than it probably should. I lead a relatively quiet life, flirting with food safety rules is the closest I come to an extreme sport.
Print
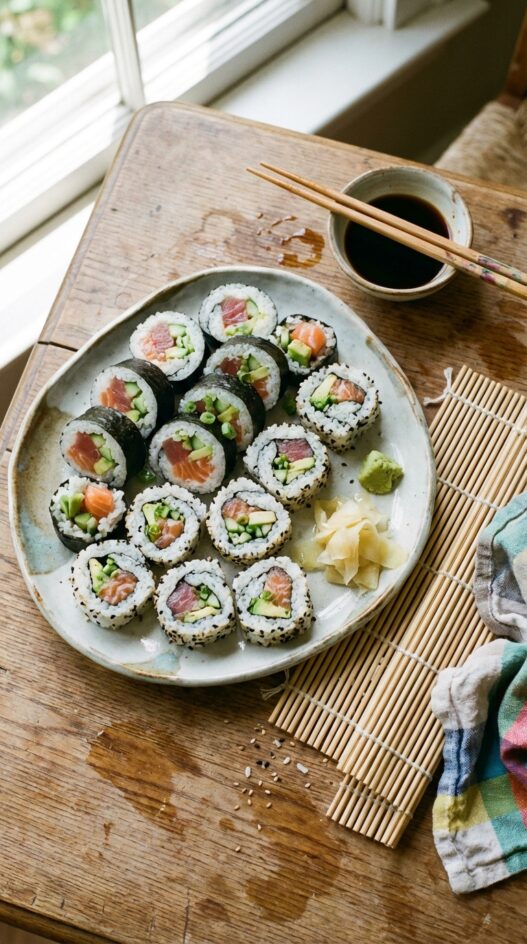
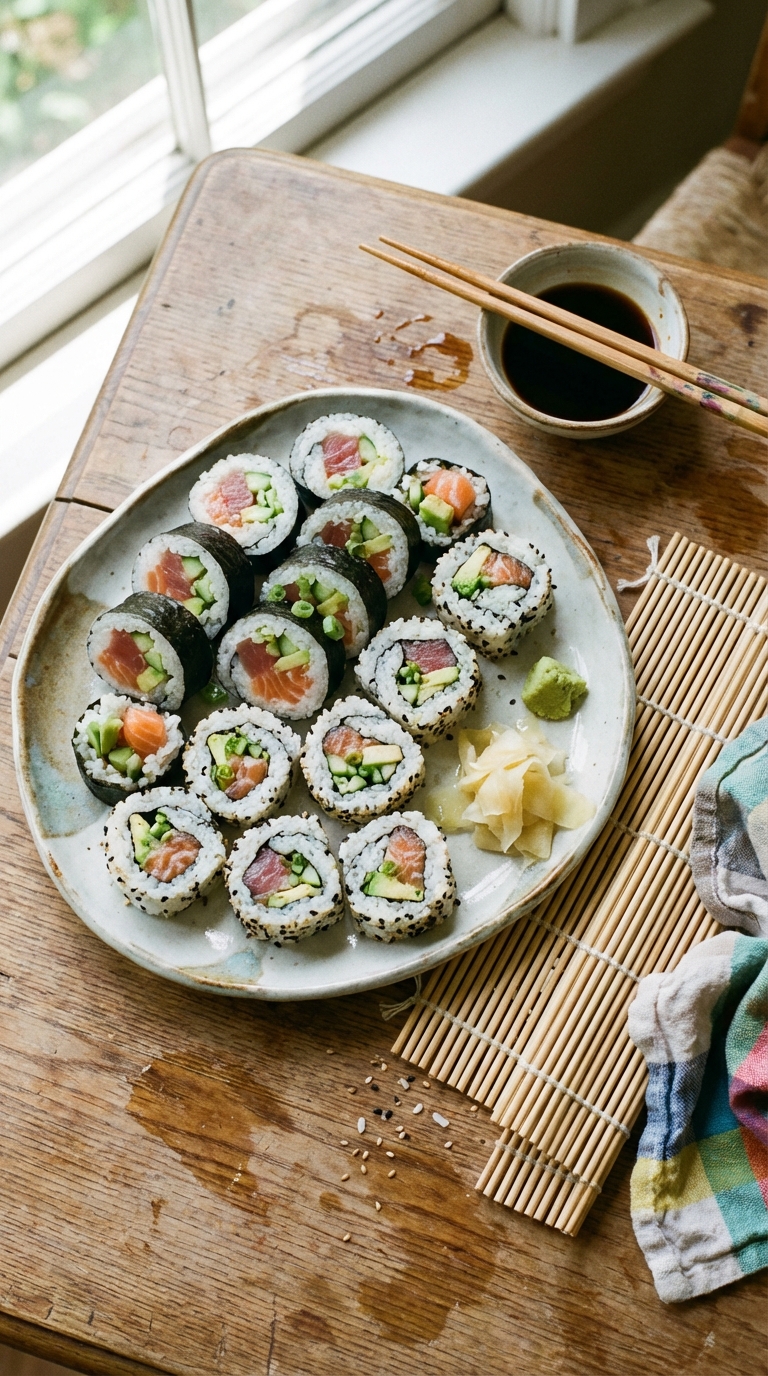
Maki and Uramaki Sushi Rolls
- Total Time: 40 minutes
- Yield: Serves 4
- Diet: Omnivore, Pescatarian
Description
Homemade sushi is easier than you think! This recipe guides you through making both maki and uramaki rolls.
Ingredients
- 1 cups (237 ml) sushi rice
- 1/2 cup rice vinegar
- 2 tbsp sugar
- 1 tsp salt
- 1/2 lb raw fish
- 6 tbsp (90 ml) black sesame seeds
- 6 tbsp (90 ml) toasted sesame seeds
- 4 nori sheets
- 1/2 cucumber
- 2 avocados
- 4 spring onions
- Japanese soy sauce
- Pickled ginger
- Wasabi
Instructions
- Wash the rice by placing it in a large bowl of water and gently rubbing it until the water runs clear.
- Add the sushi rice and an equal volume of water to a large saucepan.
- Bring to a boil, then reduce heat and cook for 10 minutes with the lid on.
- Leave to rest for 10 minutes.
- Make the sushi vinegar by heating the vinegar, sugar, and salt until melted.
- Leave to cool.
- Spread the rice on a ceramic baking tray, drizzle with vinegar, and gently mix using a spatula while fanning to cool to room temperature.
- Put the nori on the rolling mat with the rough side up.
- Spread the nori with a 1/2cm layer of smoothed sushi rice.
- Put three or six pieces of fish in a line in the middle of the sheet.
- Add some cucumber, spring onion, and avocado.
- Sprinkle with sesame seeds and add a little wasabi.
- Using the mat, roll it up tightly, then roll back and forth to round it out.
- For the uramaki, spread the rice on the nori sheet as above.
- Sprinkle the rice with sesame seeds and press to coat.
- Cover the sesame seed side with cling film.
- Flip it over so the nori is facing up.
- Put your filling in the middle of the nori and roll up as before.
- Thinly slice the rolls into 6 or 8 pieces.
- Serve at room temperature.
Notes
- To prevent sticking, lightly dampen your sushi mat with water before placing the nori sheet.
- For a vegetarian option, substitute the raw fish with cooked shrimp, tofu, or assorted vegetables.
- Store leftover sushi rolls in an airtight container in the refrigerator for up to 24 hours. They are best served fresh.
- Prep Time: 30 minutes
- Cook Time: 10 minutes
- Category: Side Dish
- Method: No-Cook
- Cuisine: Japanese
Nutrition
- Serving Size: 2 rolls
- Calories: 350
- Sugar: 10
- Sodium: 800
- Fat: 15
- Saturated Fat: 5
- Unsaturated Fat: 10
- Carbohydrates: 50
- Fiber: 4
- Protein: 15
- Cholesterol: 50
Frequently Asked Questions
What is the difference between maki and uramaki rolls?
Maki rolls have the nori seaweed on the outside with rice and fillings inside. Uramaki, or inside-out rolls, have the rice on the outside with nori wrapped around the fillings.
How do you keep sushi rice from sticking to your hands when rolling?
Wet your hands with a mix of cold water and a small amount of rice vinegar before handling the rice. This prevents sticking without waterlogging the rice.
How tight should you roll the sushi mat when forming the rolls?
Apply firm, even pressure as you roll, but avoid squeezing too hard or the fillings will push out the ends. A snug roll holds its shape when sliced without compressing the ingredients.