Inside The Merrion: Afternoon Tea Luxury in the Heart of Dublin
The Merrion, a five-star Dublin stay offering refined Georgian elegance, Michelin-starred dining, and its iconic Art Afternoon Tea.
JW Marriott Los Cabos Relish the Heritage Festival
Relish the Heritage at JW Marriott Los Cabos, one of the top food festivals in Mexico, features Baja flavors, live music, and more.
14 Cinnamon Facts: History, Varieties, and Uses Around the World
From ancient Egypt to modern kitchens, cinnamon has shaped trade, medicine, and cooking for centuries. Learn 14 fascinating facts about this warm, aromatic spice — including its varieties, history, and cultural uses.
Bring the Tiki Social Home: Mai Tai Have Another
After a visit to the Tiki Social pop-up at the Omni Berkshire Place in New York, I found myself craving the warmth of a tropical escape—and some solid Tiki cocktails at home. This pop-up is part of a summer rollout happening at 11 Omni hotels nationwide, featuring an immersive bar experience…
You Should Be Drinking: Bodegas Montecillo Viña Monty Rioja 2016
Montecillo’s Reserva comes out swinging—tar, red fruit, dusty leather, the works. Brutal but refined, like a wealthy pirate with a good tailor.
Jonathan Brincat’s Noni: Malta’s Michelin-Starred Family Manifesto
Noni is chef Jonathan Brincat's nickname, and also the name he chose for his Michelin-starred restaurant in Valletta, the capital of Malta. There, he rediscovers history through cooking, and gives new life to his family traditions while writing a new chapter in the Maltese culinary saga.
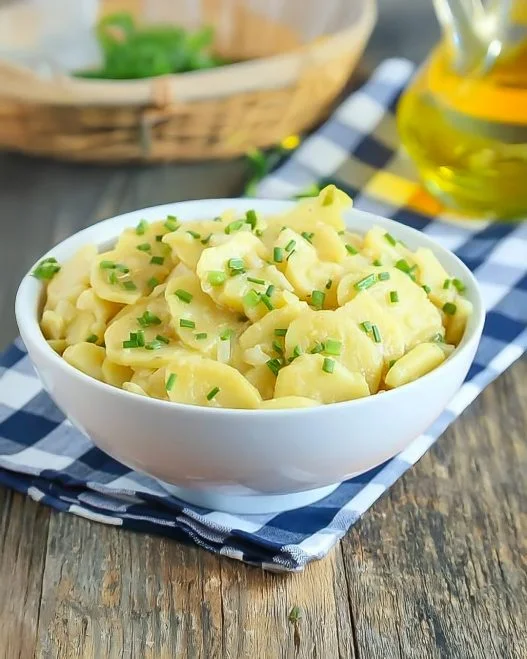
Authentic Swabian Potato Salad (Schwäbischer Kartoffelsalat)
Get the secrets to making an authentic German potato salad with olive oil and mustard. Made with rich beef broth and topped with chives, you will be craving this side at every summer barbecue.
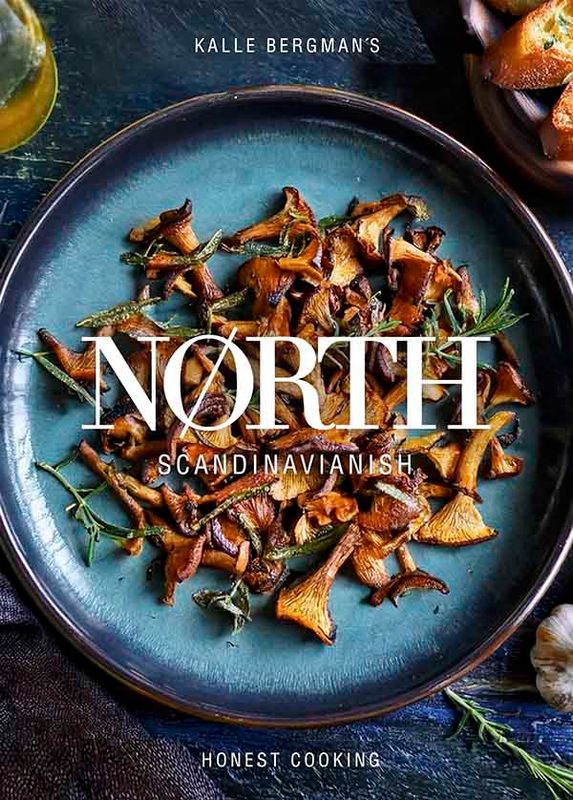
NØRTH - Scandinavianish Cooking by Kalle Bergman
NØRTH - Scandinavianish Cooking by Kalle Bergman
Premium paperback
5.0
(3)
$39,00
BESTSELLER!
NØRTH - Scandinavianish Cooking by Kalle Bergman
NØRTH - Scandinavianish Cooking by Kalle Bergman
Digital Download
4.9
(44)
$19,99

Pound Cakes: Rustic Recipes for Real Life
Pound Cakes: Rustic Recipes for Real Life
Digital Download
5.0
(1)
$2,99
Powered by Lightspeed
Display prices in:USD
Twenty8 NoMad: A Slice of New York in London
Truffle chicken, a towering seafood platter, a negroni featuring a guava & cheese pastry and an impressive martini menu -- all set inside a modern-day palm court.
The Art of Afternoon Tea at London’s St. James’s Hotel
Afternoon tea isn’t just a cliché thing you check off a list when you’re in England. It really is the main event. Rain or shine, sitting down for tea and fancy bites at 3pm feels necessary, and no one does it quite like the Brits.
Aruba’s Divi & Tamarijn: Something New, Something Timeless
Divi & Tamarijn Aruba’s all-inclusive resorts are a favorite for beach lovers, foodies, and repeat guests alike—with standout dining, sunset views, and personalized hospitality.
The Odette Odyssey: Julien Royer’s Culinary Pilgrimage Through Europe
While Odette undergoes renovation, chef Julien Royer is embarking on a four-city European tour, cooking alongside some of the continent's most respected chefs. It promises to be one of the year's most intriguing culinary collaborations.
Anything But Ordinary: What It’s Like to Stay at Grand Velas Riviera Maya
Get a firsthand look at Grand Velas Riviera Maya, one of Mexico’s most refined all-inclusive resorts. From oceanfront suites to immersive dining and spa experiences, here’s what it’s really like to stay at this Riviera Maya retreat.
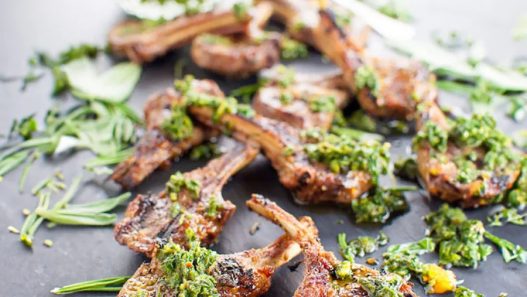
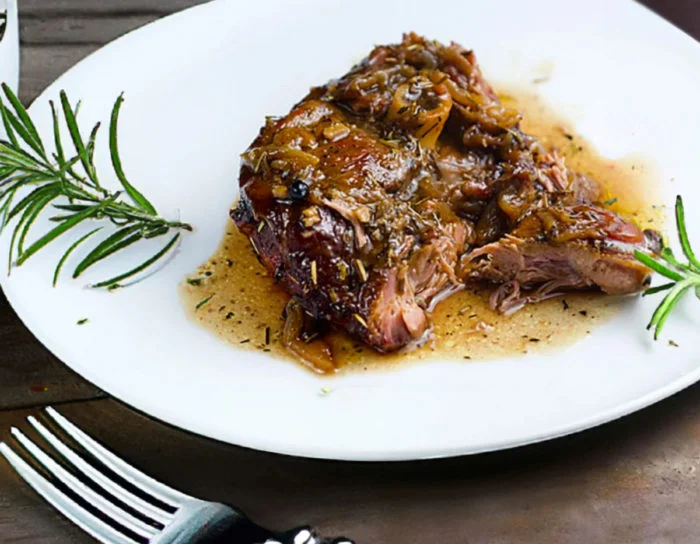
How to Cook Every Type of Lamb
Lamb is delicious, nutritious and a great way to expand your culinary repertoire. This guide will help you confidently buy it, prepare it and successfully cook it. It's not as difficult as you think.
You Should be Drinking: Domaine de la Galopiere Savigny-lès-Beaune 1er Cru ‘Aux Clous’
In a world where screaming the loudest seems to be rewarded, this wine stands out with its quiet confidence. And that's why you should be drinking it right now.
You Should Be Drinking: Rombauer Carneros Chardonnay
The Rombauer Carneros Chardonnay is an unapologetically classic expression of a California Chardonnay. And that's exactly why it is a wine you should be drinking right now.
How to Make Better Coffee at Home: 10 Expert Tips for a Great Cup
Let’s be honest—most of us have made some bad coffee. The kind that needs cream and sugar just to get it down. But great coffee should taste amazing on its own. With just a few small upgrades, you can make café-quality coffee at home—and never settle for stale or bitter brews again.
The Best Non-Alcoholic Brands for the Sober Curious
The sober curious lifestyle is making waves on social media and beyond. With a new segment of consumers opting out of drinking, many think non-alcoholic brands are here to stay. But which are the best ones to get started with?
Perfect Wine Pairings for Every Type of Easter Dish — From Brunch to Dinner
Plan the perfect Easter menu with 13 expert wine pairings for lamb, ham, brunch, salmon, and spring veggies. From brunch to dinner, here’s what to pour.
How Bangkok’s HAOMA Won Best Wine List in the World
In 2024, a modern Indian restaurant in Bangkok stunned the wine world. HAOMA took home the top honor at the Star Wine List Grand Prix, naming it the home of the best wine list on the planet. How did a 200-label cellar beat the globe’s biggest names? It starts with passion, people, and a…
Most Discussed
How to Make Authentic Mexican Street Corn (Elotes)
Grilled corn, cotija, lime, and chili — this elotes recipe brings the legendary flavor of Mexican street corners to your backyard grill. It is one of our favorite summer recipes of all time.
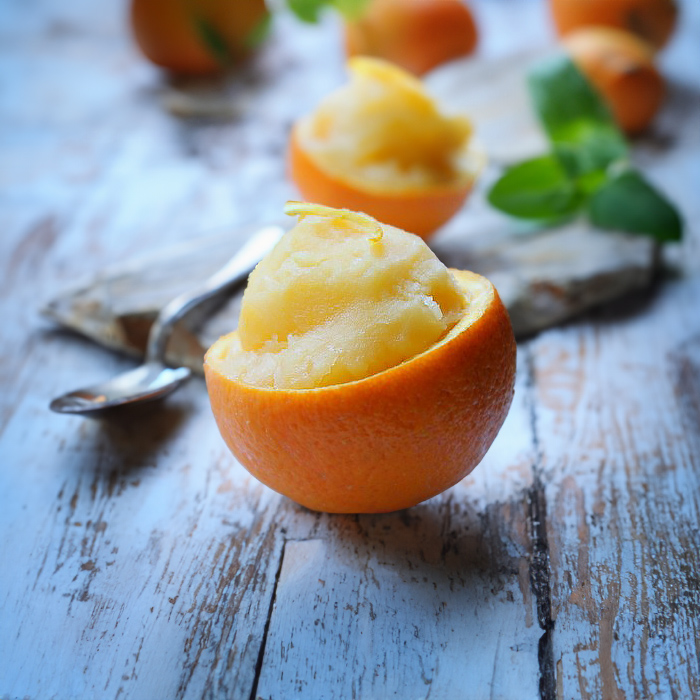
How to Make Homemade Orange Sorbet
Sorbet is a no fat alternative to ice cream and makes a deliciously refreshing dessert or snack. It is very simple to make - all you need is fruit juice and a little bit of sugar.
Slow Cooked Pulled Beef Tacos
These pulled beef tacos are slow-simmered in a braising liquid made from red wine, black coffee, and a mix of warm spices. Cooked until tender, then shredded and tossed with the reduced sauce. Delicious!
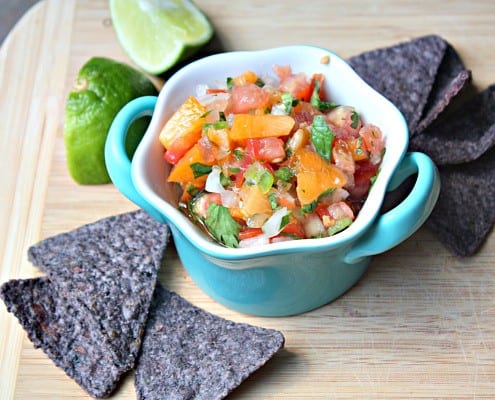
Summer Fresh Apricot Salsa
No cooking required—just fresh chopping, a quick toss, and you're ready to scoop it up with chips or spoon it over grilled chicken. It's simple, seasonal, and helps you make the most of apricot season.
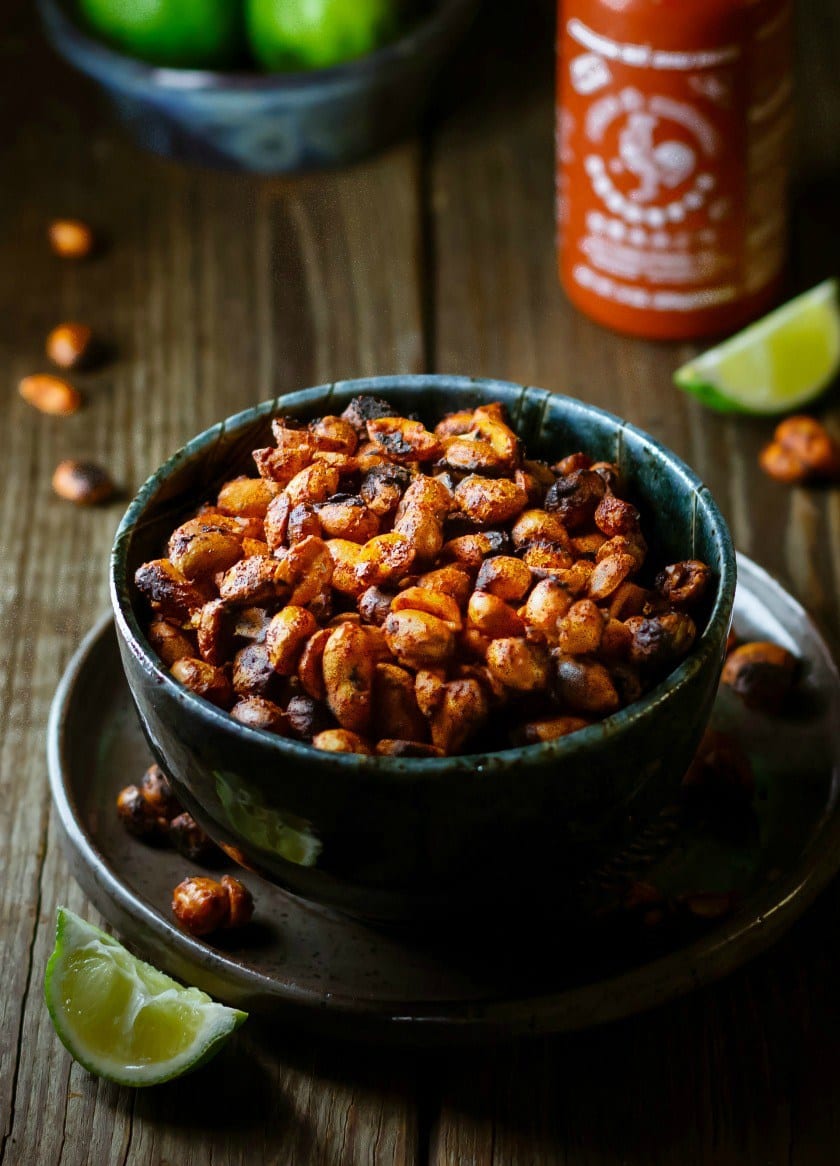
Beer Snack: Spicy Sriracha Roasted Peanuts
Need a new snack in your life? Make a batch of these Sriracha roasted nuts and have on hand a perfectly salty, spicy protein-packed snack with a hint of lime.
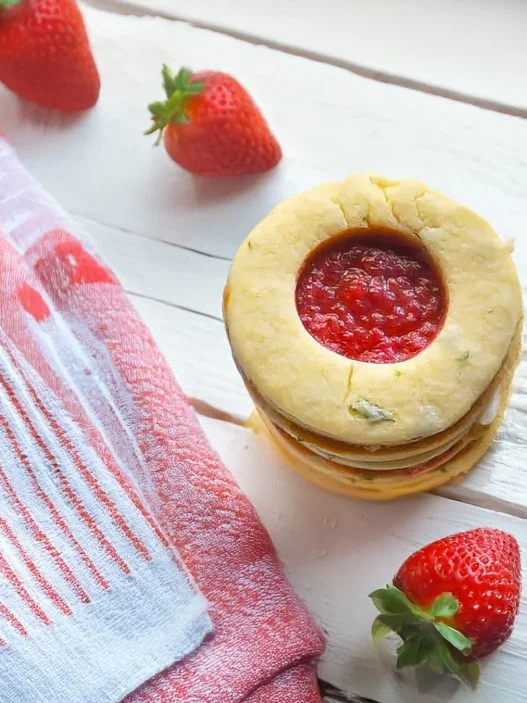
Strawberry Basil Window Cookies
These window cookies prove some combinations are worth trying. The marriage of fresh basil and strawberries is awesome, and the peek-through design makes them look bakery-pretty with very little effort.
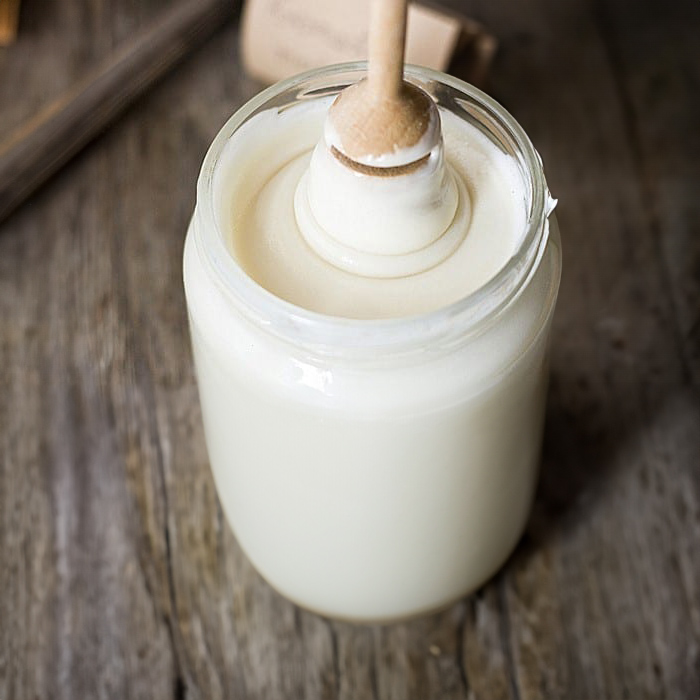
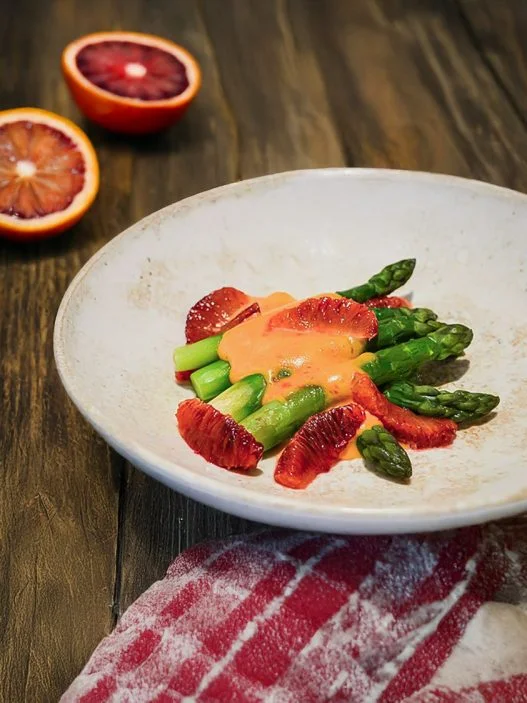
Asparagus with Sauce Maltaise
This asparagus recipe pairs with a decadent sauce Maltaise from Chef William Drabble at Francatelli in London’s St. James’s Hotel.
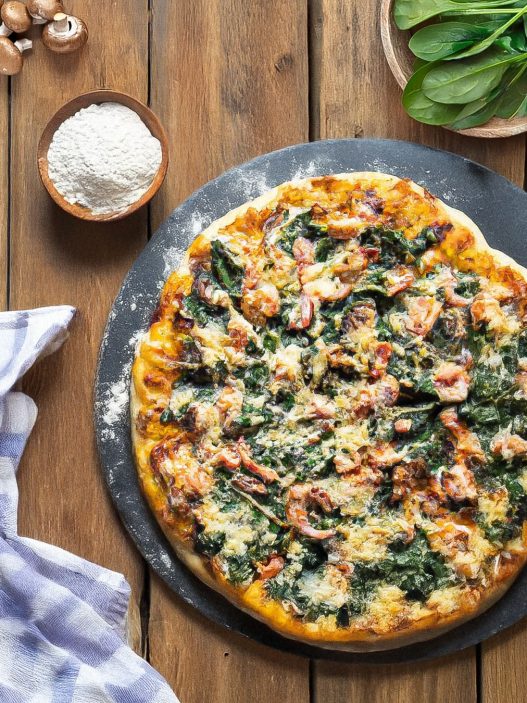
Lobster Pizza with Mushrooms, Spinach, and Gouda
Lobster pizza - just the mere mention of it is enough to make your mouth water. Imagine biting into a crispy crust loaded with succulent lobster meat, melted gouda cheese, and wilted spinach.
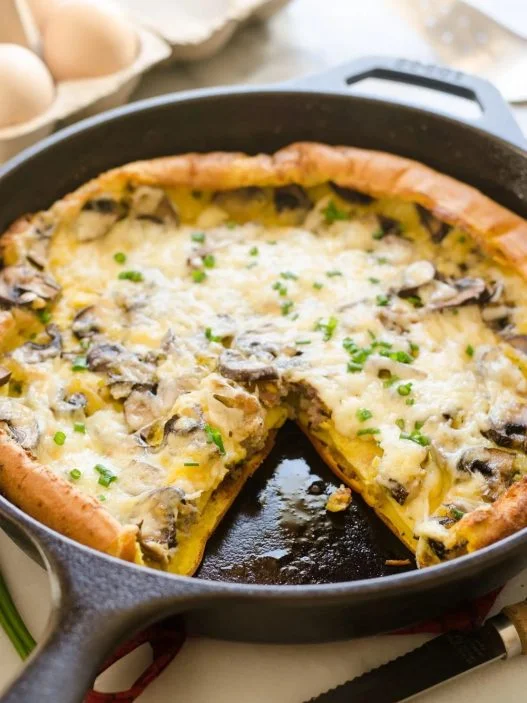
Savory Dutch Baby Pancake with Sausage and Mushrooms
Who doesn't love a warm and fluffy dutch baby pancake for breakfast? And this savory version, loaded with cheese, mushrooms, and sausage, takes the classic dish to a whole new level.
Sicilian Orange Cake
The traditional, and ever-delicious orange cake from Sicily is sweetened with honey to create a deliciously rustic and fragrant dessert.
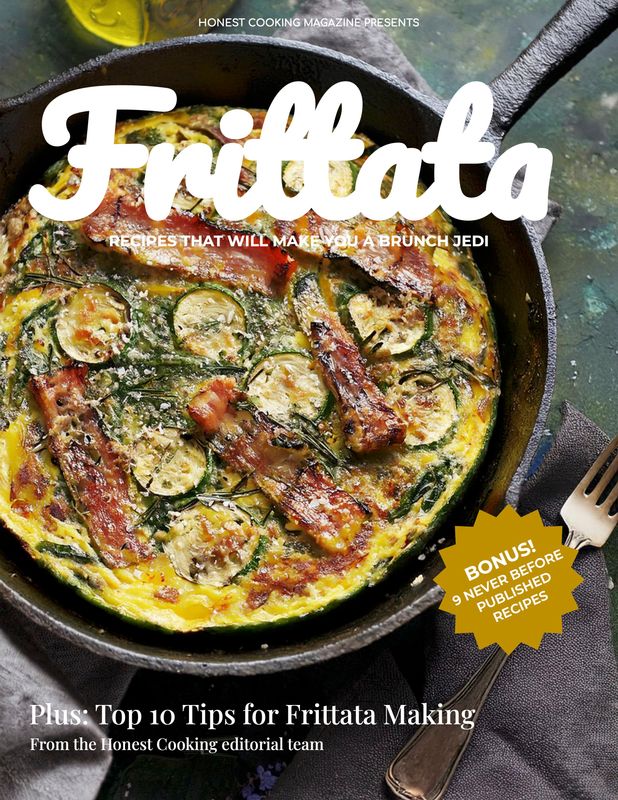
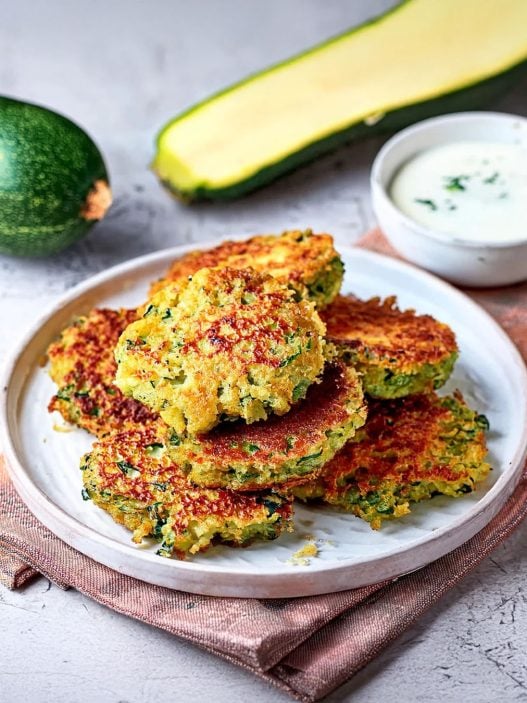
Crispy Zucchini Mini Frittatas
These kick-ass mini frittatas were originally created at Romano's Deli in San Diego in the 1960's and they generated quite a cult following locally. Now, you can make them at home, and maybe your family will cult-follow you!
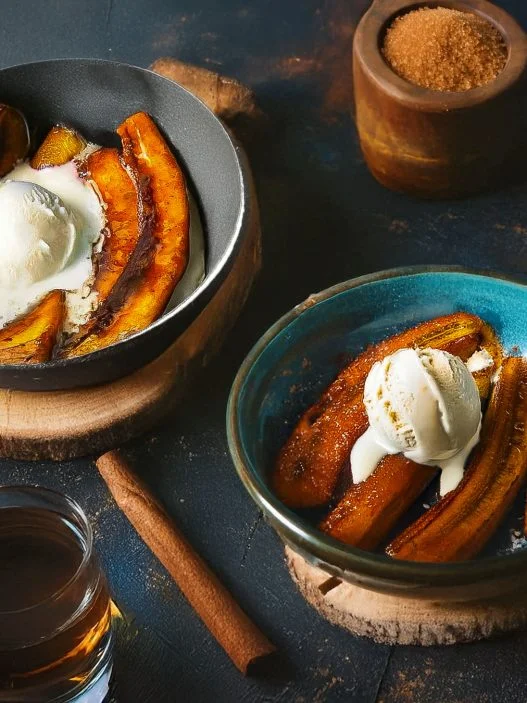
Plantains Foster: A Caribbean Twist on New Orleans’ Classic Dessert
Ripe plantains have this natural sweetness that works perfectly with butter, brown sugar, and a splash of rum. The whole thing comes together in one pan - caramelized plantains in a boozy sauce that you spoon over vanilla ice cream while it's still bubbling.
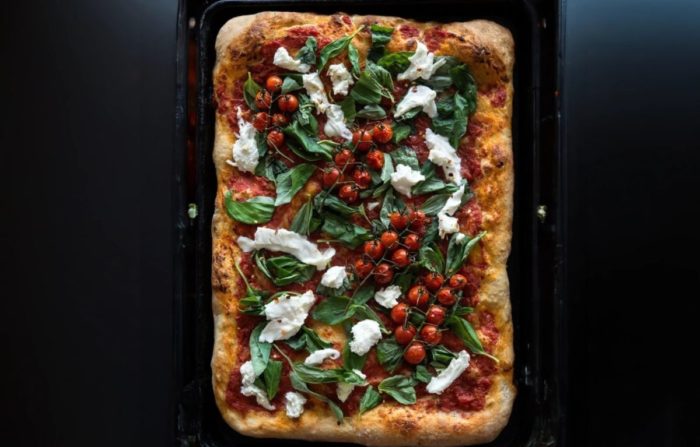
Pizza al Taglio: How to Make Roman Style Pan Pizza
Pizza al Taglio is Rome's rectangular pan pizza with a crispy bottom and fluffy interior. The high-hydration dough creates amazing air pockets, and it's perfect with simple toppings like tomatoes, mozzarella, and basil.
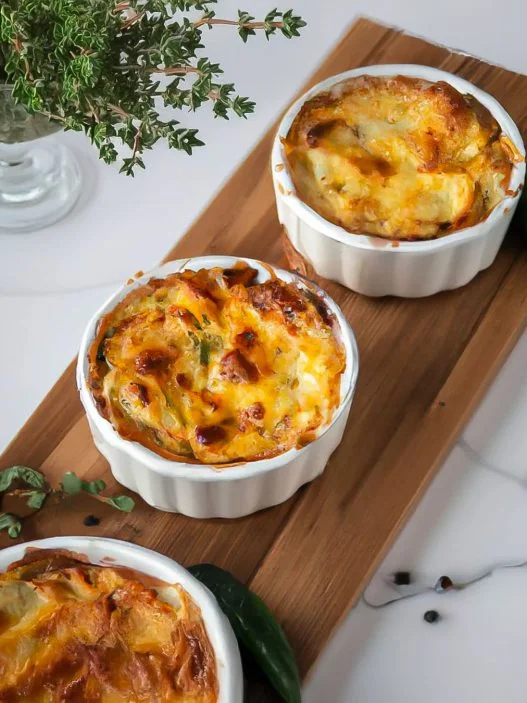
Provolone Potatoes au Gratin
I mean, we all know and love the traditional potatoes au gratin. It is a classic after all. But just like with flying, there are classes in the world of oven-baked taters. And you just got upgraded.
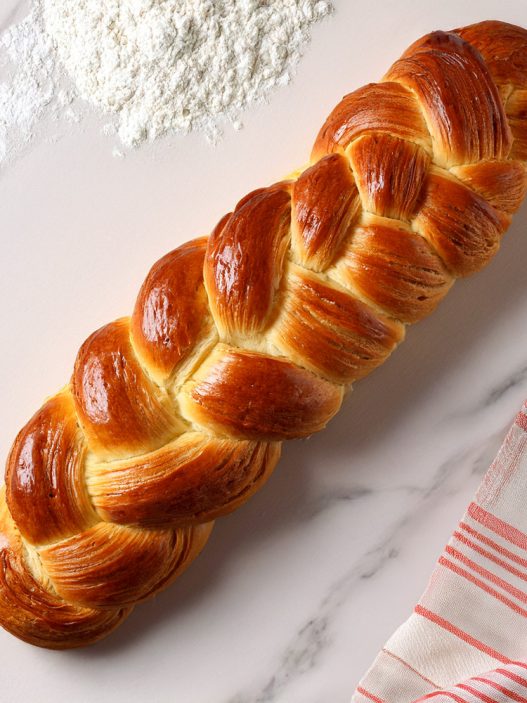
Kalács – Traditional Hungarian Sweet Braided Bread
Kalács is a traditional Hungarian braided bread, beloved for its soft, fluffy texture and delicious flavor. Made with milk, butter, and a touch of sweetness, kalács is perfect for special occasions, family gatherings, or holiday feasts.
Or just because.
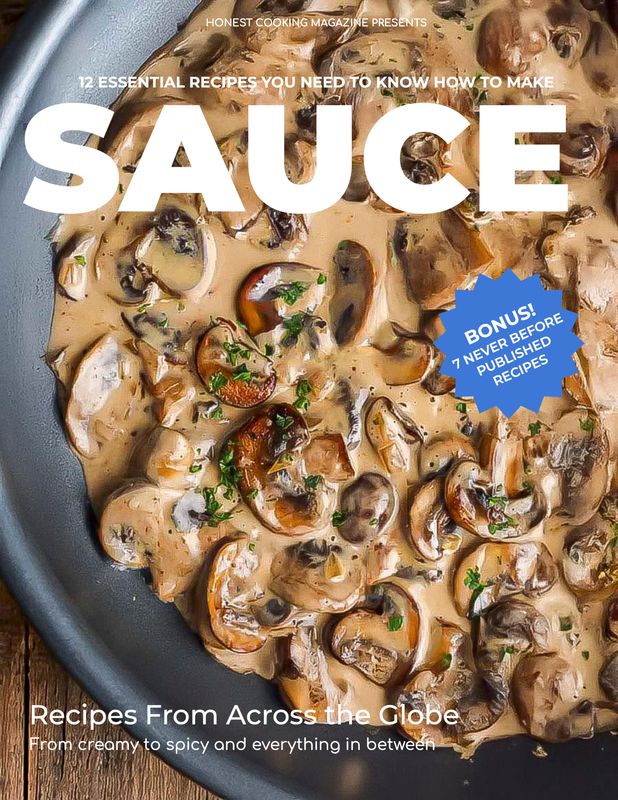
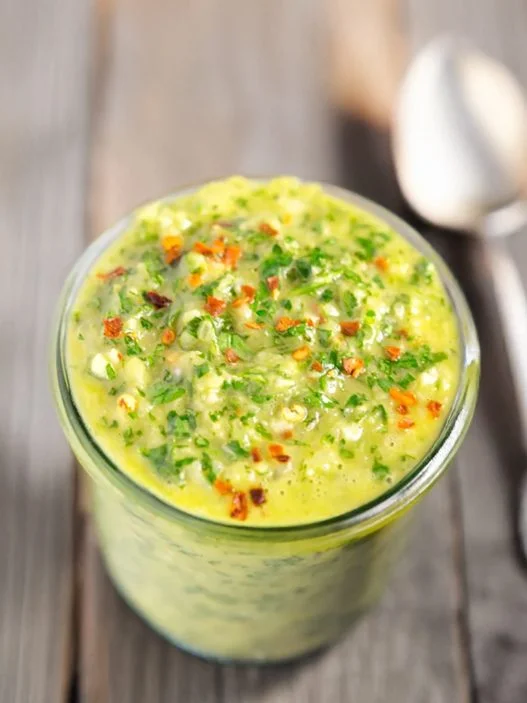
How to Make Chimichurri Sauce
Bright, punchy, and raw in the best way, chimichurri is a classic Argentinian condiment that’s as versatile as it is easy to make. This version balances fresh herbs with garlic, olive oil, vinegar, and a touch of heat—ideal for grilled meats, roasted vegetables, or even as a marinade.
Katsu Fried Chicken and Rice Burger
These Japanese rice burgers will blow your mind. Instead of bread, you get seared rice patties holding crispy and juicy katsu chicken. The rice actually holds together beautifully, and that contrast between the crunchy exterior and tender chicken? Next level.
Glazed Orange Pound Cake with Orange Zest
With just one simple addition – fresh orange zest – Bria Helgerson transforms the classic into something bright, fragrant, and absolutely irresistible. The secret? It's all in that zest.
Chef Thomas Keller’s English Pea Soup
Thomas Keller's green pea soup is bright, fresh, and addictively good. With just-picked English peas, fresh mint, and buttery brioche croutons, it's surprisingly simple to make, even though it tastes like it came from a three-star kitchen.
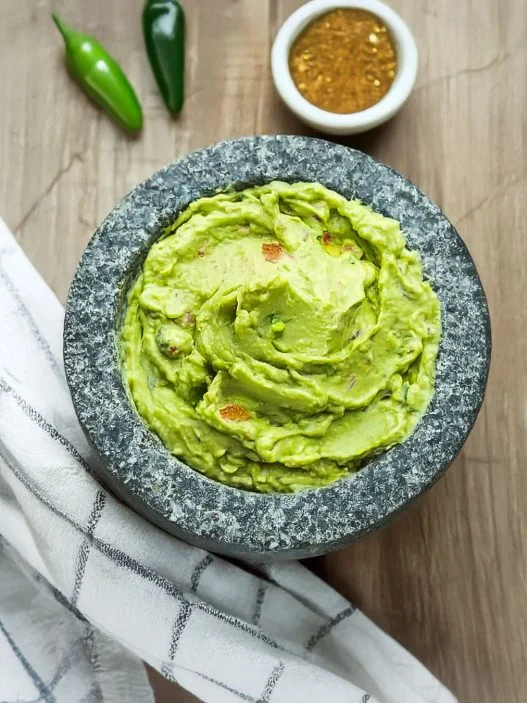
Classic Guacamole with Lime and Jalapeño
Beloved by foodies everywhere, guacamole should be on every home cook's repertoire. And we have the perfect recipe. Use it as a dip, a taco topper, or your default side for grilled meats.


