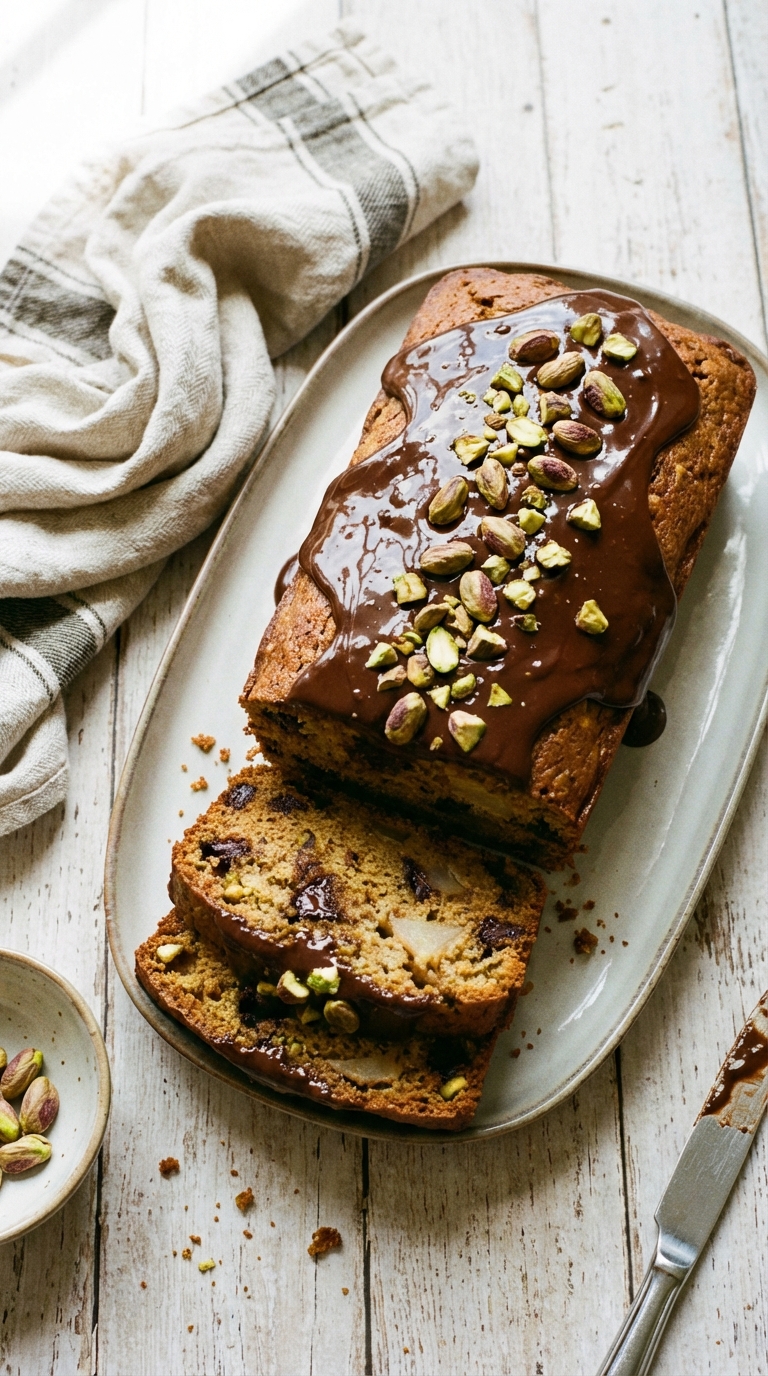
Pistachio, dark chocolate, and pear in a loaf cake sounds like a combination that needs explaining, but once you’ve made it you stop second-guessing it. The pear keeps everything moist in a way butter alone doesn’t quite manage, and the chocolate chunks stay distinct rather than melting into the crumb. Pistachios get pounded to a rough, breadcrumb texture before going in, which distributes their flavor throughout without turning the batter green. Then you pour ganache over the top, which takes it from something you’d have with coffee to something you’d actually serve to people you want to impress. The loaf format is generous; it slices cleanly the day after baking and keeps well.
How to Make Pistachio, Chocolate and Pear Loaf
Pound the pistachios, don’t process them fine
A rough, uneven breadcrumb texture is what you want. If you take them too fine they release oil and affect the batter’s consistency. A few pulses in a food processor or a brief round with a rolling pin gives you the right result.
Cut the pear small and fold it in last
Small chunks distribute better and don’t weigh down any particular section of the loaf. Fold the pear in gently at the very end after the chocolate and pistachios are already incorporated so you don’t over-mix the batter trying to distribute everything at once.
Pour the ganache while the loaf is just barely warm
Completely cool cake repels ganache and it runs off. Slightly warm cake lets it settle in and coat evenly. Let the loaf cool for about 20 minutes after baking, then pour the ganache and let it set at room temperature before slicing.
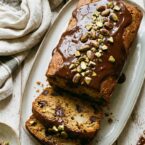
Pistachio, Chocolate and Pear Loaf
- Total Time: 50 minutes
- Yield: Serves 10
Description
A decadent loaf cake with a delightful mix of chocolate, pistachios, and pear. Topped with a rich ganache for an extra touch of indulgence.
Ingredients
- 7 oz (200 g) dark chocolate, chopped into chunks
- 2 1/2 oz (70 g) pistachios (without shells)
- 2/3 cup (150 g) soft butter
- 3/4 cup (150 g) caster sugar
- 3 eggs
- 1 1/4 cups (150 g) plain flour
- 1 tsp baking powder
- 1 pear, cored and cut into chunks
Ganache
- 5 oz (150 g) dark chocolate, coarsely chopped
- 2/3 cup (150 ml) cream
Instructions
- Preheat the oven to 175C and line a loaf tin with baking paper
- Mix the butter and sugar until light and fluffy. Add the eggs individually and fold in thoroughly.
- Sieve in the flour and baking powder, and fold until thoroughly mixed.
- lb the pistachios until they are breadcrumb like in texture and add these and the chocolate to the cake mix. Now add the pear and mix thoroughly
- Pour the mix into the tin.
- Bake for about 25 to 30 mins or until a skewer comes out clear
- Allow to cool slightly for a few minutes and remove from baking paper and tin.
- Melt the ganache chocolate over a bain marie and stir in the cream gently and until fully mixed.
- Pour this over the loaf and decorate with some shelled pistachio.
- Prep Time: 20 minutes
- Cook Time: 30 minutes
- Category: Dessert
- Cuisine: French-Inspired
Nutrition
- Serving Size: 1 slice
- Calories: 430
Frequently Asked Questions
Does pear make a loaf cake wet?
Fresh pear adds moisture, which is part of the appeal, but the loaf should not be soggy. Make sure the batter is not overmixed and bake until a skewer comes out clean.
Can I use canned pear instead of fresh?
Yes, but drain it well and pat dry to remove excess syrup. Canned pear is softer and will break down more during baking.
Do I need to toast the pistachios before adding them to the batter?
Toasting is optional but recommended. It deepens the pistachio flavor and gives a better texture compared to raw nuts.
Can I substitute the pistachios with another nut?
Walnuts or almonds both work. Walnuts pair particularly well with the chocolate and pear combination.
How do I store this loaf?
Wrap tightly in plastic wrap and store at room temperature for up to 3 days, or in the fridge for up to a week. It also freezes well for up to 2 months.