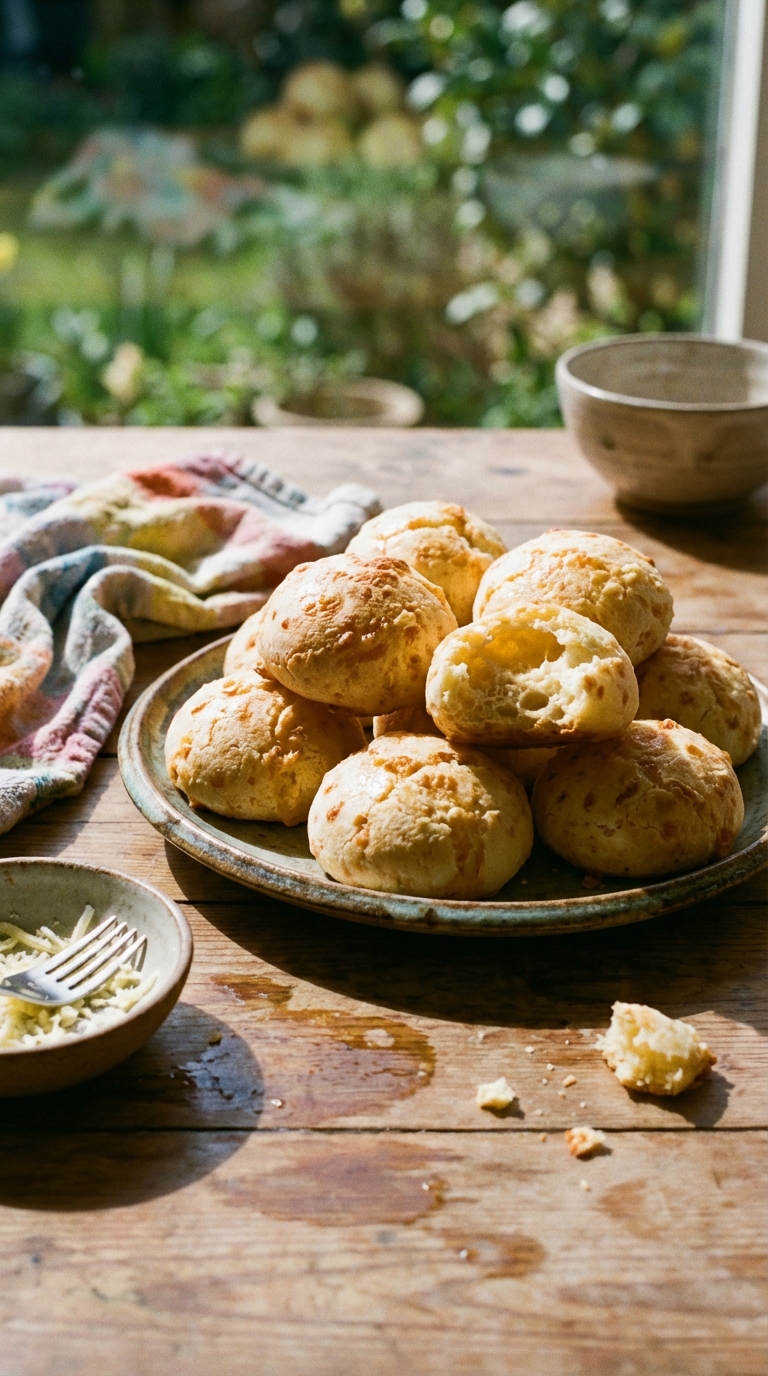
Pao De Queijo, tasty cheese buns that make the perfect snack or treat, and that will make your taste buds samba!
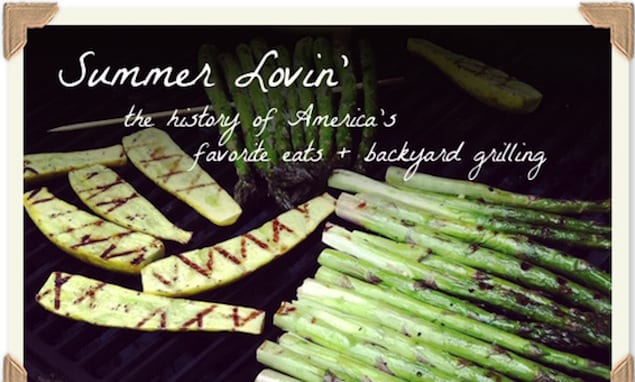
Brazil, home of the worldcup football in a short time is of course the perfect choice for this month’s Daring Bakers. I had never heard of these cheesy bites before but they looked good, the recipe sounded simple and didn’t take a whole day (as some of the challenges tend to do!) so I figured let’s go for it.
These little darlings puff up nicely and the taste delicious, too. I’ve seen examples of people making these and filling them with all kinds of delicious stuff and I can see how that would be something awesome to experiment with.
Print
Pão De Queijo: Brazilian Cheese Buns
- Total Time: 40 minutes
- Yield: Makes 12
- Diet: Omnivore
Description
Pão de Queijo: irresistible cheese buns,
perfect as a snack or party appetizer.
Ingredients
- 1/4 tsp salt
- 125 gr (4 oz) tapioca starch
- 65 ml (2 oz) full fat milk
- 10 gr (0.35 oz) butter
- 60 gr (2 oz) Monterey Jack Cheese or another cheese of your liking, coursely grated
- 1 egg
Instructions
- Heat milk, butter, and salt in a small saucepan until it comes to a boil. Remove from heat and set aside.
- Sift tapioca starch into a large bowl.
- Pour the boiled mixture over the tapioca and stir with a fork.
- Keep stirring with a fork, breaking down lumps, until the mixture cools to warm.
- Preheat your oven to 400°F (204°C).
- Add the grated cheese to the tapioca mixture and mix well using your hands.
- Add one egg at a time, mixing with your hands until a soft, pliable dough forms. Lightly beat the egg with a fork and add it in small amounts.
- Form dough balls and place them on a baking sheet lined with parchment paper, a silicon mat, or lightly greased with vegetable oil. Oil your hands if needed.
- Bake for about 25 minutes, or until the bottoms just start to brown.
Notes
- For a chewier bun, use a blend of tapioca starch and cassava flour.
- To prevent sticking, lightly grease your hands with oil before shaping the dough balls.
- Store leftover pão de queijo in an airtight container at room temperature for up to 2 days, or freeze for longer storage.
- Prep Time: 15 minutes
- Cook Time: 25 minutes
- Category: Appetizer
- Method: Baking
- Cuisine: Brazilian
Nutrition
- Serving Size: 1 bun
- Calories: 100
- Sugar: 1
- Sodium: 100
- Fat: 5
- Saturated Fat: 3
- Unsaturated Fat: 2
- Carbohydrates: 15
- Fiber: 1
- Protein: 3
- Cholesterol: 20
Frequently Asked Questions
Why does pão de queijo use tapioca starch instead of wheat flour?
Tapioca starch is what gives these Brazilian cheese buns their signature chewy, slightly stretchy texture. It also makes them naturally gluten-free. Using wheat flour would produce a completely different, denser result.
What cheese works best if I can’t find queijo minas?
A mix of parmesan for sharpness and low-moisture mozzarella for stretch is the most common substitute. Some cooks use cotija or even a mild feta, though the flavor will shift slightly.
Can I freeze the dough or the baked buns?
Both work well. You can freeze the shaped, unbaked dough balls on a tray then transfer them to a bag, baking straight from frozen with a few extra minutes added. Already-baked buns reheat in a 350°F oven for about 5 minutes.