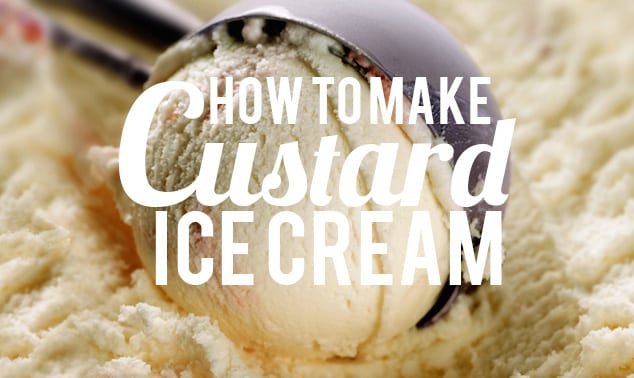
Learn to master the technique of making custard for homemade ice cream in this visual guide and then you are set to make just about any flavor you choose.
By Mallory Viscardi
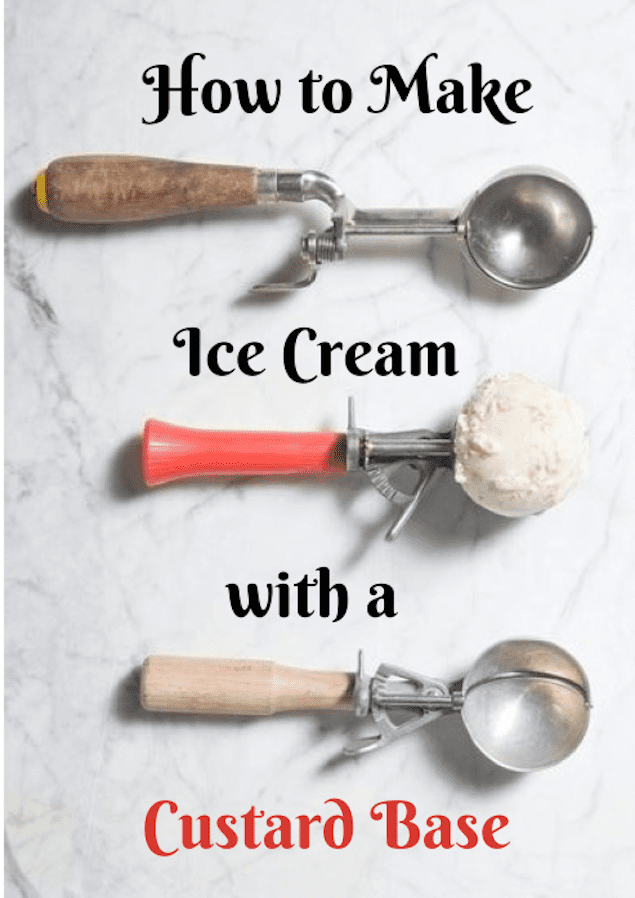
This article has been posted with permission and originally appeared as How to Make Ice Cream with a Custard Base on Relish.
Most ice cream recipes start with a creamy custard base, and it’s the temperamental tempering of egg yolks required for custard that earns ice cream its fickle reputation. The key to successfully tempering egg yolks is to have a slow pouring hand and a quick whisking hand. A bowl with a grip on the bottom is also key here, so that you don’t have to worry about pouring, stabilizing the bowl and whisking with only two hands. And make sure you heed the warning about not letting your custard scorch while it’s cooking on the stove; stir it constantly. Beyond that, making ice cream is easy as pie!
Print
Vanilla Ice Cream with a Classic Custard Base
- Total Time: 20 minutes
- Yield: Serves 6
Description
Don’t worry if you struggle the first couple times. As with all culinary adventures, practice makes perfect. This recipe is also exceptionally versatile—feel free to be creative and add fruits, chocolates and other fun mix-ins when the ice cream is churning and close to completion.
Ingredients
- 2 cups heavy cream
- 1 cup whole milk
- 1 teaspoon vanilla paste
- 4 egg yolks
- 1 cup sugar
Instructions
The Day Before:
- Freeze the container to your ice cream maker according to manufacturer’s instructions, at least 24 hours ahead of making your custard.
Before You Do Anything Else:
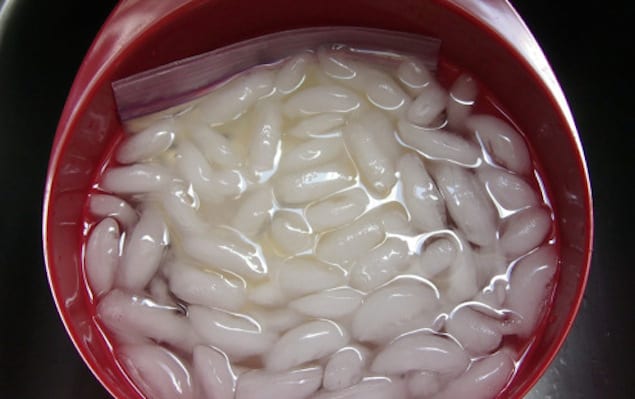
- Prepare an ice bath. Fill a large bowl (with grips, remember!) with ice and just enough water that the cubes float a little bit.
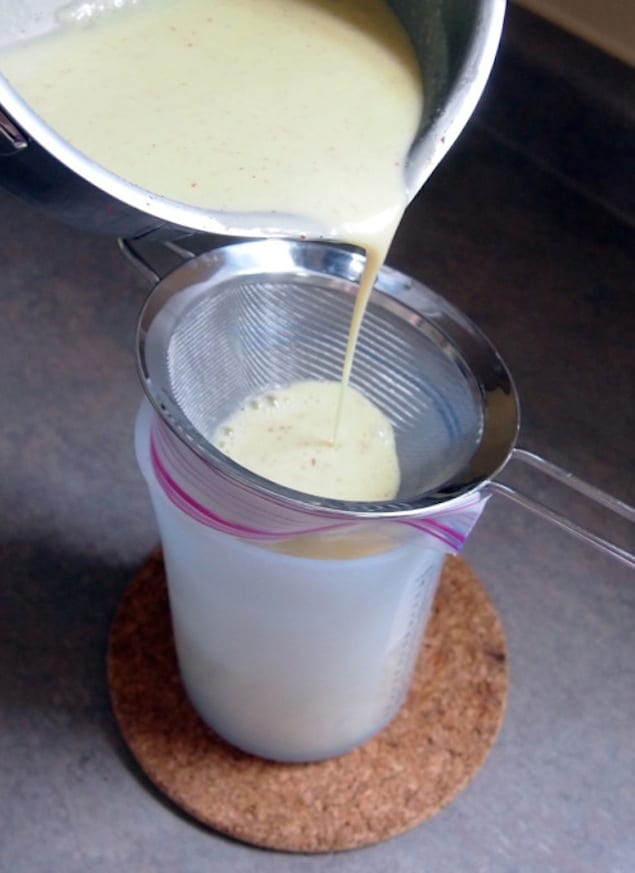
- Prepare a fine-mesh strainer and a quart-sized zip-top bag. (Jeni Britton Bauer of Jeni’s Splendid Ice Cream uses a zip-top bag instead of a bowl to chill her cooked custard because the increased surface area exposure stops the cooking process much faster, which is the goal when we’re putting the custard into an ice bath.)
Get Cooking:
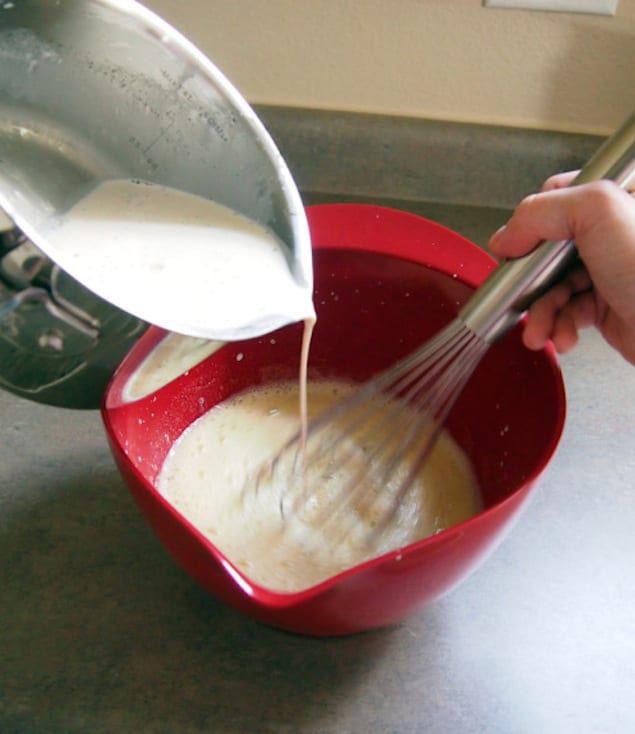
- In a large, non-reactive, heavy-bottomed sauce pan, heat the milk and cream to 170° F over medium heat. The mixture should be hot to the touch but not boiling. Meanwhile, whisk the egg yolks and the sugar together in a separate bowl until well-combined.
- When the milk mixture reaches temperature, pour half of it in a slow, steady stream into the egg yolk mixture, whisking briskly and constantly. Make sure you scrape the sides and bottoms completely and evenly; letting the custard remain against the heated metal too long will result in scorching, which leads to curdled or broken custard. Do not let the custard boil.
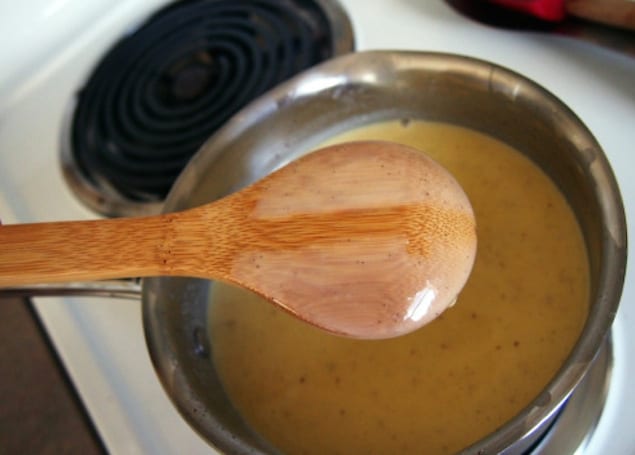
- When the custard cooks to a thickness that leaves a clear trail when you run your finger over the back of the spatula (about 5 minutes), it’s done.
Stop the Cooking:
- Immediately remove the custard from the heat and pour through the fine-mesh sieve into your zip-top bag. Press out as much air as possible (be careful, it’s hot) and seal the bag.
- Immerse immediately in the ice bath. As mentioned above, the goal in this step is to stop the custard from continuing to cook from residual heat, so move quickly but safely.
- Once cooled, move zip-top bag to the refrigerator and allow to chill completely, at least one hour.
- Freeze in an ice cream machine according to manufacturer’s instructions until creamy and thick. At this point you m Transfer to a freezer-safe container, leaving a little room for further freezing. Freeze until hard-set, at least four hours.
- Prep Time: 15 minutes
- Cook Time: 5 minutes
- Category: Dessert
- Cuisine: American