Let’s talk about why this cake is so awesome. I took my favourite sponge cake recipe which I’ve used for years and added in lemon zest.
I always add the zest in at the beginning before creaming the butter and sugar as I find it gives a more intense flavour. The oils of the zest can really get to work with the sugar. Sometimes I even rub the zest into the sugar for a little bit before creaming it together with the butter.
Making the meringue is probably the most “difficult” part and even that isn’t hard.
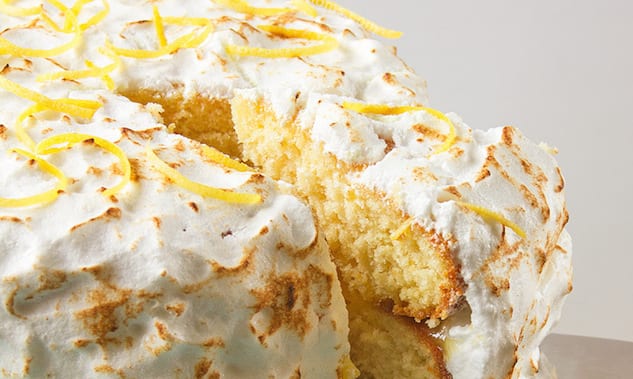
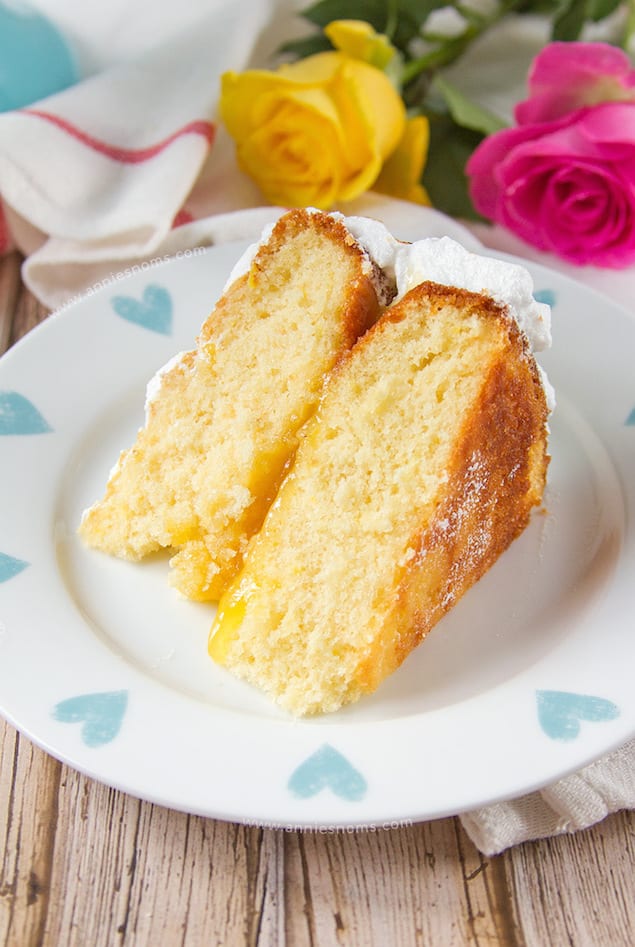
This cake is just glorious. Sweet, soft and with that elusive perfect crumb. Then there’s that curd filling which injects a real flavour punch. The tartness contrasts perfectly with the sweet, glossy meringue.
If you have any extra lemon curd, be sure to make these lemon-filled donuts!
Print
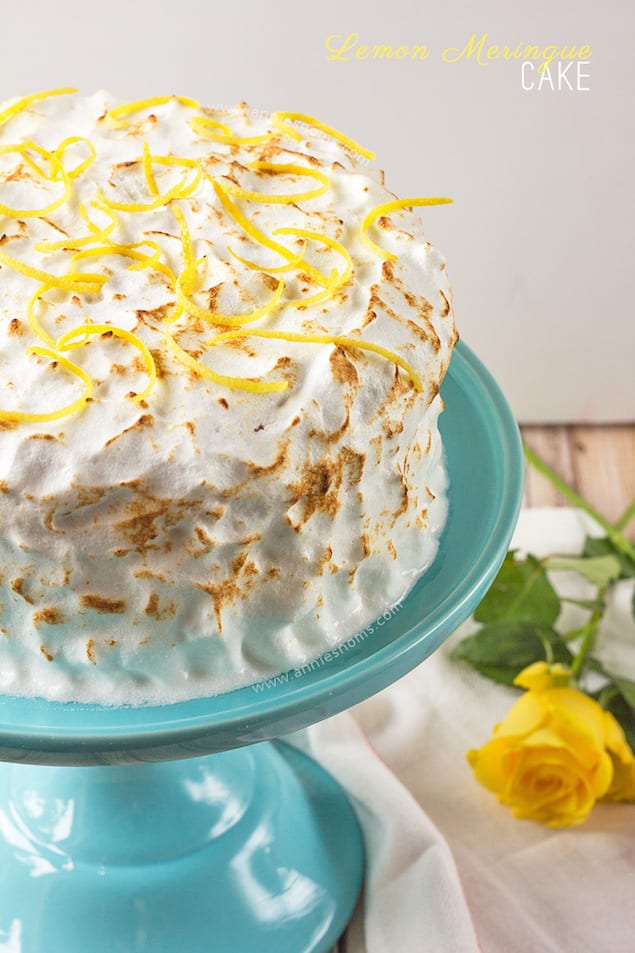
Impressive Meringue Cake with Lemon Curd Filling
- Total Time: 1 hour 30 minutes
- Yield: One 8 inch, 2 layered cake
Description
If you love lemon meringue pie, this decadent cake is the next thing you should make. It is light, filled with lemon curd and covered in soft meringue.
Ingredients
For the cake:
- 1 stick (113 g) unsalted butter/margarine, at room temperature
- 1 cup (200 g) caster sugar
- Zest of 1 large lemon
- 3 large eggs
- 1 tsp (5 ml) vanilla extract
- 2 and 1/2 cups (350 g) plain flour
- 1 tbsp (15 ml) baking powder
- Pinch of salt, ONLY if using unsalted butter
- 1 cup (240 ml) milk
For the filling:
- 1/2 cup (175 g) lemon curd
For the frosting
- 3 large egg whites
- 1 cup (200 g) caster sugar
- 3 tbsp (45 ml) water
- Pinch salt
- Pinch of Cream of Tartar
- Lemon peel to garnish, optional
Instructions
- Preheat oven to 180C/350F and grease and line two 8 inch round cake tins.
- Place butter/marg, sugar and lemon zest into a large bowl and beat until light and fluffy, about 2 minutes on med-high speed.
- Add in eggs and vanilla extract, scraping down sides as necessary, and mix until well combined and smooth, around 1 minute on med-high speed.
- Add in flour, baking powder and salt, if using, and mix on low until mixture just starts to combine, then stop mixing and add in the milk. Continue to mix on low until mixture comes together, then turn up speed to medium and mix until well incorporated, about 45 seconds.
- Divide the cake batter between your lined tins (I use a 1/2 cup and place a level 1/2 cup into each tin).
- Place in the oven for 23-28 minutes until risen, golden and inserted skewer into the centre comes out clean.
- Leave to cool in the tins for at least an hour before transferring to a wire rack to cool completely.
- Once cool, using a serrated knife or cake leveling wire, slice the tops off the cake to level, if necessary.
- Place a small amount of lemon curd into the centre of a plate and then take one cake and place it top side up onto the plate.
- Place 1/2 cup lemon curd into a small bowl and beat with a spoon until it becomes workable. Spoon onto the top of the cake on the plate and smooth with a small angle spatula until the top of the cake is covered and you have a level layer of curd.
- Take the second cake and place it bottom side up on top of the curd topped cake. Leave to one side whilst you make the meringue.
- It’s important to only use glass/metal bowls for meringue as plastic can effect how your meringue turns out. You will need a large bowl or the bowl of your stand mixer and a large heatproof bowl to make it. Take a piece of kitchen roll and dampen with lemon juice. Wipe the insides of the bowls, the whisks and beaters you will use with this damp cloth to get rid of any lingering grease.
- Place around 3 inches of water into a medium sized saucepan (check your heatproof bowl fits over the top without touching the water first) and place on a high heat.
- Bring the water to a boil and then turn right down to simmer.
- Place egg whites, sugar, water and salt into your heatproof bowl and beat briefly with a hand mixer until combined. Then place over the simmering pan of water, with a candy thermometer attached and beat continuously until the mixture reaches 70C/160F. It will be white, glossy and past the puffy cloud stage. This will take 5-10 minutes.
- Once the mixture reaches the desired temperature, remove from heat and transfer to a large bowl or the bowl of your stand mixer. Add in a pinch of cream of tartar. Switch to a whisk attachment and whisk continuously until the meringue is thick, glossy and holds its peak when you lift the whisk out. This will take 15-20 minutes. The bowl will also feel cooler to the touch.
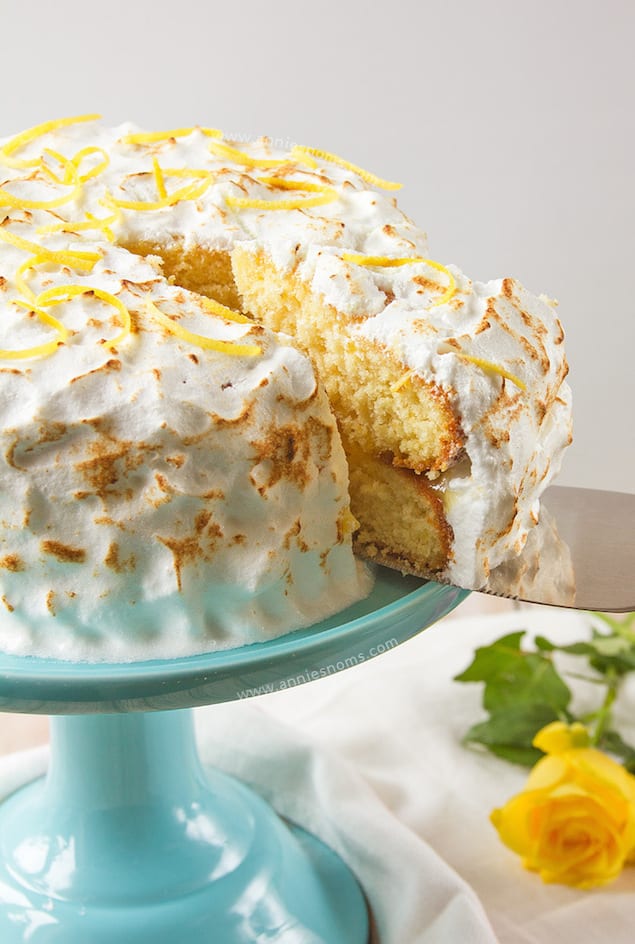
- Cover the cake as you wish – either piping or spooning the meringue on. We spooned meringue into the centre of the cake then smoothed it over with an angled spatula, then covered the sides with the spatula too.
- After this, we used the spatula to repeatedly “dab” at the cake to create a stippled effect. Now you can go to town with a cooks blow torch if you wish! – We spun the cake on an icing turntable whilst applying constant heat (around 10cm away from the cake) to lightly brown parts of the cake.
- Garnish with lemon peel if desired.
- Cake will keep covered, in the fridge for 3 days, but is best served at room temperature.
- Prep Time: 45 minutes
- Cook Time: 28 minutes
- Category: Baking, Cake, Dessert
- Cuisine: British
Nutrition
- Serving Size: 1 slice
- Calories: 420
Frequently Asked Questions
Why do you add lemon zest before creaming the butter and sugar?
Adding lemon zest at the beginning helps release the oils, which intensifies the flavor of the cake.
What is the most challenging part of making this cake?
The most challenging part is making the meringue, but with careful attention to the egg whites, it’s manageable.
What should I do with any extra lemon curd after making the cake?
You can use any leftover lemon curd to make lemon-filled donuts, which complement the flavors beautifully.