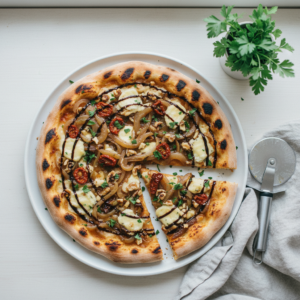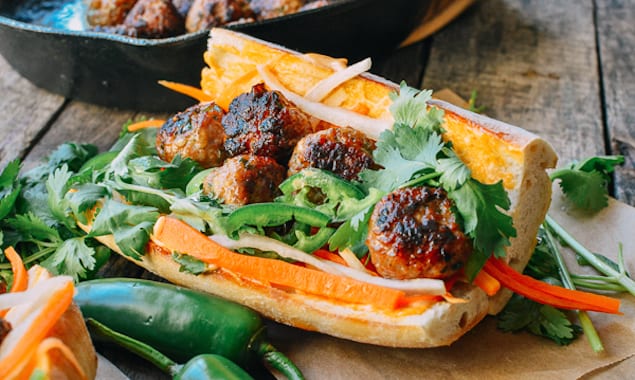
I love using whole grain pita bread for sandwiches and even pizzas. I usually try to find packages made by our local bakeries.
Next thing I knew, I was trying to bake pita bread at home.
I played with a few versions before deciding on this recipe. And the results were pretty fabulous, especially fresh from the pan.
The only downside is that they do require a teeny bit of work, but truly not very much. These little loaves like it best when tended watchfully over a hot pan, the kind that grills and steams the dough at the same time into beautiful little pockets. I have a wonderful square griddle, that only fits a couple pita bread loaves at a time, so I find the size of my best nonstick pan a little restricting. You may have a larger griddle.
These won’t stay super soft for very long, so prepare, and then devour while warm, and plan to keep any extra dough refrigerated for another day. But these are so good while fresh, you might need more than you expected.
Print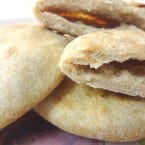
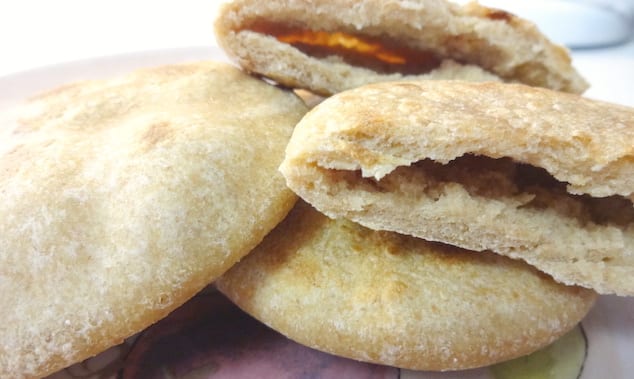
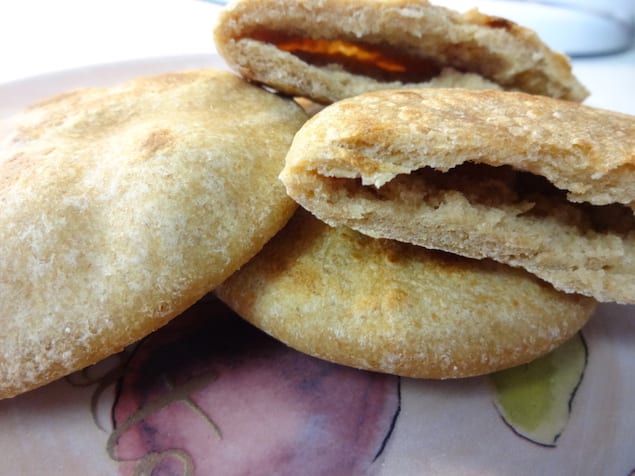
Homemade Wheat Pita Pockets
- Total Time: 35 minutes
- Yield: 8 pita pockets
Description
Homemade wheat pita pockets cooked in a skillet, offering a deliciously warm and fresh bread experience perfect for sandwiches or pizzas.
Ingredients
- 3 cups (720 ml) white whole wheat flour
- 2 tsp baking powder
- 3/4 tsp salt
- 1 cup (240 ml) warm water
Instructions
- In a large bowl, whisk together the white whole wheat flour, baking powder, and salt.
- Using a food processor, gradually add the warm water to the dry ingredients and mix until a crumbly dough forms.
- Pulse the mixture on and off briefly just until a ball begins to form.
- Turn the dough out onto a lightly floured surface and knead it gently for a few minutes until smooth.
- Divide the dough into small balls, about the size of a golf ball.
- Roll each ball into a flat circle, about 1/4 inch thick.
- Heat a nonstick skillet or griddle over medium-high heat.
- Place the rolled dough onto the hot skillet and cook for about 2-3 minutes on each side, or until puffed and golden brown.
- Remove from the skillet and cover with a clean towel to keep warm while cooking the remaining pita pockets.
Notes
- These pita pockets are best enjoyed fresh and warm.
- If you have extra dough, it can be refrigerated for later use.
- Use a large griddle if available to cook more pita at once.
- These pockets won’t stay soft for long, so plan to eat them soon after cooking.
- Prep Time: 15 minutes
- Cook Time: 20 minutes
- Category: Baking
- Cuisine: Middle Eastern
Nutrition
- Serving Size: 1 pita pocket
- Calories: 150
- Sugar: 0 grams
- Sodium: 190 mg
- Fat: 1 gram
- Carbohydrates: 30 grams
- Fiber: 4 grams
- Protein: 5 grams
- Cholesterol: 0 mg
Frequently Asked Questions
What type of pan is best for cooking the pita bread?
A hot nonstick pan or a square griddle works best, as it can grill and steam the dough simultaneously.
How can I store extra pita dough for later use?
Any extra dough can be refrigerated for another day, but it’s recommended to use it soon for the best results.
Why do the pita pockets need to be consumed while warm?
These pita pockets won’t stay super soft for long, so it’s ideal to enjoy them fresh off the pan.