


The Odette Odyssey: Julien Royer’s Culinary Pilgrimage Through Europe
While Odette undergoes renovation, chef Julien Royer is embarking on a four-city European tour, cooking alongside some of the continent's most respected chefs. It promises to be one of the year's most intriguing culinary collaborations.

Anything But Ordinary: What It’s Like to Stay at Grand Velas Riviera Maya
Get a firsthand look at Grand Velas Riviera Maya, one of Mexico’s most refined all-inclusive resorts. From oceanfront suites to immersive dining and spa experiences, here’s what it’s really like to stay at this Riviera Maya retreat.

Inside Amisfield: Vaughan Mabee’s Wild and Unforgettable New Zealand Dining Experience
At Amisfield Restaurant in Queenstown, Vaughan Mabee’s cooking draws directly from the land around him, shaped by hunting trips, native ingredients, and a drive to create something distinctly New Zealand.
SAVOR: the South’s Next Must-Attend Food Festival
Alyssa Holder experienced the best of Texas food, golf, and culture at the inaugural SAVOR festival at Omni PGA Frisco Resort.
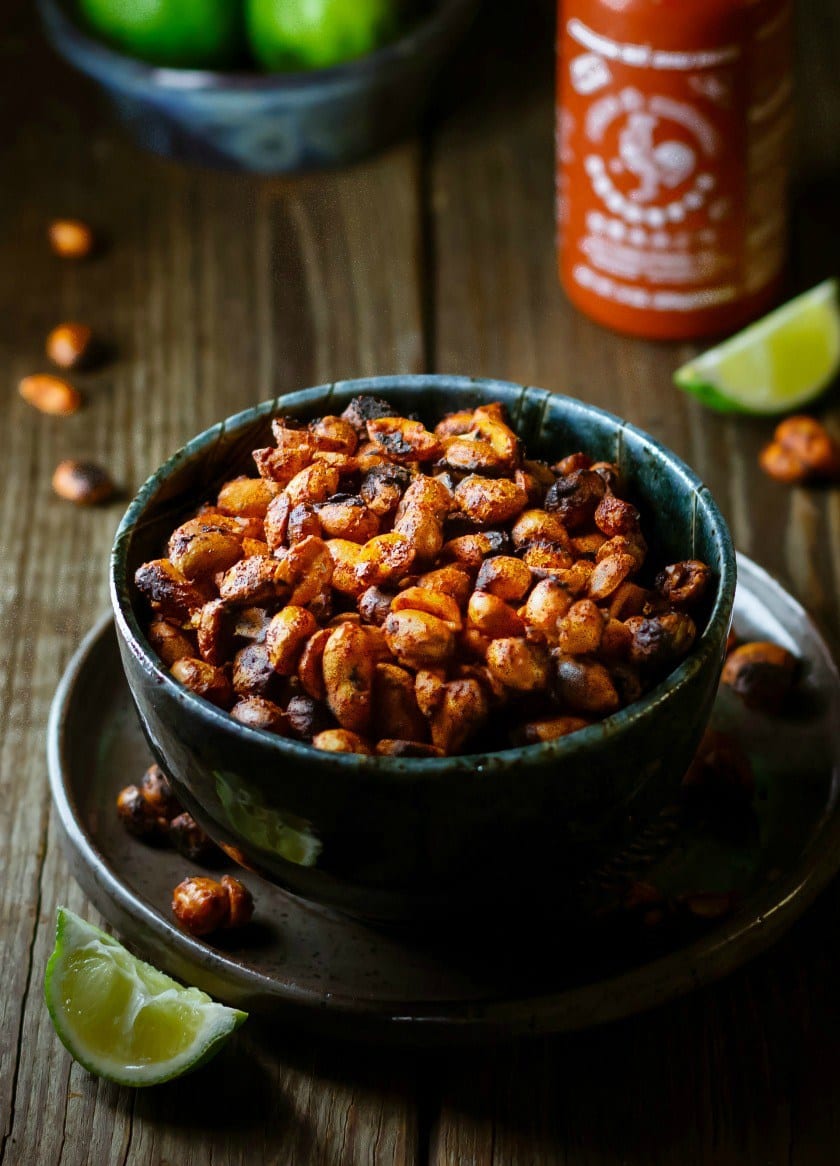
Beer Snack: Spicy Sriracha Roasted Peanuts
Need a new snack in your life? Make a batch of these Sriracha roasted nuts and have on hand a perfectly salty, spicy protein-packed snack with a hint of lime.

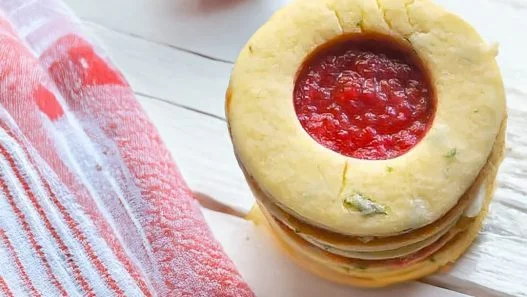
Strawberry Basil Window Cookies
These window cookies prove some combinations are worth trying. The marriage of fresh basil and strawberries is awesome, and the peek-through design makes them look bakery-pretty with very little effort.

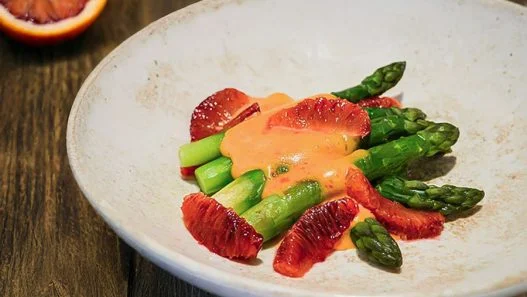
Asparagus with Sauce Maltaise
This asparagus recipe pairs with a decadent sauce Maltaise from Chef William Drabble at Francatelli in London’s St. James’s Hotel.


Pound Cakes: Rustic Recipes for Real Life
Pound Cakes: Rustic Recipes for Real Life
Digital Download
$2,99


Ocean Restaurant Algarve: A Culinary Map of Portuguese History
Perched on a cliff overlooking the dramatic Algarve coast, Ocean Restaurant serves up more than just stunning views. Chef Hans Neuner's five-year culinary journey following Portuguese history around the globe has resulted in something truly special.


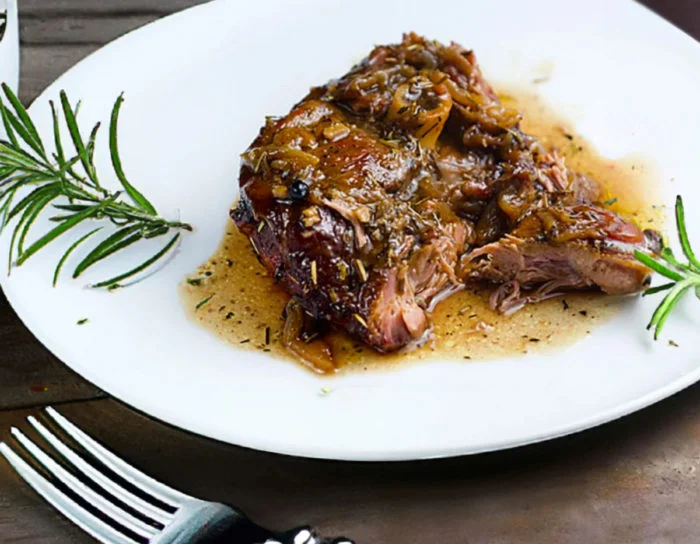
The Fire Sensei: From Japanese Apprentice to Basque Master
After a decade apprenticing under Bittor Arginzoniz at Etxebarri, Japanese chef Tetsuro Maeda opened his own restaurant in a restored 18th-century Basque farmhouse. At Txispa, he explores what Japanese cooking might have looked like 300 years ago using local Basque ingredients.


Two Moxy Hotels, Two Different New York Experiences
We usually avoid big hotel brands, but these two Moxy NYC locations prove there are exceptions to every rule. Times Square puts you in the heart of tourist central, while East Village drops you into downtown cool. Here's how to choose between them.


Boston Food Guide: 4 Must-Try Restaurants for a Weekend Trip
A weekend in Boston means tough choices - there's way more good food than you can possibly eat in two days. These are four spots to go when you're short on time but serious about eating well.

Casa Bond NYC: Pistachio Guacamole and Duck Carnitas Worth the Bowery Trip
Chef Rodrigo Abrajan brings his taco cart origins to the Bowery with dishes that will surprise and delight. The space feels like vacation from Manhattan's hustle, and that pistachio guacamole alone is worth the trip downtown.
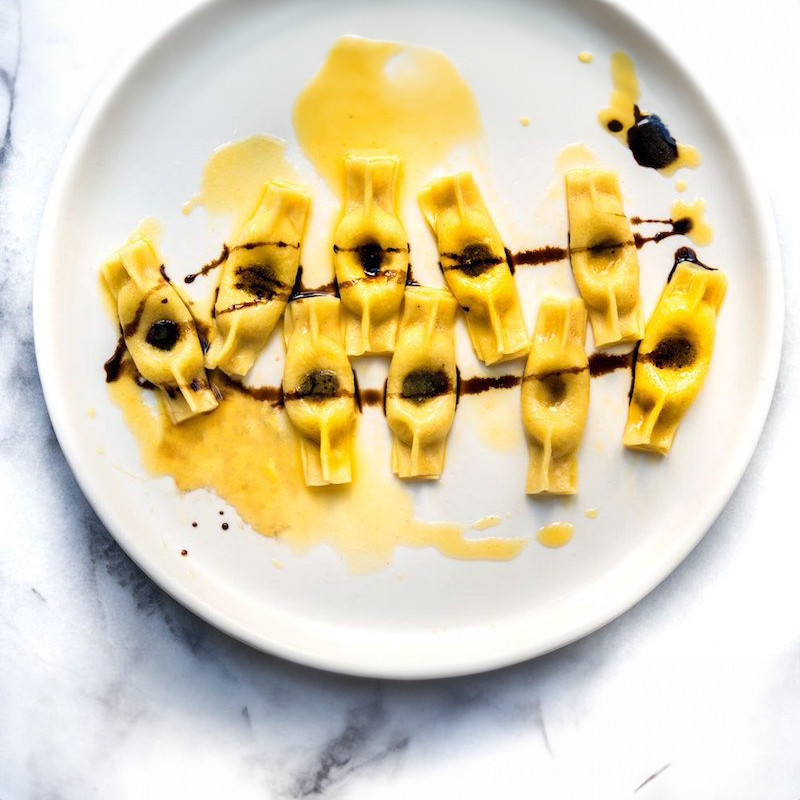

Homemade Taleggio Scarpinocc with Butter Sauce
This recipe guides you through creating perfect scarpinocc, a pasta shape that beautifully holds the luscious cheese filling - topped with a luxurious butter sauce.


You Should Be Drinking: Rombauer Carneros Chardonnay
The Rombauer Carneros Chardonnay is an unapologetically classic expression of a California Chardonnay. And that's exactly why it is a wine you should be drinking right now.


How to Make Better Coffee at Home: 10 Expert Tips for a Great Cup
Let’s be honest—most of us have made some bad coffee. The kind that needs cream and sugar just to get it down. But great coffee should taste amazing on its own. With just a few small upgrades, you can make café-quality coffee at home—and never settle for stale or bitter brews again.


The Best Non-Alcoholic Brands for the Sober Curious
The sober curious lifestyle is making waves on social media and beyond. With a new segment of consumers opting out of drinking, many think non-alcoholic brands are here to stay. But which are the best ones to get started with?
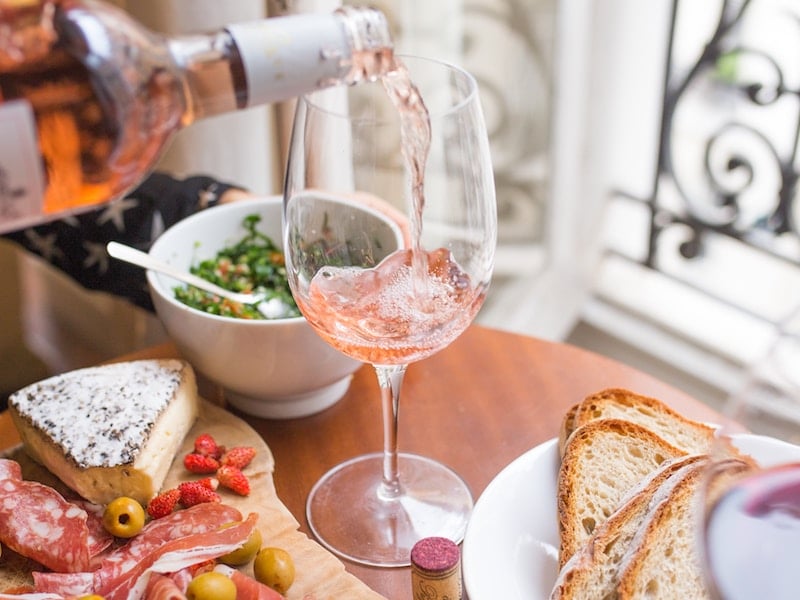
Perfect Wine Pairings for Every Type of Easter Dish — From Brunch to Dinner
Plan the perfect Easter menu with 13 expert wine pairings for lamb, ham, brunch, salmon, and spring veggies. From brunch to dinner, here’s what to pour.


How Bangkok’s HAOMA Won Best Wine List in the World
In 2024, a modern Indian restaurant in Bangkok stunned the wine world. HAOMA took home the top honor at the Star Wine List Grand Prix, naming it the home of the best wine list on the planet. How did a 200-label cellar beat the globe’s biggest names? It starts with passion, people, and a…
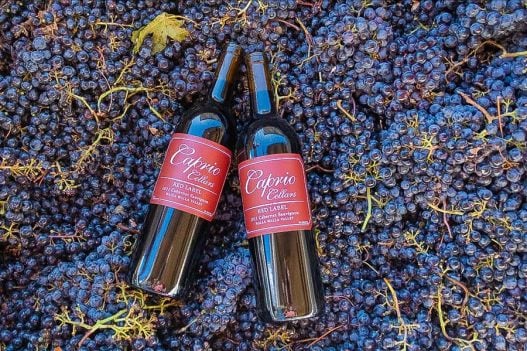
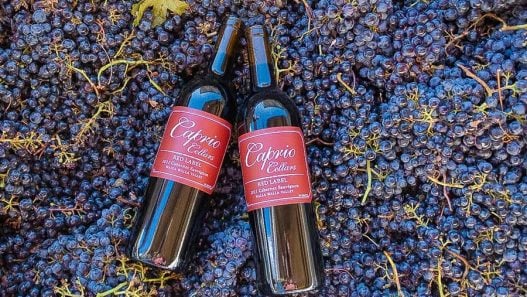
You Should Be Drinking: Caprio Cellars, Red Label
Round and luscious as you would expect, but also light and approachable without being imposing. That's what Caprio Cellars Red Label is.


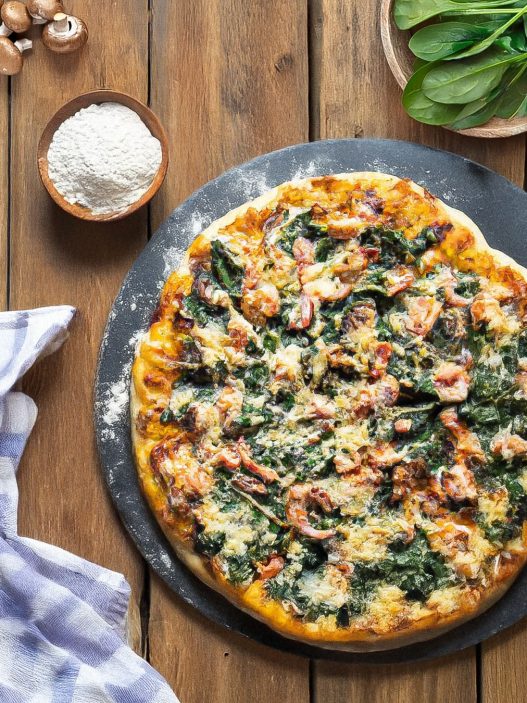
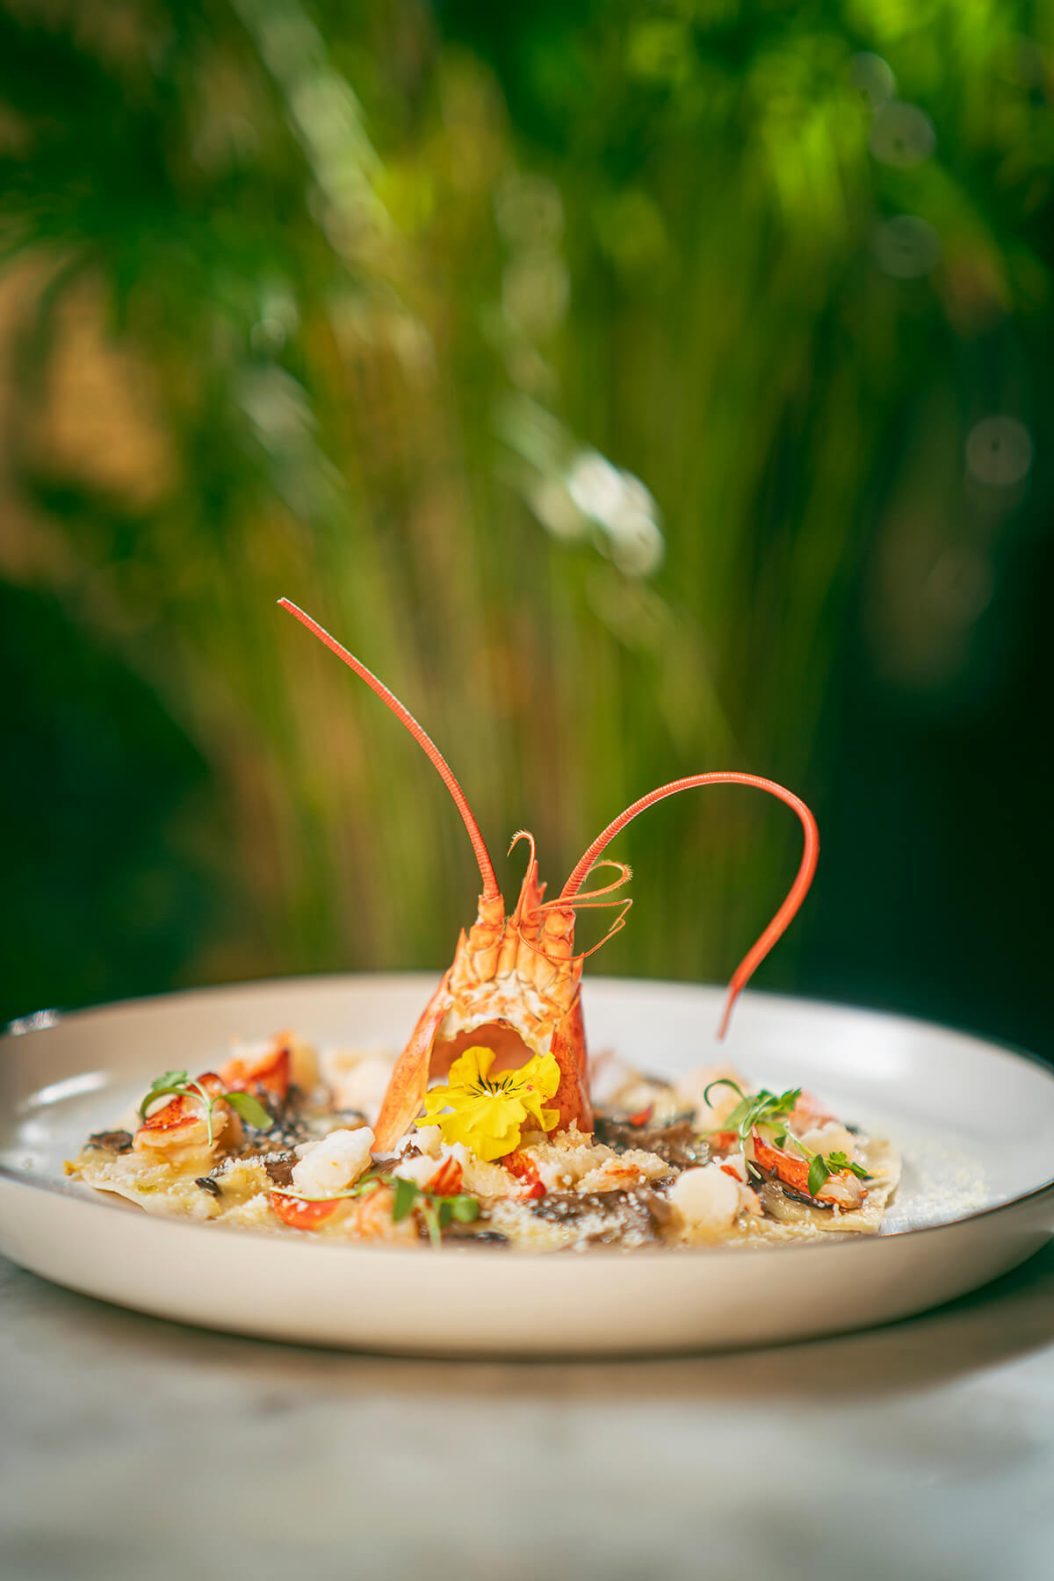
Lobster Pizza with Mushrooms, Spinach, and Gouda
Lobster pizza - just the mere mention of it is enough to make your mouth water. Imagine biting into a crispy crust loaded with succulent lobster meat, melted gouda cheese, and wilted spinach.

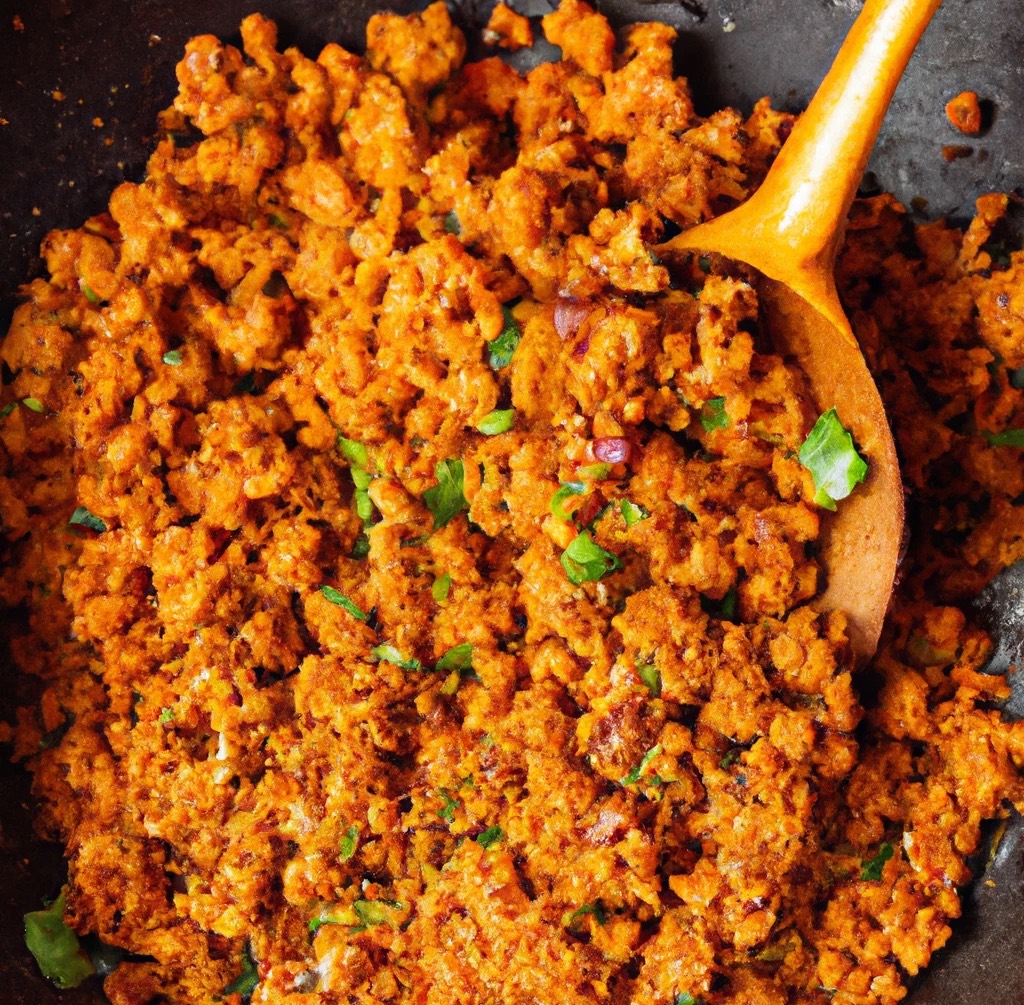
Savory Dutch Baby Pancake with Sausage and Mushrooms
Who doesn't love a warm and fluffy dutch baby pancake for breakfast? And this savory version, loaded with cheese, mushrooms, and sausage, takes the classic dish to a whole new level.
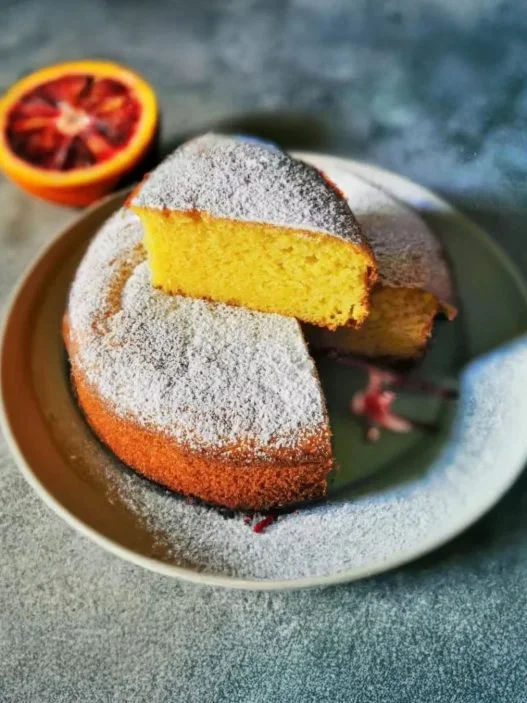
Sicilian Orange Cake
The traditional, and ever-delicious orange cake from Sicily is sweetened with honey to create a deliciously rustic and fragrant dessert.
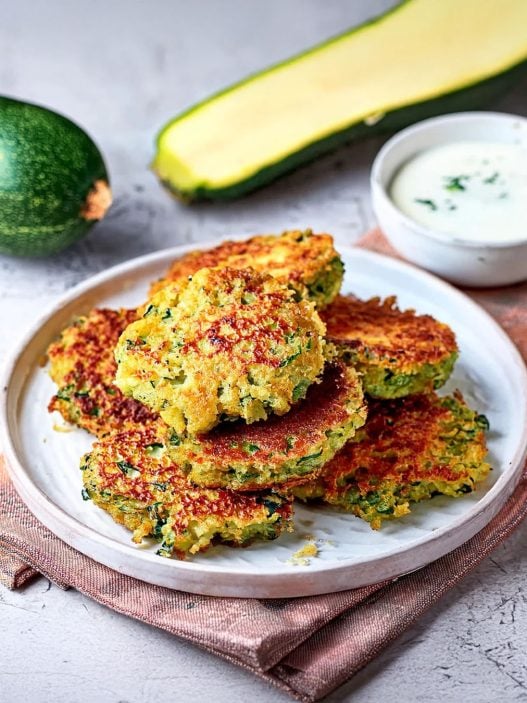
Crispy Zucchini Mini Frittatas
These kick-ass mini frittatas were originally created at Romano's Deli in San Diego in the 1960's and they generated quite a cult following locally. Now, you can make them at home, and maybe your family will cult-follow you!
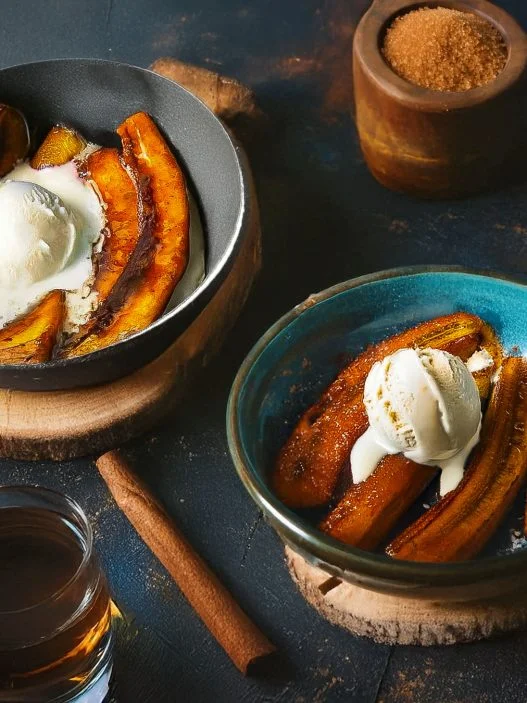
Plantains Foster: A Caribbean Twist on New Orleans’ Classic Dessert
Ripe plantains have this natural sweetness that works perfectly with butter, brown sugar, and a splash of rum. The whole thing comes together in one pan - caramelized plantains in a boozy sauce that you spoon over vanilla ice cream while it's still bubbling.
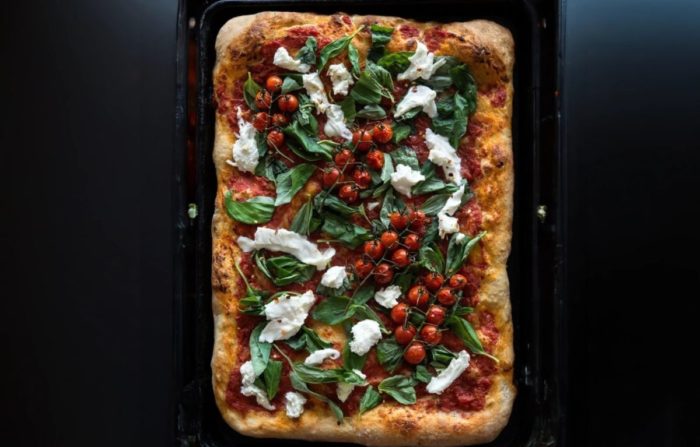
Pizza al Taglio: How to Make Roman Style Pan Pizza
Pizza al Taglio is Rome's rectangular pan pizza with a crispy bottom and fluffy interior. The high-hydration dough creates amazing air pockets, and it's perfect with simple toppings like tomatoes, mozzarella, and basil.

Provolone Potatoes au Gratin
I mean, we all know and love the traditional potatoes au gratin. It is a classic after all. But just like with flying, there are classes in the world of oven-baked taters. And you just got upgraded.
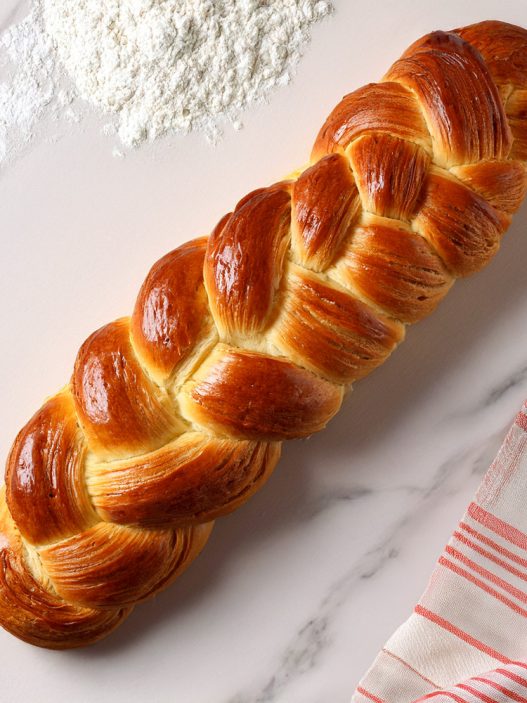
Kalács – Traditional Hungarian Sweet Braided Bread
Kalács is a traditional Hungarian braided bread, beloved for its soft, fluffy texture and delicious flavor. Made with milk, butter, and a touch of sweetness, kalács is perfect for special occasions, family gatherings, or holiday feasts.
Or just because.
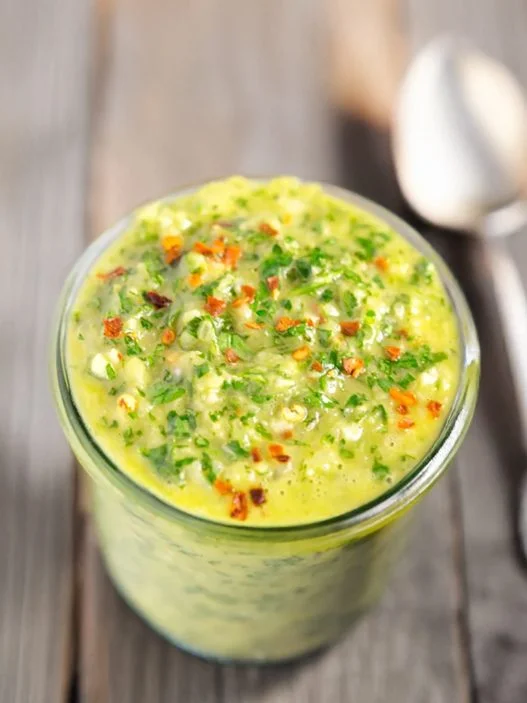
How to Make Chimichurri Sauce
Bright, punchy, and raw in the best way, chimichurri is a classic Argentinian condiment that’s as versatile as it is easy to make. This version balances fresh herbs with garlic, olive oil, vinegar, and a touch of heat—ideal for grilled meats, roasted vegetables, or even as a marinade.

Katsu Fried Chicken and Rice Burger
These Japanese rice burgers will blow your mind. Instead of bread, you get seared rice patties holding crispy and juicy katsu chicken. The rice actually holds together beautifully, and that contrast between the crunchy exterior and tender chicken? Next level.

Glazed Orange Pound Cake with Orange Zest
With just one simple addition – fresh orange zest – Bria Helgerson transforms the classic into something bright, fragrant, and absolutely irresistible. The secret? It's all in that zest.

Chef Thomas Keller’s English Pea Soup
Thomas Keller's green pea soup is bright, fresh, and addictively good. With just-picked English peas, fresh mint, and buttery brioche croutons, it's surprisingly simple to make, even though it tastes like it came from a three-star kitchen.
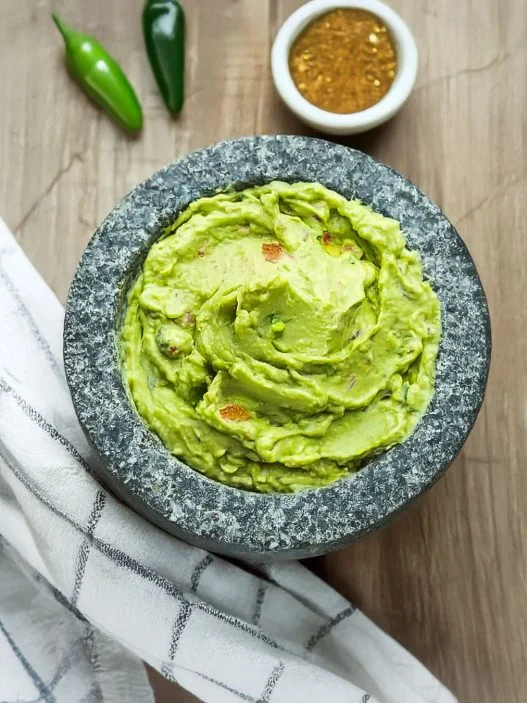
Classic Guacamole with Lime and Jalapeño
Beloved by foodies everywhere, guacamole should be on every home cook's repertoire. And we have the perfect recipe. Use it as a dip, a taco topper, or your default side for grilled meats.
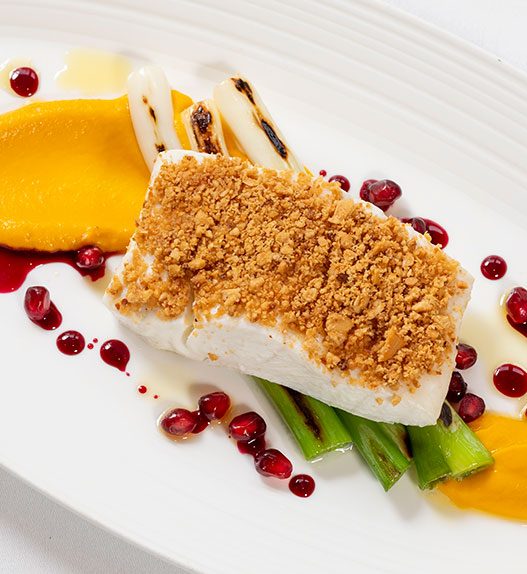
Cook Like a Chef: Steamed Halibut with Butternut Squash Purée and Pomegranate Reduction
Dublin's The Merrion captures spring's essence in a single dish. Behind the historic façade of this landmark hotel, chefs transform the season into delicious plates of pretty food—fish meets root vegetable, smoke meets sweetness, crunch meets silk.
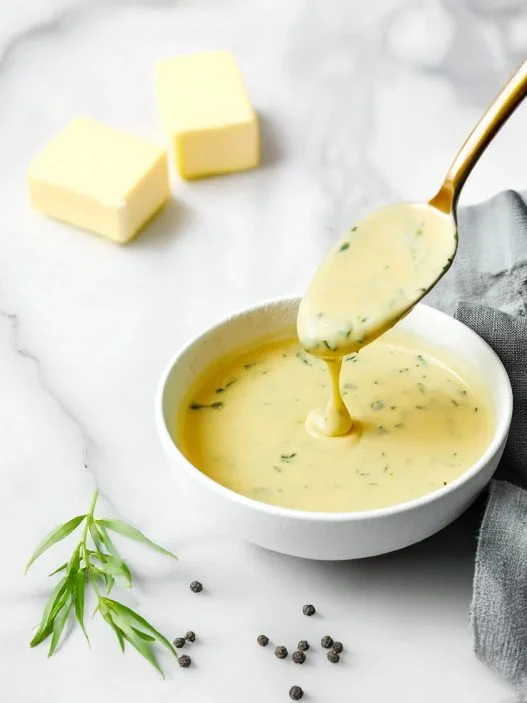
Perfect Béarnaise Sauce: The Foolproof Method
Making Béarnaise, the King of steak sauces, can be intimidating for even the most experienced home cook. But with our method, even a beginner in the kitchen will be able to serve up perfect Béarnaise every single time.
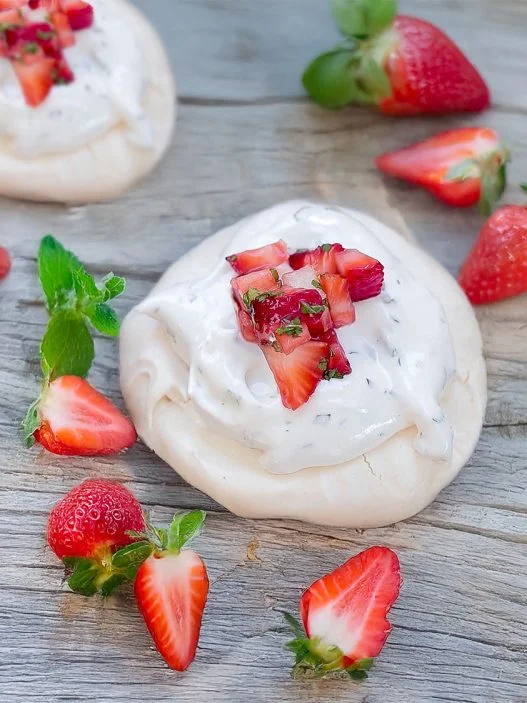
Spring Dessert: Mini Strawberry Mint Pavlovas
These mini pavlovas are crisp on the outside, marshmallow-soft inside, and topped with a mint-infused whipped cream and juicy strawberries. They're light, fresh, and the perfect dessert to bring out the flavors of spring.
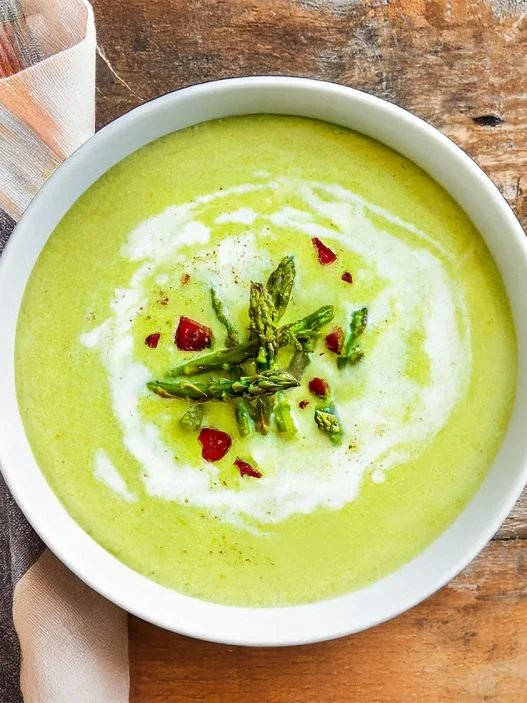
Creamy Green Asparagus Soup with Crispy Bacon
This elegant green asparagus soup is velvety smooth, topped with crisp bacon, and finished with a swirl of cream and vibrant steamed asparagus tips. Simple and absolutely delicious.
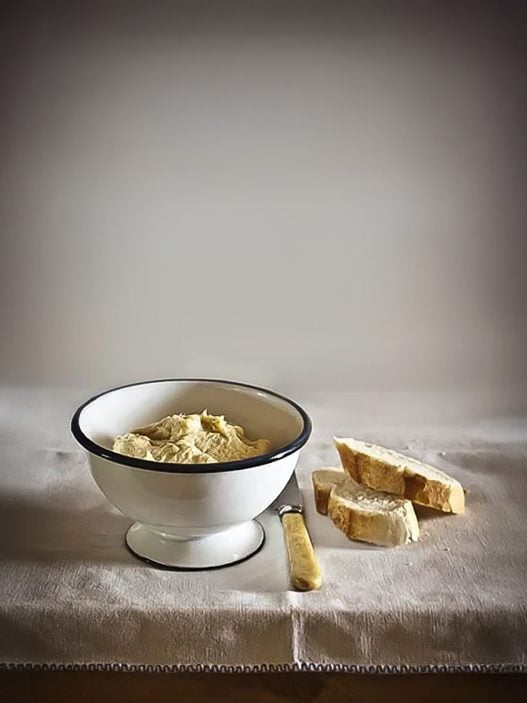
Brandada de Bacalao: Catalan Cod Spread
Brandada de Bacalao is an amazing traditional Catalan and Spanish Basque dish made by emulsifying cod with olive oil, garlic, and milk into a smooth spread. Enjoy at room temperature on toasted bread or served as part of a tapas spread.
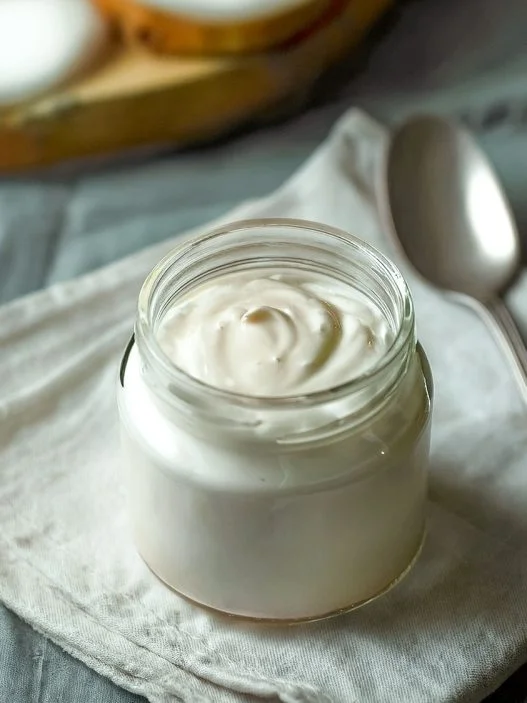
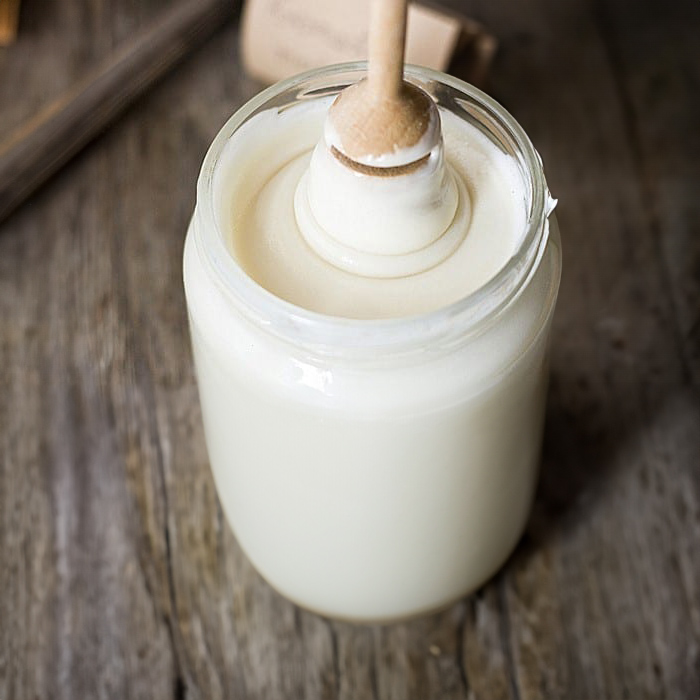
Egg Free Portuguese Milk Mayonnaise: Maionese de Leite
Portuguese milk mayonnaise skips the eggs entirely, using cold milk, garlic, and lemon instead. Lighter than traditional mayonnaise but packed with flavor, it's perfect with seafood, sandwiches, or as a versatile dip.
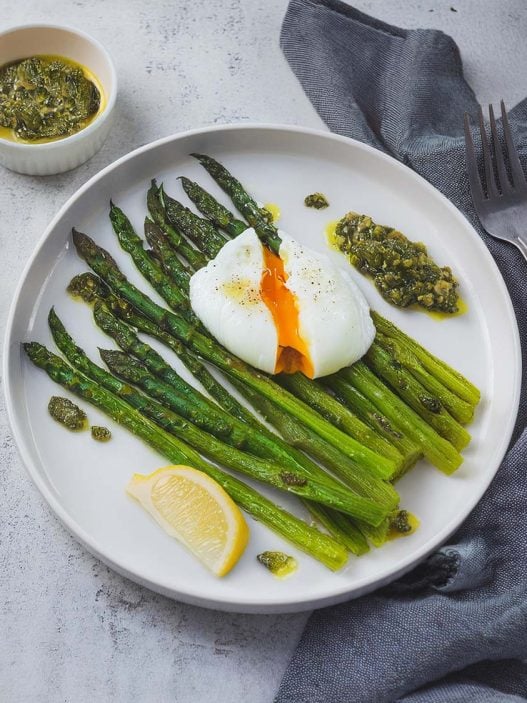
Roasted Asparagus with Poached Eggs and Arugula Pistou
Roasted asparagus paired with a perfectly poached egg, all brought together with a fresh, peppery arugula pistou. Ideal for a spring-brunch, lunch, or a light dinner.