Need an easy and delicious dairy-free dessert for the holiday? Look no further! This “cheesecake” is made with simple food like dates and almond milk to create a creamy peppermint cheesecake.
Thanks to Vital Proteins, we have the perfect holiday dairy-free dessert recipe featuring their Coconut Collagen Creamer!
By using the Collagen Creamer in this yummy dairy-free Coconut Peppermint Cheesecake recipe, you’ll be able to enjoy a sweet dairy-free treat while you reap the benefits of collagen… which helps promote healthier skin, hair, and nails. Free of dairy and gluten, this coconut creamer contains a base of organic coconut milk and 10 grams of grass-fed, pasture-raised bovine Collagen Peptides. It’s sure to be a hit at any holiday gathering!
Print
dairy-free Coconut Peppermint Cheesecake
- Total Time: 20 minutes
- Yield: 6 to 10 servings
Description
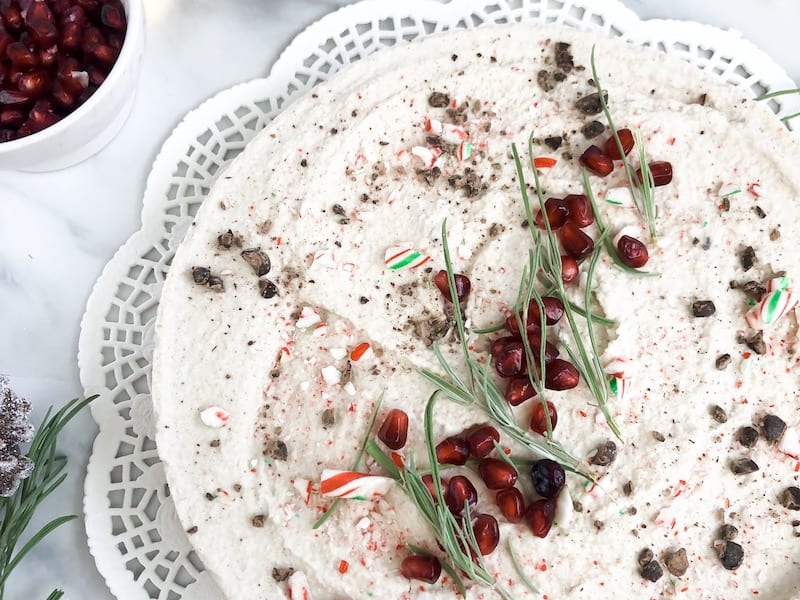
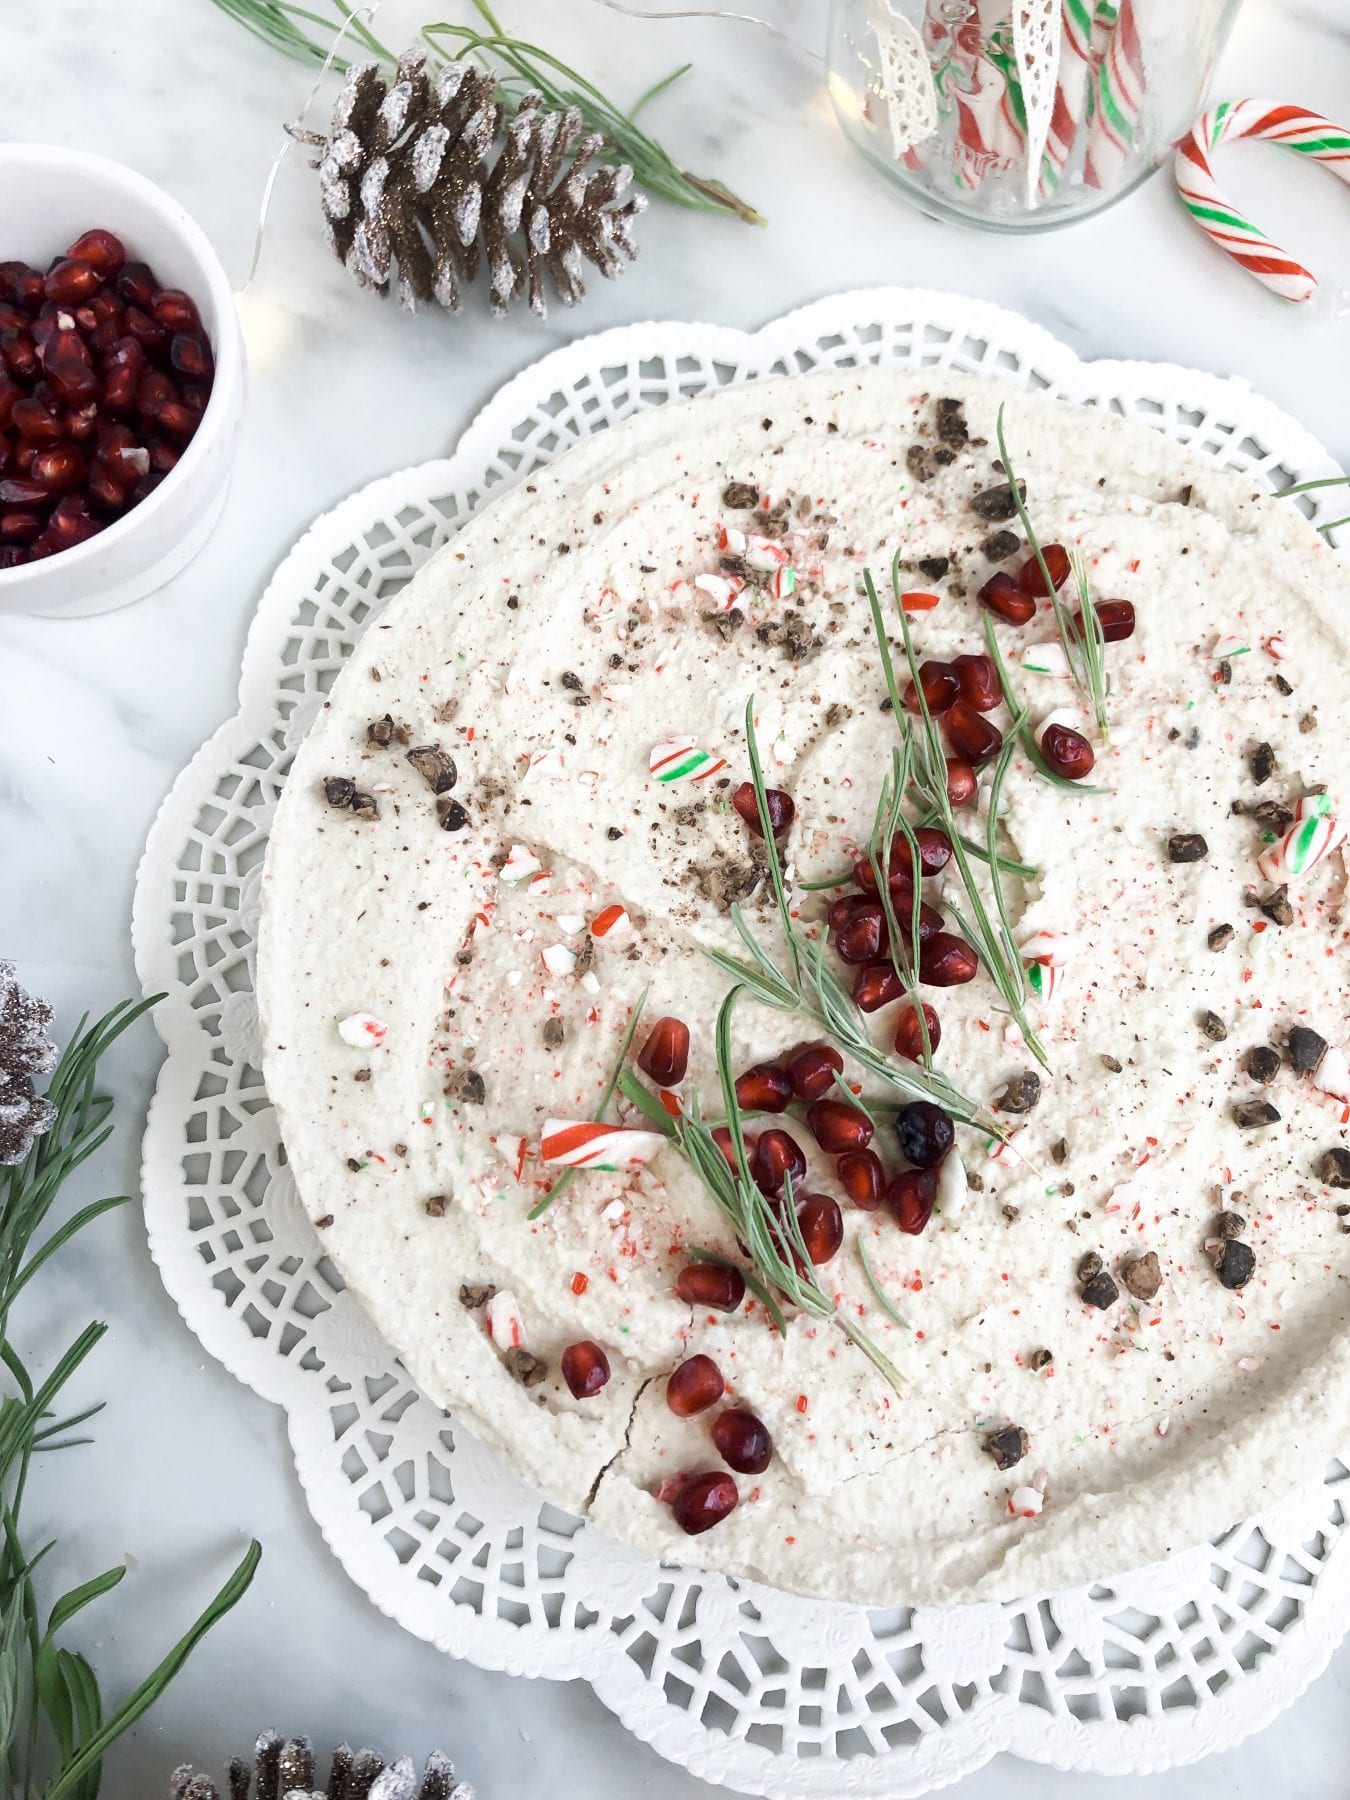
Creamy, dairy-free peppermint cheesecake with a crunchy almond crust. Festive and delicious!
Ingredients
Crust:
- 1/2 C pitted dates
- 1 C chopped almonds
- 1/4 C coconut flakes
- 2 T almond milk
- 1 T maple syrup
- 1 T crushed peppermint candy canes
- 1 t cinnamon
- Toppings: chopped dark chocolate (crushed candy canes and pomegranate)
Filling:
- 2 C raw cashews (soaked in hot water)
- 1 1/2 C coconut cream (fat part)
- 1/4 C coconut milk
- 1 t vanilla extract
- 1 scoop Vital Proteins Coconut Collagen Creamer
Directions
Instructions
- Begin by soaking the cashews in a bowl with boiled water. You can leave them in there while preparing the crust or leave them overnight.
- For the crust, combine all ingredients into a food processor and pulse until everything is chopped and smooth. Press crust mixture into the bottom of a 8-inch spring pan until you have an even layer at the bottom.
- After rinsing out the food processor, add in the filling mixture. Mix until thick, smooth and creamy.
- Add the filling on top of the crust and smooth it out evenly. Then, add your toppings and store in the freezer for 2-3 hours.
- Remove cake from freezer, cut into pieces and enjoy!
- Prep Time: 20 minutes
- Category: Dessert
- Cuisine: American
Frequently Asked Questions
Can I substitute the Coconut Collagen Creamer with another ingredient?
While the Coconut Collagen Creamer contributes to the creamy texture and peppermint flavor, you can use a dairy-free coconut milk or almond milk in a pinch, but you won’t get the added collagen benefits.
What type of dates should I use in this recipe?
Medjool dates are recommended for their natural sweetness and chewy texture, which helps create the base for the cheesecake.
How can I enhance the peppermint flavor in the cheesecake?
You can increase the amount of peppermint extract slightly, but be cautious as it can be quite potent; start with an extra 1/4 teaspoon and adjust to taste.


Festive and so good, the peppermint and coconut together taste like the holidays in a single slice. I brought it to a party and it was the first dessert to go, which never happens with my baking. Do you think it would freeze okay if I made it ahead?