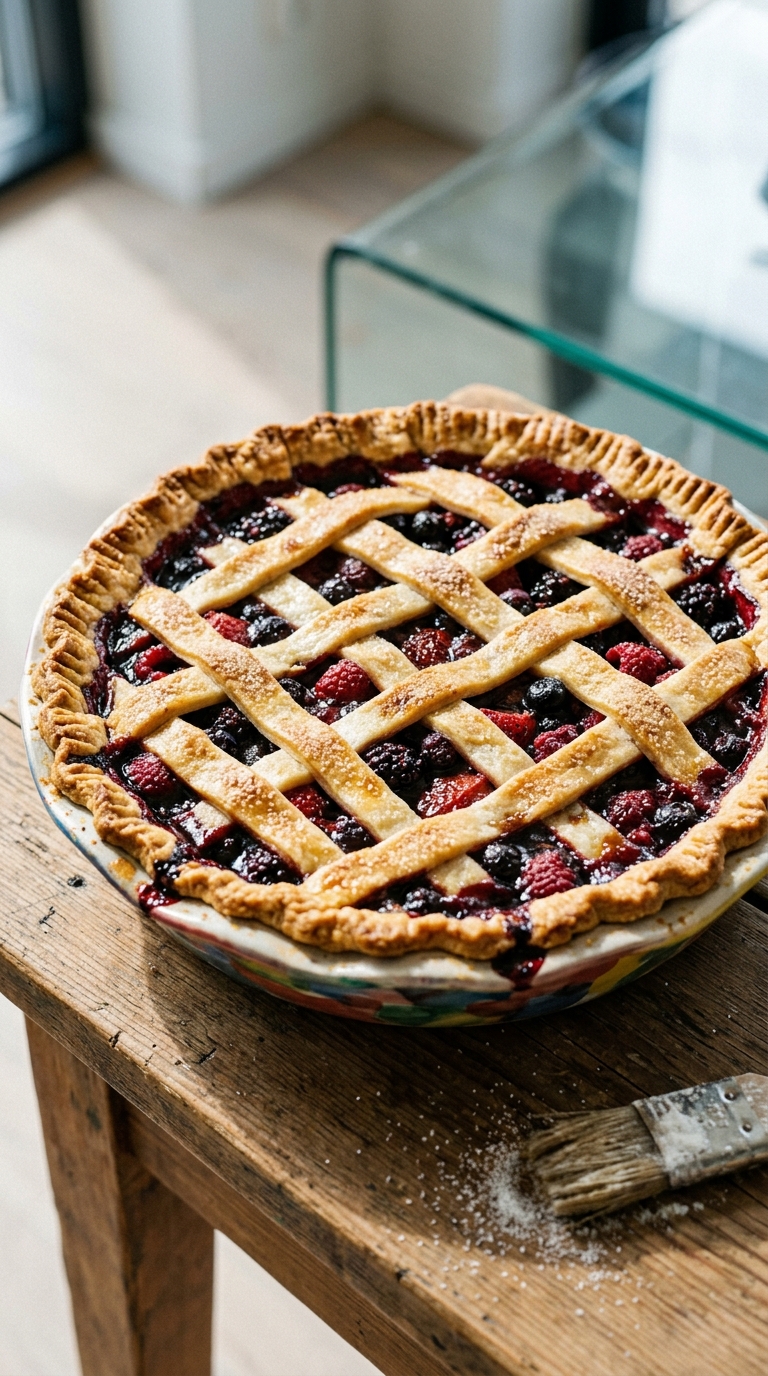
Berry Balsamic Pie comes together quite easily. Since it uses frozen berries instead of fresh, the filling can be mixed together quickly. A little balsamic vinegar helps to round out the berries flavor. I used a combination of strawberries, raspberries, blueberries, and blackberries for this pie. If preferred, the lattice top is not necessary, so you could save yourself a bit of time if you are on a tight schedule. However, I prefer a little extra pie crust with my berries and—I imagine that you do too—so I have suggested it is included.
Serve plain, with fresh whipped cream, or a side of vanilla ice cream.
Print
Spring Berry and Balsamic Pie
- Total Time: 2 hours
- Yield: one 9-inch pie
Description
A combination of any berries you choose, take on a whole new flavor profile when baked with a touch of balsamic vinegar.
Ingredients
- 1 double crust pie dough recipe (see link above for recipe)
- 6 cups (850 grams) frozen mixed berries, thawed
- 1 cup (200 grams) granulated sugar
- 1/2 cup (60 grams) all-purpose flour
- 2 tbsp balsamic vinegar
- Milk, for brushing
- Granulated sugar, for sprinkling
Instructions
- Preheat oven to 425 degrees F (220 degrees C).
- In a large mixing bowl, gently stir together the thawed berries, sugar, flour, and balsamic vinegar until the berries are evenly coated. Set aside.
- Form the pie dough into a disk and divide it into a 60/40 ratio (if using store-bought crust, do not worry about this step). On a lightly floured surface, roll out the larger section of dough into a 14-inch round circle. Carefully transfer it to a 9-inch pie pan and trim the excess pie dough to create a 1-inch overhang. Tuck the dough overhang under itself and pinch the dough between your thumb and forefinger to make a decorative edge around the rim. Fill the pie crust with the berry mixture.
- On a lightly floured surface, roll out the smaller section of pie dough. Using a pizza cutter and a ruler, cut out 3/4-inch wide strips of dough. Layer the strips over the top of the pie in a decorative fashion. Trim and tuck the edges of the strips into the pie mixture itself.
- Using a pastry brush, brush the top of the pie with milk and sprinkle granulated sugar over the crust. Bake the pie for 15 minutes. Then, lower the oven temperature to 375 degrees F (190 degrees C) and continue baking. Cover the edges of the pie crust with aluminum foil to prevent further browning. Bake an additional 50-65 minutes, or until the lattice and crust are evenly browned.
- For perfect slices, cool for at least 3-5 hours (or overnight). Serve with whipped cream or ice cream, if desired.
- Prep Time: 30 minutes
- Cook Time: 1 hour 20 minutes
- Category: Baking, Dessert, Pie
- Cuisine: American
Nutrition
- Serving Size: 1 slice
- Calories: 340
Frequently Asked Questions
Can I use fresh berries instead of frozen for the pie?
While fresh berries can be used, frozen berries are recommended for their consistent sweetness and the right amount of juice they release, which helps set the pie perfectly.
What type of balsamic vinegar should I use in this recipe?
A good quality balsamic vinegar is best; you want one that is smooth and slightly sweet to complement the berry flavors without overpowering them.
How do I prevent the pie crust from becoming soggy?
To avoid a soggy crust, make sure to pre-bake the crust slightly before adding the filling, and ensure the berries are well-drained after thawing.