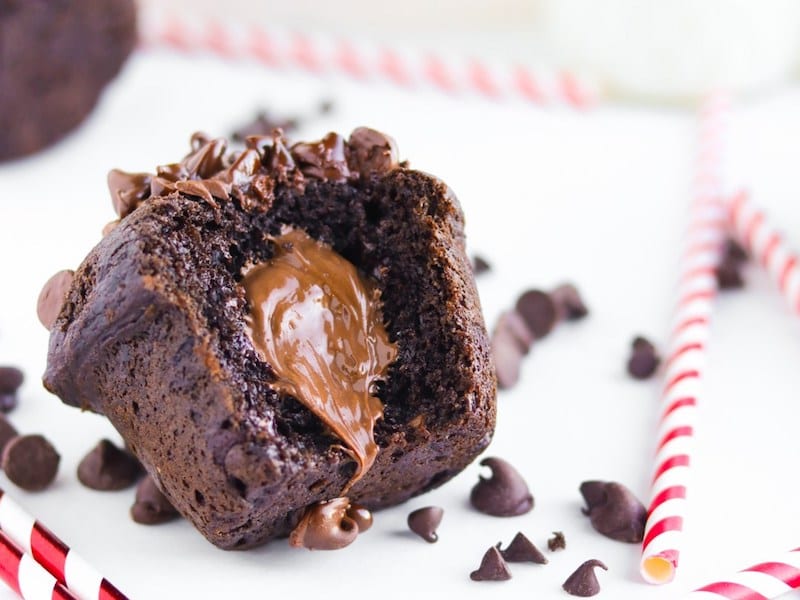
Death by chocolate is how we’d like to go. Dig into this rich chocolate mousse brownie cake.
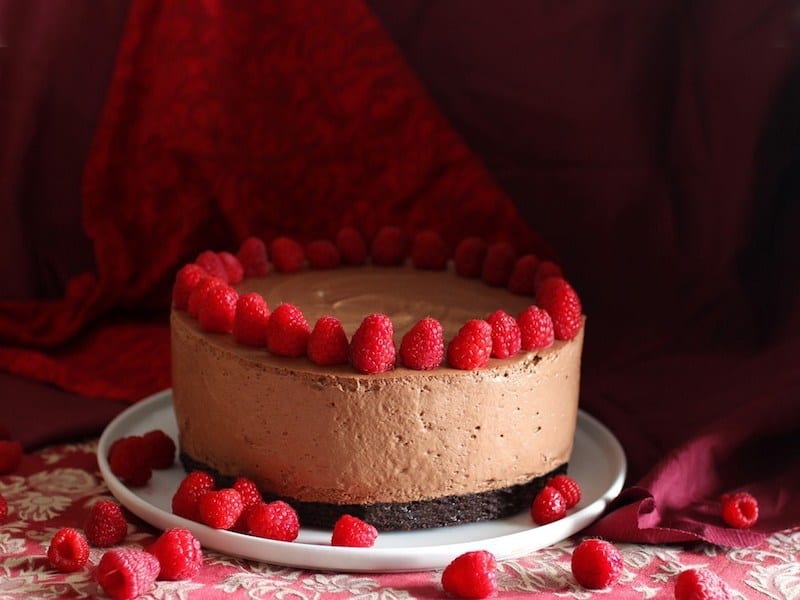
Have you heard the phrase, ‘Death by chocolate’? I suspect it applies quite nicely to this Double Chocolate Mousse Cake, with its chocolate studded brownie base and towering mountain of melt-in-your-mouth double chocolate mousse topping.
“Make a decadent dessert”, my (normally healthy minded) sister suggested for our family dinner this weekend. As it happens, I’d just seen the recipe for this Double Chocolate Mousse Cake which fit the ‘decadent’ bill perfectly. Without hesitation (and with eyes as wide as saucers), ‘Sis’ gave it the thumbs up, though in hindsight I reckon she’s a little more appreciative of the phrase, ‘Be careful what you ask for’…
Which brings me to the recipe at hand, borrowed from Delicious.com.au. Right from the start, I questioned the abnormally large amount of ingredients – 800 grams of chocolate; nearly a litre of cream, six eggs… and that’s just the mousse… But, I was reassured by the fact that the recipe stated that it served 10 people. I should have known better. I reckon it’s likely to serve more like 15-20 people, maybe more. The thing is, it’s SO rich that you really can only handle a sliver. I’m not kidding when I say my family was ‘done in’… They willed themselves to finish (God bless them), but they were ultimately forced to surrender. The spirit was willing; the body was not! Half of the cake went back into the fridge.
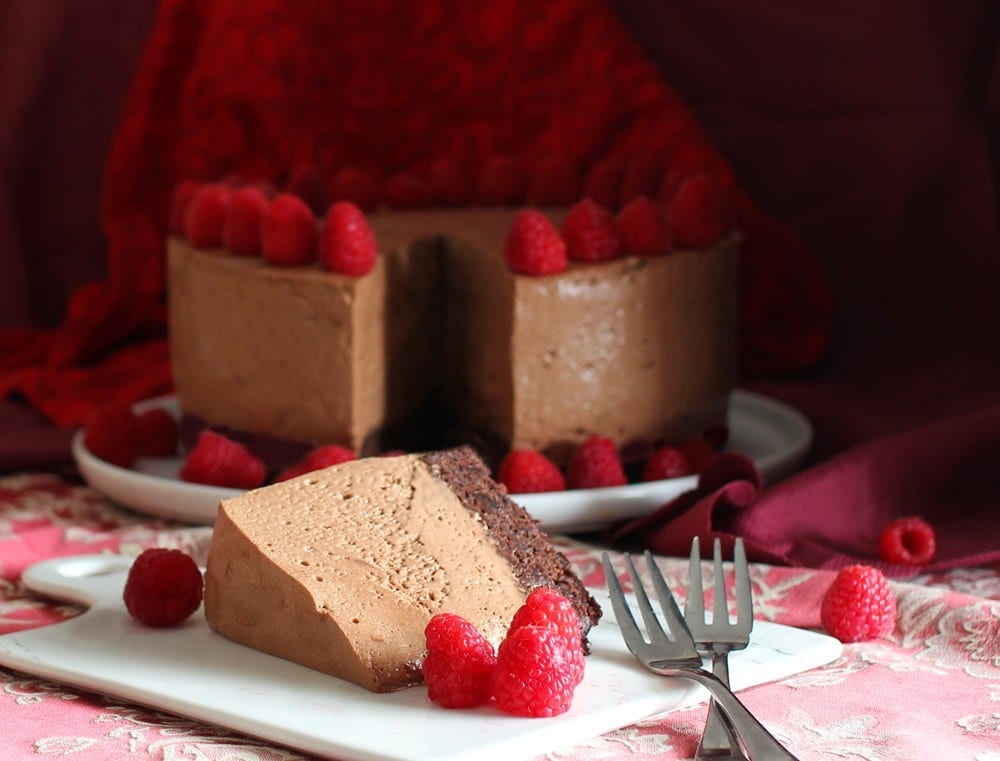
But… in case I’m actually turning you off from the start, let me also assure you, it WAS sublimely delicious. The mousse – the crowning glory of this dessert – was like a thick silky cream, holding its shape when cut thanks to the added gelatin. Then, of course, there’s the brownie. The recipe paired the mousse with store-bought brownie mix, but I decided to make my own gluten-free brownie instead, which provided a dense, rich and chocolatey contrast to the cloud of mousse on top. It seemed to me that one thing that was missing was something fresh to cut through all the richness… enter raspberries – the perfect partner to chocolate.
To be honest, given the size and expense of this dessert, I’m not likely to make it again, at least not in the same proportions. I’m convinced that both the brownie and mousse components could be halved and placed in a smaller 18-20 inch pan, and I reckon it would STILL serve 8-10 people. If, however, you’re after a show-stopper dessert fit for a large party of chocolate fanatics, go no further. Enjoy!
Click HERE for the brownie base recipe.
Print
Chocolate Mousse Brownie Cake
- Total Time: 5 hours
- Yield: 10–15 servings
Description
Indulge in this rich Chocolate Mousse Brownie Cake, featuring a dense, chocolatey brownie base topped with a silky, melt-in-your-mouth chocolate mousse.
Ingredients
For the brownie base (half recipe — make this first):
- 115 g (4 oz) dark chocolate (70% cocoa), roughly chopped
- 115 g (4 oz) unsalted butter, cut into pieces
- 3/4 cup (150 g) caster sugar (superfine sugar)
- 2 eggs, lightly beaten
- 1/2 teaspoon vanilla extract
- 1/2 cup (60 g) almond meal (almond flour)
- 2 tablespoons raw cacao or cocoa powder
- 1/4 teaspoon salt
For the mousse:
- 400 g (14.1 oz) dark (70%) chocolate, chopped
- 400 g (14.1 oz) milk chocolate, chopped
- 6 eggs, separated
- 1 titanium-strength gelatin leaf (or 3 gold-strength leaves)
- 900 ml (30.4 fl oz) thickened cream
- 1/2 cup (110 g) caster sugar
To serve:
- 250 g (8.8 oz) raspberries
- 300 ml (10.1 fl oz) softly whipped cream
Instructions
Make the brownie base:
- Preheat oven to 325°F (160°C). Grease and line a 9-inch (23 cm) springform cake pan with baking paper.
- Melt the chocolate and butter together in a heatproof bowl set over a saucepan of barely simmering water, stirring until smooth. Remove from heat and let cool slightly.
- Whisk the sugar into the chocolate mixture, then beat in the eggs and vanilla.
- Fold in the almond meal, cacao powder, and salt until just combined.
- Pour into the prepared pan and level the top. Bake for 40–45 minutes, until just set in the center (a skewer should come out with moist crumbs, not raw batter). Remove from oven and cool completely on a wire rack before continuing. Do not remove from the pan.
Make the mousse:
- Place both chocolates in a heatproof bowl set over simmering water and stir until melted and smooth. Cool slightly, then beat in the egg yolks (it will look thick and curdled — don’t worry). Set aside.
- Soak the gelatin leaf in cold water for 5 minutes to soften. Heat 200 mL of the cream in a small saucepan until just simmering. Squeeze excess water from the gelatin and stir into the hot cream until dissolved. Let cool slightly, then beat into the chocolate mixture.
- Whisk the remaining 700 mL cream to soft peaks. In a stand mixer, whisk the egg whites to soft peaks, then add the sugar 1 tablespoon at a time, beating until dissolved (do not over-beat).
- Fold the whipped cream into the chocolate mixture. Then fold in the egg whites in 2 batches.
Assemble:
- Lightly spray one side of an acetate sheet with cooking oil. Line the inside of the springform pan (around the brownie) with the acetate, oiled side inward, leaving at least 5 cm above the pan rim.
- Pour the mousse over the brownie base and level the top with an offset spatula. Refrigerate overnight until fully set.
To serve:
- Release the springform and carefully peel away the acetate. If the mousse sticks, run a warm, dry offset spatula around the edge.
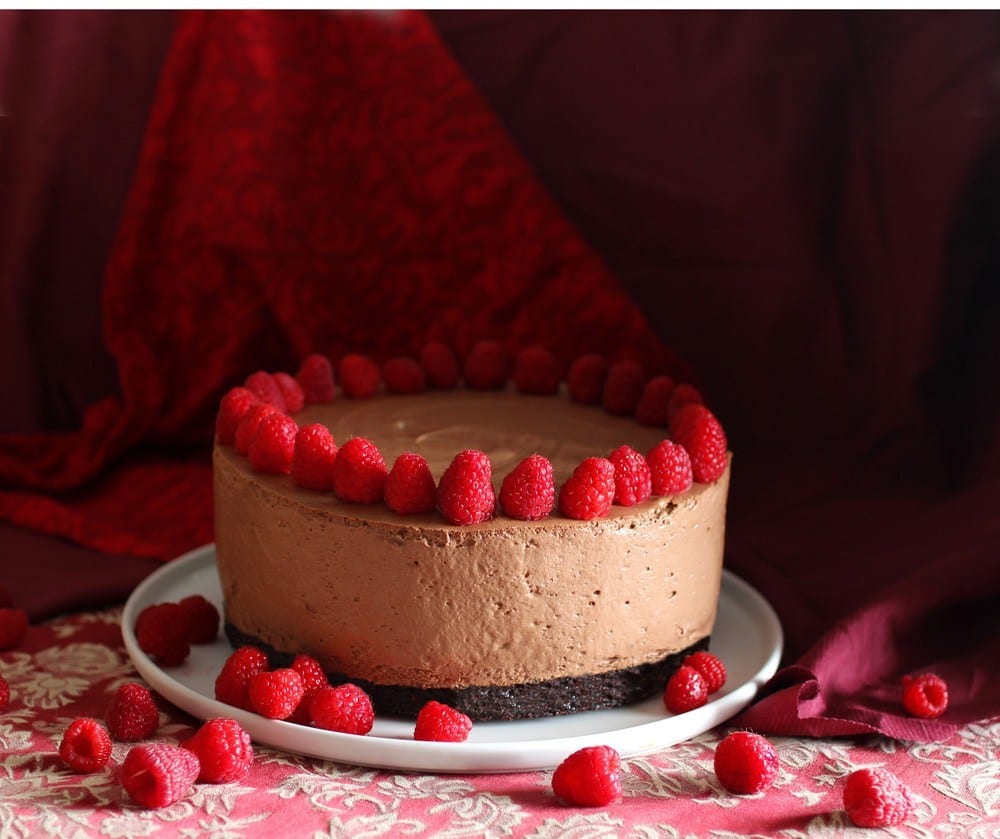
- Carefully remove the pan base and baking paper and transfer the cake to a serving platter. Decorate the top with some of the raspberries.
- To cut clean slices, dip the knife in warm water and wipe dry between each cut. The cake is easiest served laid on its side.
- Serve with the remaining raspberries and a dollop of softly whipped cream alongside. Refrigerate leftovers — it keeps for a further day.
Notes
This cake is extremely rich — slices should be small. The mousse layer is very tall, so make sure your acetate collar extends well above the pan rim before you pour. Everything can be prepared the day before serving.
- Prep Time: 30 minutes
- Cook Time: 45 minutes
- Category: Dessert
- Cuisine: American
Nutrition
- Serving Size: 1 slice
- Calories: 450
- Sugar: 25
- Sodium: 100
- Fat: 30
- Carbohydrates: 40
- Fiber: 3
- Protein: 6
- Cholesterol: 120
Frequently Asked Questions
What type of chocolate should I use for the brownie base?
For the brownie base, it’s best to use high-quality dark chocolate, ideally with at least 70% cocoa content to complement the richness of the mousse.
How should I store the leftover chocolate mousse brownie cake?
Store the leftover cake in the refrigerator, tightly covered, for up to 3 days to maintain the mousse’s texture and prevent it from drying out.
Can I substitute the heavy cream in the mousse with a lighter option?
While you can use lighter cream, the mousse’s texture may not be as rich and fluffy; heavy cream is recommended for the best results.

A fudgy brownie base under silky chocolate mousse is basically a dream, so good and rich. I made it for a birthday and it looked like a proper bakery cake but came together far easier than it looks. Everyone begged for a second slice and I did not blame them. Pure chocolate decadence for a celebration, absolutely delicious.