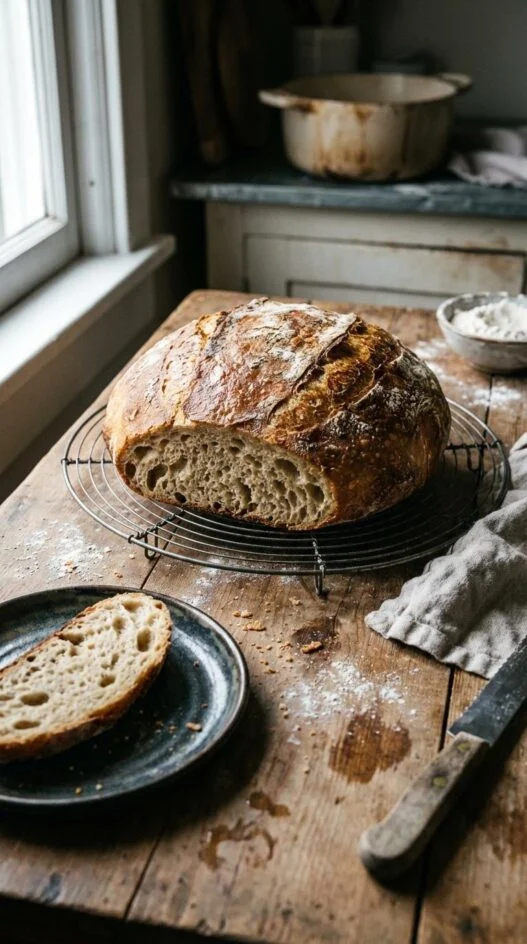
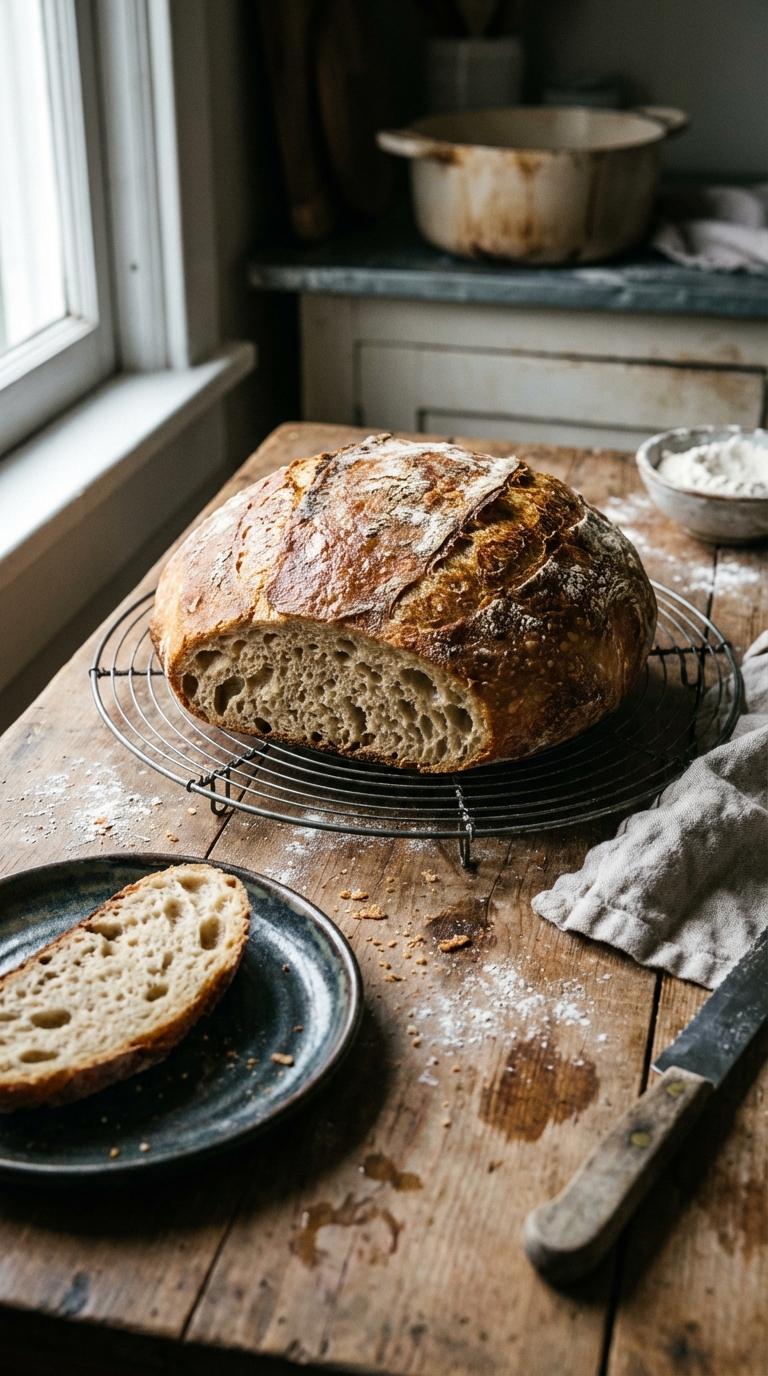
No-knead bread changed home baking when Jim Lahey and Mark Bittman introduced the method. We still make it most weeks, on four ingredients and a Dutch oven. The concept is simple: a very wet dough, a tiny amount of yeast. A long overnight fermentation replaces all the kneading, shaping, and fussing that keep most people from baking bread at home. Time replaces the kneading. After 12 to 18 hours at room temperature, the dough is bubbly, slack, and alive. Baked in a scorching hot Dutch oven that traps steam, it produces a loaf with a shattering crust and an open, chewy crumb that looks and tastes like it came from an artisan bakery. Not complicated. The Dutch oven is doing the real work here.
Preheating it empty at 450 degrees and then dropping the dough inside creates a sealed, steamy environment that mimics a professional bread oven. Simple as that. That trapped moisture is responsible for the crust, which crackles audibly as the loaf cools. Use bread flour for a slightly chewier texture, or all-purpose if that is what you have. Both work well. The only discipline required is patience: let the dough ferment for the full time (check it at 12 hours, but 16 to 18 often gives better flavor). Let the baked loaf cool for at least 30 minutes before slicing. Cutting into it too early releases steam that belongs inside, and the crumb turns gummy. This is bread baking stripped to its essentials, and once you try it, you will wonder why you ever bought sandwich loaves.
Mix and Ferment
In a large bowl, whisk together flour, salt, and a very small amount of yeast. The tiny amount of yeast is intentional because the long fermentation time allows it to multiply. Add cool water and stir with a wooden spoon until a sticky, shaggy dough forms with no dry flour remaining. The dough will look rough and wet, not smooth. Cover the bowl tightly and let it sit at room temperature for twelve to eighteen hours. The dough is ready when it has doubled in size and the surface is covered with bubbles.
Shape Gently
Turn the risen dough out onto a well-floured surface. It will be very sticky and loose. Fold it over itself once or twice to form a rough ball. Do not knead it or handle it aggressively. Place the dough seam-side down on a piece of parchment paper. Dust the top with flour, cover with a towel, and let it rest for thirty minutes while you preheat the oven and Dutch oven.
Bake in a Preheated Dutch Oven
About twenty minutes before the second rise is done, place a Dutch oven with its lid on into the oven and preheat to 450F. When ready to bake, carefully remove the screaming-hot pot from the oven. Lift the dough by the parchment paper and lower it into the pot. Cover with the lid and bake for thirty minutes. Remove the lid and bake for another fifteen to twenty minutes until the crust is deeply golden. Let the bread cool for at least thirty minutes before slicing.
Print
Basic: No-Knead Bread
- Total Time: 90 minutes
- Yield: 1 loaf (8 servings)
Description
A crusty, artisan-style loaf with a chewy crumb and crackly crust, made with almost no hands-on effort. A long, slow fermentation develops gluten and flavor without any kneading, and baking it in a Dutch oven traps steam to create a bakery-quality crust at home.
Ingredients
- 3 cups (385g) all-purpose flour or bread flour
- 1 1/2 teaspoons fine sea salt
- 1/4 teaspoon instant yeast
- 1 1/2 cups (350ml) cool water
- Cornmeal or additional flour for dusting
Instructions
- In a large bowl, whisk together the flour, salt, and yeast. Add the cool water and stir with a wooden spoon or spatula until a shaggy, sticky dough forms with no dry flour remaining. Do not knead.
- Cover the bowl tightly with plastic wrap or a damp kitchen towel. Let it rest at room temperature (65-72F) for 12 to 18 hours. The dough is ready when the surface is dotted with bubbles and it has roughly doubled in size.
- Turn the dough out onto a well-floured surface. Fold it over itself once or twice to form a rough ball — do not knead or handle it too much. Place the dough seam-side down on a piece of parchment paper. Dust the top with flour and cover loosely with a towel. Let rest for 30 minutes.
- About 20 minutes before the second rise is done, place a Dutch oven with its lid on in the oven and preheat to 450F (230C).
- Carefully remove the hot Dutch oven. Lift the dough on the parchment paper and lower it into the pot. Cover with the lid and bake for 30 minutes.
- Remove the lid and bake for an additional 15-20 minutes until the crust is deep golden brown and the loaf sounds hollow when tapped on the bottom.
- Remove the bread from the pot and let it cool on a wire rack for at least 30 minutes before slicing — cutting too early results in a gummy interior.
Notes
- The long fermentation (12-18 hours) replaces kneading — time does the work of developing gluten.
- Bread flour gives a slightly chewier result, but all-purpose flour works perfectly well.
- A preheated Dutch oven is essential — it traps steam in the first 30 minutes, which creates the crispy crust.
- In warmer kitchens, the dough may be ready in as few as 8-10 hours. In cooler environments, it may take up to 20 hours.
- Category: Main Course
- Cuisine: European
Nutrition
- Serving Size: 1 serving
- Calories: 175
- Sugar: 0
- Sodium: 430
- Fat: 1
- Carbohydrates: 37
- Fiber: 1
- Protein: 5
Frequently Asked Questions
Why does my no-knead bread turn out dense instead of airy?
The most common issue is not letting the dough ferment long enough. It should sit for at least twelve hours and show lots of bubbles on the surface. If your kitchen is cold, it may take up to twenty hours. Give it time.
Can I use all-purpose flour instead of bread flour?
Yes. Bread flour produces a slightly chewier crumb with better structure, but all-purpose flour works well and many people prefer the more tender result.
Why do I need to preheat the Dutch oven empty?
The preheated pot creates an instant burst of heat and traps steam around the dough, mimicking a professional steam-injected oven. This is what creates the dramatic crust and good oven spring.
If You Liked This Recipe, You’ll Love These
- Cockle Chowder in Bread Bowls
- A Post-Election Pumpkin Loaf
- A Southern Table: Pumpkin Bread
- Zucchini Bread