
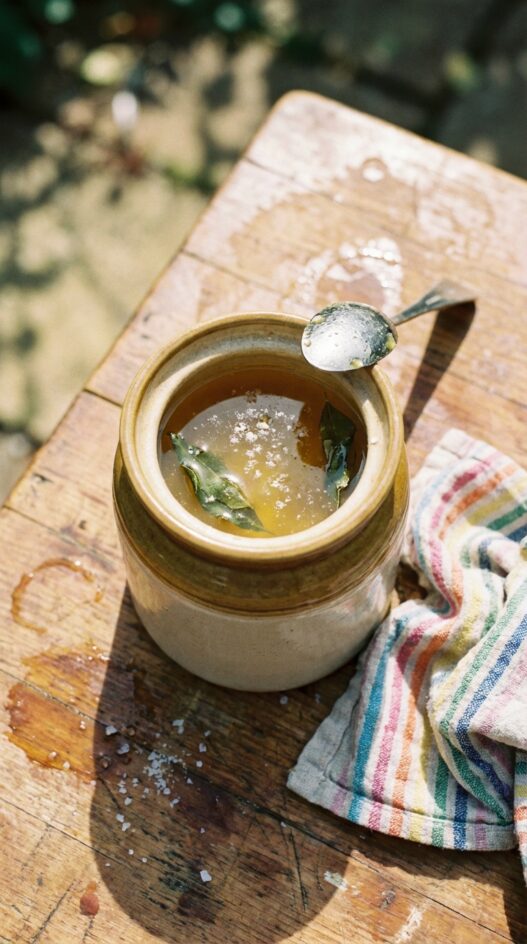
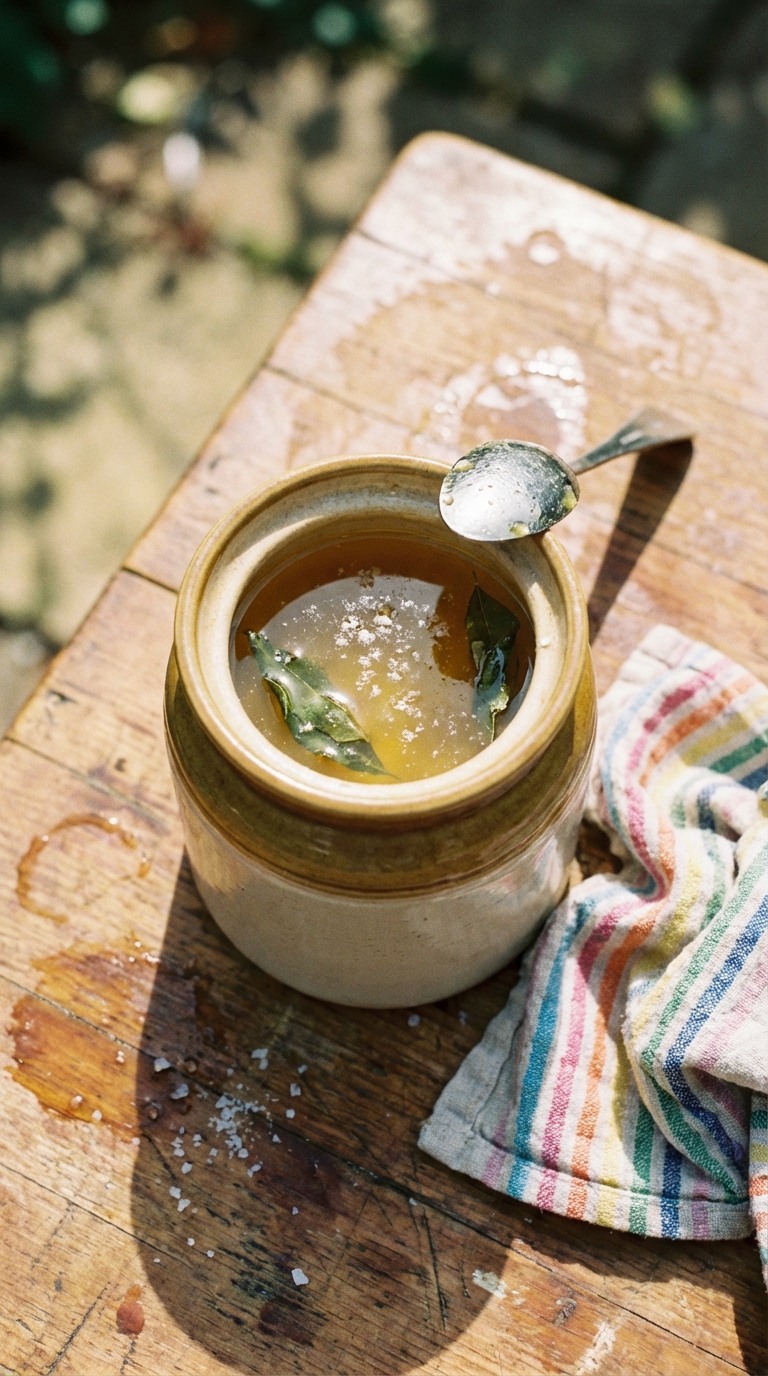
Ghee from a jar costs four times what butter costs and tastes like nothing in particular. Homemade ghee tastes like toasted butter and smells like it too. One cup of unsalted butter in a pan over low heat. Skim the foam. Pour off the clear golden liquid. Add a pinch of salt and a few sprigs of curry leaves if you want them. That is ghee.
The whole process takes fifteen minutes and produces ghee that is better than anything in a store. A keeper for the pantry. The curry leaves are optional but they perfume the ghee in a way that makes everything you cook in it taste like an Indian kitchen.
Tips for Making Homemade Ghee
Use low heat and do not walk away
Butter goes from melted to golden to burnt in a short window. Low heat gives you control. You are waiting for the milk solids to separate and the water to evaporate.
Skim the white foam from the top as it forms. The clear golden liquid underneath is the ghee. Stop when it smells nutty and the bottom of the pan has golden, not brown, sediment.
Strain through a fine sieve
Pour the hot ghee through a fine-mesh sieve or cheesecloth into a clean, dry jar. Any milk solids left in the ghee will cause it to spoil faster.
Let it cool to room temperature before sealing the jar. Ghee solidifies at room temperature and turns a pale yellow.

How to Make Homemade Ghee
- Total Time: 20 minutes
- Yield: Makes 1 cup
- Diet: Gluten-Free, Omnivore
Description
Make your own ghee! This clarified butter recipe is simple and adds a delicious nutty flavor to any dish.
Ingredients
- 1 cups (237 ml) unsalted butter
- a pinch of salt
- few sprigs curry leaves
Instructions
- Melt the butter in a pan over low heat.
- Skim off and discard the foam.
- Pour the clarified butter into a jar and add a pinch of salt.
- Add curry leaves (optional) for added aroma.
Notes
- Use a heavy-bottomed pan to prevent scorching during the melting process.
- For a smoother ghee, strain the clarified butter through a fine-mesh sieve after removing the foam.
- Store ghee in an airtight container in a cool, dark place for up to 6 months.
- Prep Time: 5 minutes
- Cook Time: 15 minutes
- Category: Side Dish
- Method: Melt
- Cuisine: Indian
Nutrition
- Serving Size: 1 tablespoon
- Calories: 120
- Sugar: 0
- Sodium: 20
- Fat: 13
- Saturated Fat: 8
- Unsaturated Fat: 4
- Carbohydrates: 0
- Fiber: 0
- Protein: 0
- Cholesterol: 30
Frequently Asked Questions
How long does homemade ghee last?
Six months or more in an airtight container in a cool, dark place. Properly made ghee with all milk solids removed does not need refrigeration. If in doubt, refrigerate it.
Can I use salted butter?
This calls for unsalted butter with a pinch of salt added after. Salted butter works but you cannot control the salt level. The salt concentrates as the water evaporates, so the ghee may end up too salty.
What are curry leaves?
Aromatic leaves from the curry leaf tree, common in South Indian cooking. They have a citrusy, slightly nutty flavor. Available fresh or dried at Indian grocery stores. If you cannot find them, omit them. There is no substitute that tastes the same.
If You Liked This Recipe, You’ll Love These









Fifteen minutes and it smells so nutty and toasty, way BETTER than the jar. Delicious.
Never heard of adding curry leaves to ghee. But I like it !
How many and at what stage, please?
Hey Steve, you can add them as soon as the butter starts to melt properly!
Better than store-bought!
How long does homemade ghee keep in the pantry?
If you keep it cold and dark, it holds for months!
Burned my first batch, so watch it close at the end.
First batch after years of buying the overpriced jars. So easy and worth it, thanks!