Have you ever thought about making your own homemade yogurt? Maybe you’re concerned about preservatives, flavorings, or additives found in store-bought varieties. Or perhaps you’re convinced (like me!) that homemade food is always healthier, cheaper, and tastier than anything you can buy at the supermarket.
If you’ve answered yes, making yogurt at home is definitely for you. Once you taste your own batch, you’ll probably never look back. Yogurt-making is surprisingly easy, and I’ll guide you through the steps so you feel confident making your first batch.
Choosing the Right Milk for Yogurt
- The type of milk you choose influences the taste and texture of your yogurt:
- Cow’s milk produces a mild-flavored yogurt with a medium consistency.
- Black goat’s milk has a slightly stronger flavor, creating yogurt that’s softer and less firm than cow’s milk yogurt.
- White goat’s milk provides the richest flavor and yields a firmer set compared to both cow’s milk and black goat’s milk.
Should You Boil the Milk?
- Whether or not you boil your milk depends on the type you’re using:
- Fresh milk: It’s best to boil briefly and then cool before adding your starter, as this kills bacteria and helps yogurt set properly.
- Pasteurized milk doesn’t need boiling, since it has already undergone heat treatment. Simply warm it to the right temperature (around 110°F) before adding your yogurt starter.
Selecting a Yogurt Starter
The starter contains live cultures that transform milk into yogurt. You can either use store-bought yogurt (with active, live cultures) or leftover homemade yogurt.
Fresh vs. Older Yogurt Starter:
Fresh yogurt starter produces mild-flavored yogurt.
Older yogurt starter gives a stronger, more tangy and pronounced flavor.
Important tip: If using store-bought yogurt, ensure the label says “live and active cultures.” Yogurt without this label may have been heat-treated and won’t work effectively. If in doubt, start by testing with a smaller quantity of milk (around 1 liter).
How Much Starter Do You Need?
Use approximately 1 tablespoon of starter per liter (about 4 cups) of milk. This is a simple guideline that works consistently.
Incubating Your Yogurt
After mixing milk with your starter, you’ll need to incubate it. Pour the milk into a container, cover it tightly, and keep it warm:
- Wrap the pot in a blanket or place it in a warm spot.
- The incubation period significantly affects the final texture and sourness of your yogurt:
- Shorter incubation (4-6 hours): mild flavor and softer texture.
- Longer incubation (8-12 hours): tangier flavor and firmer texture.
Temperature Tip: Cooler weather requires longer incubation (up to 10-12 hours), while warmer conditions might need just a couple of hours.
Regular Yogurt or Greek Yogurt?
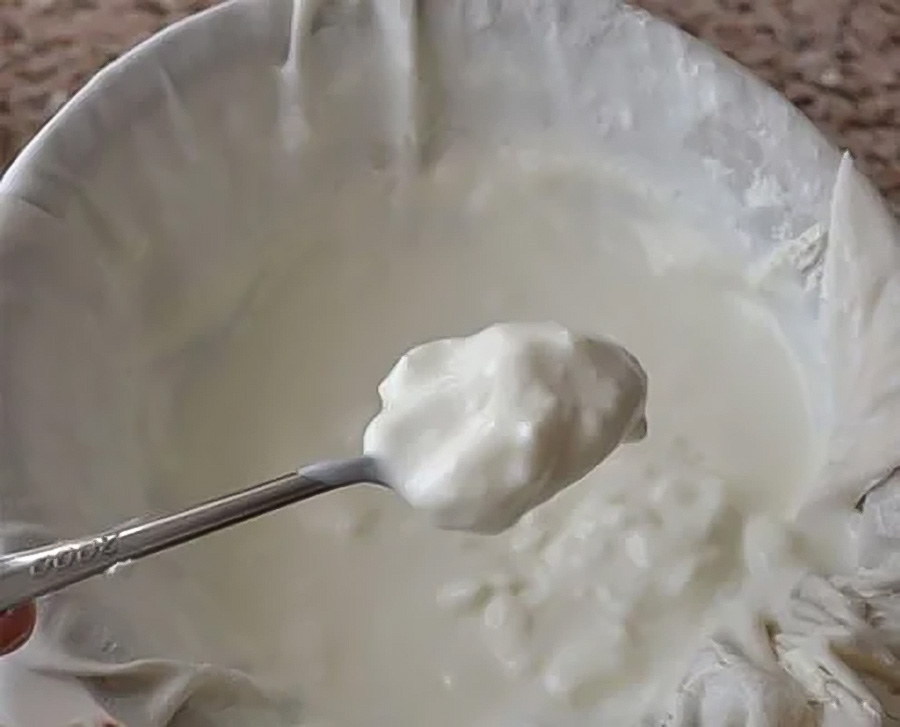
Regular yogurt becomes Greek yogurt when strained to remove whey, creating a thicker, creamier consistency. Straining also reduces lactose levels, making Greek yogurt slightly easier on digestion.
To make Greek-style yogurt:
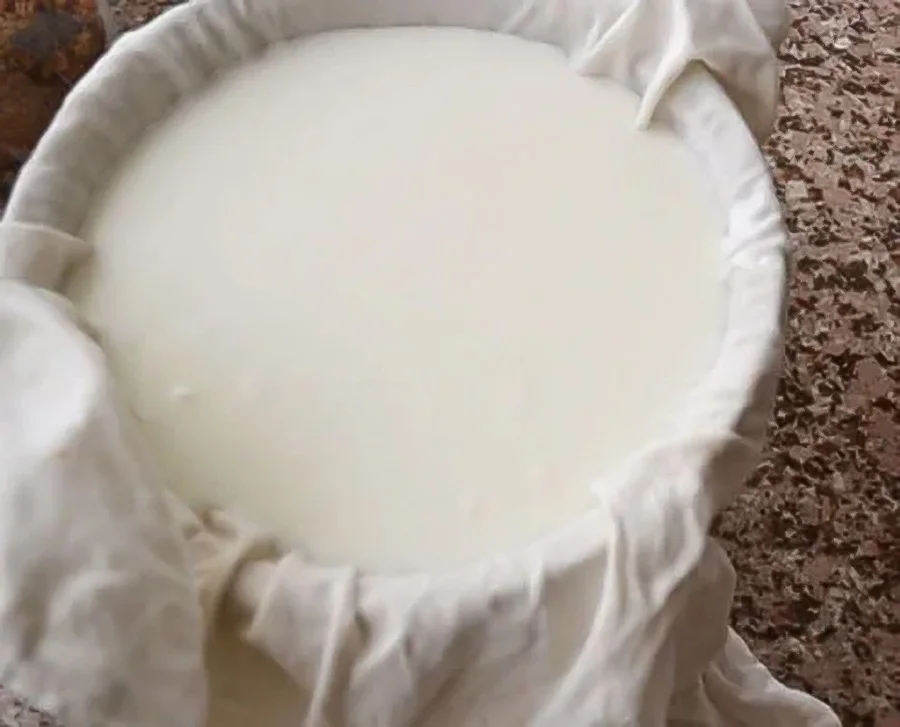
- Line a colander with cheesecloth or a clean, white kitchen towel.
- Set the colander over a bowl.
- Pour your yogurt into the lined colander.
- Let it strain in the fridge for 2-3 hours until desired thickness is achieved.
- Stir occasionally for even consistency.
Quick Straining Method:
- Gather the cloth edges, twist gently, and squeeze out excess whey over the sink or bowl.
- Tie off the cloth and continue pressing gently to remove liquid. Be careful not to press too hard, as you want to avoid squeezing out solids.
Yogurt Troubleshooting
My yogurt didn’t set and is too runny:
- Incubate longer or keep it in a warmer place.
- Wrap your container in a blanket to retain heat.
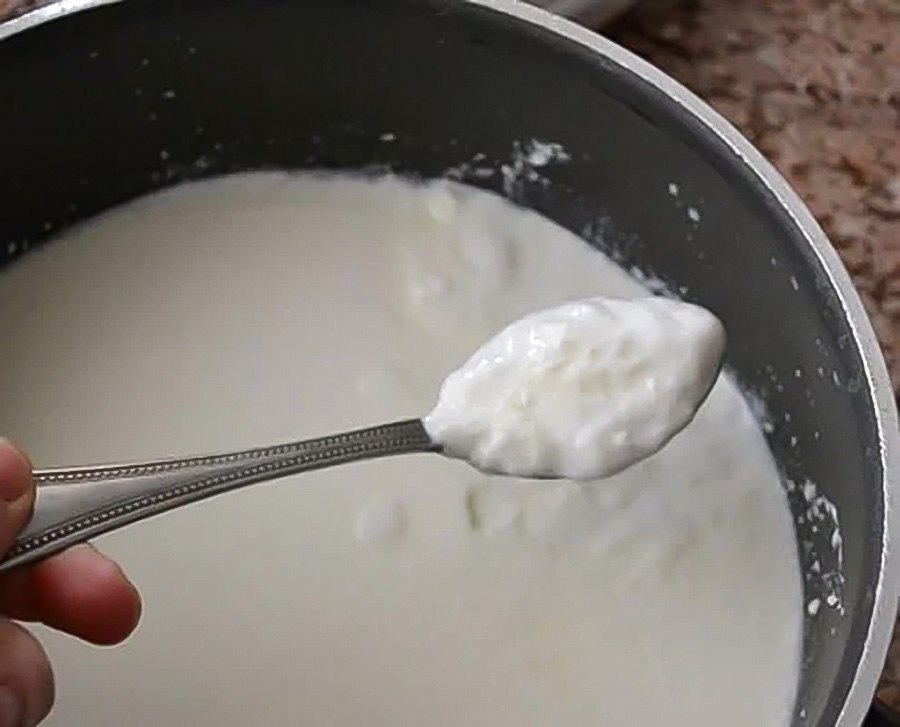
My yogurt separated. Is it ruined?
- A little whey separation is completely normal. Just gently stir it back in.
- Extensive separation, with clear liquid and solids distinctly separated, usually means something went wrong. This yogurt won’t set properly, and it’s best to start over.
Using the leftover whey:
- Don’t throw away the whey—it’s nutritious and useful! Substitute it for buttermilk or milk in baking, pancakes, smoothies, or even soups.
- You can also use it to water houseplants, giving them extra nutrients.
Once you’ve successfully made your own yogurt, you’ll realize how satisfying (and delicious) homemade yogurt can be. Enjoy!
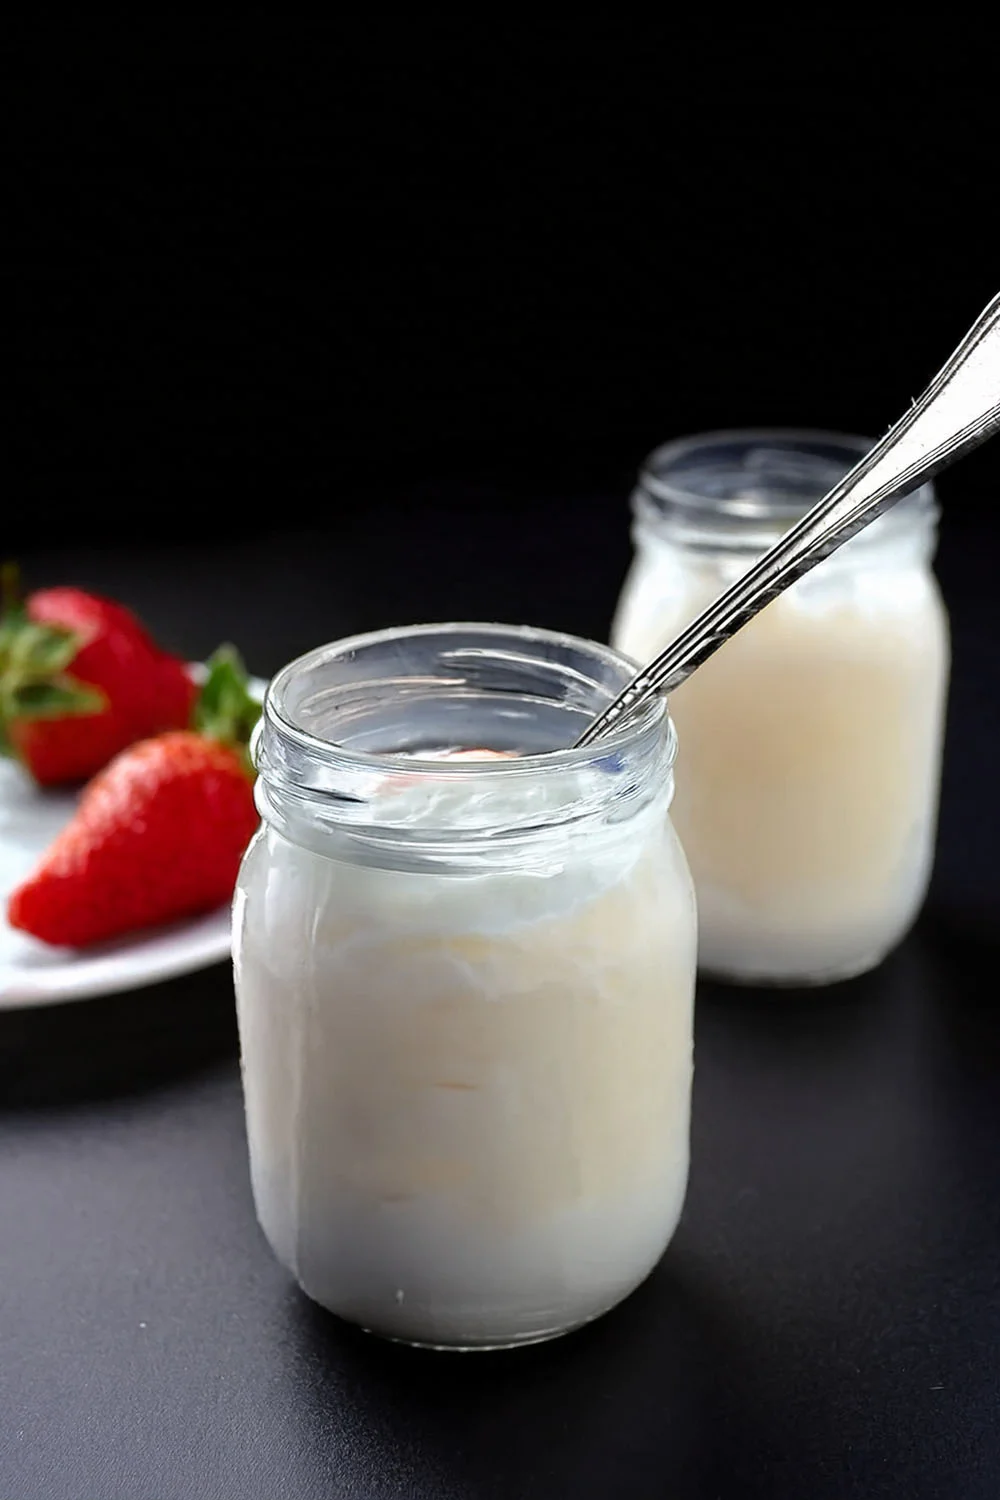
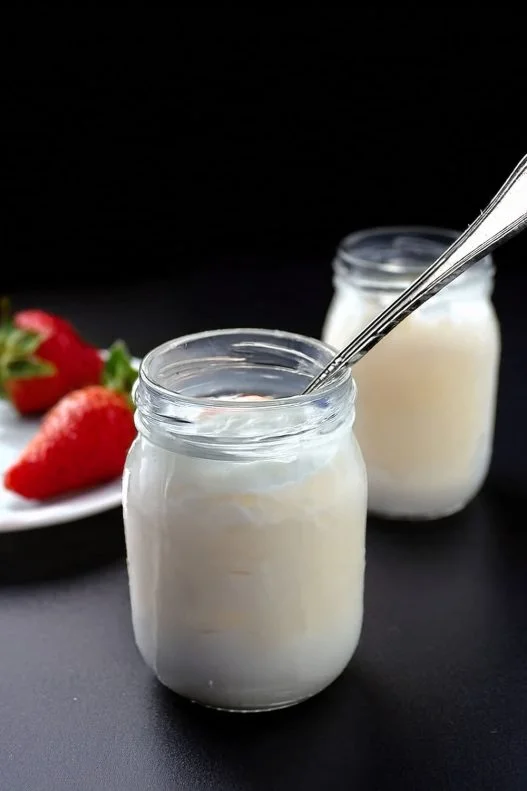
Homemade Yogurt: An Easy Step-by-Step Guide
- Total Time: 12 hours 5 minutes
- Yield: 5 cups 1x
Description
Making yogurt at home is a simple process involving just two ingredients—milk and a yogurt starter—and basic kitchen tools. By gently heating the milk, adding a small amount of active-culture yogurt, and allowing it to ferment at a warm, consistent temperature, you can create smooth, creamy homemade yogurt. This recipe guides you through each step clearly to ensure consistent and delicious results every time.
Ingredients
Instructions
Step 1: Heat the Milk
- Pour 5 cups (1 liter) of milk into a large pot.
- Heat over medium heat, stirring occasionally, until it reaches 104°F (40°C). If using fresh milk (unpasteurized), bring it first to a boil, then allow it to cool down to 104°F (40°C).
Tip: If you don’t have a thermometer, heat the milk until it feels comfortably warm (not hot) to the touch—about body temperature.
Step 2: Add Yogurt Starter
- Add 1 tablespoon of plain yogurt with active cultures to the warm milk.
- Stir thoroughly to ensure the starter yogurt is evenly distributed throughout the milk.
Step 3: Incubate the Yogurt
- Cover the pot with a tight-fitting lid.
- Place the pot in a warm, draft-free spot.
- Wrap the pot with a blanket or multiple blankets to maintain a consistent warm temperature, especially in colder conditions.
Step 4: Let Yogurt Set
- Allow the yogurt to ferment undisturbed for at least 4 hours.
- After 4 hours, gently check the yogurt. If it appears too runny, cover again and allow fermentation to continue.
- Fermentation typically takes 6-8 hours but can take up to 10-12 hours in colder environments.
Step 5: Chill and Serve
- Once set, refrigerate your yogurt for at least 3-4 hours before serving to achieve the best texture.
Notes
The yogurt’s taste and thickness depend on the quality of milk and starter used.
Yogurt continues to thicken slightly during refrigeration.
You can strain your yogurt for Greek-style consistency.
- Prep Time: 5 mins
- Cook Time: 12 hours
- Category: Homemade Dairy
- Method: Incubating
- Cuisine: American
Nutrition
- Serving Size: 1 cup
- Calories: 150
- Sugar: 12g
- Sodium: 115mg
- Fat: 8g
- Saturated Fat: 5g
- Unsaturated Fat: 3g
- Trans Fat: 0g
- Carbohydrates: 12g
- Fiber: 0g
- Protein: 8g
- Cholesterol: 30mg
If you liked this, you’re going to love our other cooking guides:
How to Grill Picanha – Easy Step by Step Guide
Bread Baking at Home: Tips for the Perfect Crumb
10 Cookie Baking Tips to Make you a Master Cookie Maker
Step by Step Guide to Making Tuscan Pici Pasta
An Italian Classic: How to Make Ciabatta Bread











Same here, this is my number one recurring recipe. I make it so often and it is 100% perfect.
Trust all these comments. This is LEGIT.
This has made my breakfast my favorite meal of the day. I make this every week – love it so much!!
I love this recipe it is so easy and it works every time.
This is the only yogurt recipe you’ll ever need. Amazing!
Spot on, perfect guide, perfect results!
Made it, ate the WHOLE thing in like two days. Delicious, super easy and feels completely fool proof!
Ok that worked perfectly, so great!
Magical, my yogurt ended up super smooth, very creamy, and so delicious. I have had two different results with different milks, can only say that the better the milk the better the yogurt!
I have been looking for the perfect yogurt recipe for a while, and it looks like I’ve finally found it!!
So great, absolutely lovely! Yoghurt was delicious.
Wow, I had no idea it was so simple, I am in yogurt heaven!!!!
Assalaam alaikum sister, this is just perfect. I am making this again and again and again!
Greeting from South Africa! Thank you for your very simply and easy steps for making yoghurt. You have really explained the process very well that I now want to try using sheep milk!
Everyone seems to be concerned about making their yogurt to be sour, but I would actually prefer it to be creamy rather than sour. Yet all my batches turn out sour. I always let sit overnight for 8-9 hrs. How do i make it lore creamy, less sour? Shorten hibernation time?
I really love the thin, almost drinkable European yogurt that I cannot get in the US. How can I make that? It is creamy, but no where as thick and cloying as American yogurt. If I could find a brand here, I would buy it, but most people seem to like their yogurt thick. Not me. I crave the soupy king and have never been able to find it in the US.
Hi Sawsan. Have finally had success with my yoghurt making. Thank you for your tips. Only difference was that I madeit it using a cast iron pot then placed the pot in an oven set to less than 50 Celsius.
Sawsana, I’ve just stepped in your your post looking for ‘how to make yogurt more sour’ and I found your post! It’s s really great and very informative! I will add a link to my blog (www.cocosbread.com) and visit yours soon. Thank you from NY! ????
Many thanks found your recipe very easy to follow ,best yoghurt i have ever made
I use raw milk with success but my last batch of yogurt was very thin on top. As I scooped it out to heat it and begin again with new starter, I found the bottom half of the batch was very thick and GRANULAR! I loved it.
I made yoghurt today and there are red lumps on the bottom, the top and middle were fine but the bottom had red lumps through it???
Home made yoghurt set perfect but after few days, the top layer turned pink. Is it ok to use?
Thank you for the tips. Made yogurt for the first time and turned out tasty! I used an European-style yogurt (less sour and more silky texture) as my starter and 2% milk.
I do make homemade yogurt, but it has turned out sticky like honey,what could be the problem?
This one is very close to how I make my homemade yogurt. I just need milk, live culture and my pure clay, un-glazed pot (yogurt pot). And every time I get a thick, silky delicious and a healthy yogurt just in 3 steps. I started making yogurt at home from the time I got my MEC pure clay pot and their website gave me this easy to follow instructions to make thick and creamy yogurt without using any artificial thickeners. The micro-pores in the pot lets only the water out.
I simply want to know if the milk in my carton (pastuerised)that has now set of it’s own accord and turned into a yogurt WITHOUT using any kind of starter or culture, is in fact yogurt and safe to use as such, it’s perfectly white, no mould or anything and thick. It just did that after being left in a warm room, no help at all, all on it’s own ! ?
I gauge the heat of the milk using a trick learned from a Turkish chef. Put your finger in the milk and count to 15. By the time you get to 15, and if you really need to take your finger out: it’s ready.
Works every time for me.
hi i recently bought a cow.the milk of this cow does n`t make good quality yogurt.it is very runny .do you think the culprit is the ration or chronic mastitis?please help.
Using too much culture can cause overcrowding of the bacteria resulting in a thin runny yogurt. If your cow has mastitis you should not be using the milk. If the cow is being treated with antibiotics – which she should be if she has mastitis then the yogurt will not work as the antibiotics prevent the culture from growing.
I raised dairy goats and Jersey cows for over 25 years, making yogurt, butter, cheese etc and devouring everything technical I could read on the subject. I don’t ever recall reading any research document that a black goat produces different milk from a white goat, any more than a white egg differs nutritionally from a brown egg. Some breeds such as Nubians [mostly brown goats, some black perhaps] produce milk with more butterfat than the Saanan [white] breed – much the same as a Jersey produces milk with the highest butterfat content. While black goats can be any breed almost, it would be better to say that the following breeds produce higher butterfat, better yogurt than the other breeds.
Kinder – 5-7%
Nigerian – 5-6%
Nubian – 4.61%
I have been making yoghurt for about 10 months now. I got the recipe from the internet. I have modified it to make it easier.
Basically it is like this: Heat one and a half litres of milk (I use 2%) in a glass measuring bowl, in the microwave for 16 minutes or until it is 185 degrees Fahrenheit. I then put it in my 190 degrees F. preheated oven for 30 minutes. I cool it in the sink filled with cold water until it has cooled down to 110 degrees F. I put about 3 tbsp of starter (my old yoghurt of store bought yoghurt) in the warm milk and give it a stir. I then put it back in the oven covered with a tea towel , but now the oven is turned off and has cooled down while the milk was cooling. I turn the oven light on and keep it in the oven overnight. (I have it in the oven for 7 to 10 hours). In the morning I take it out of the oven, give it a stir, put it in containers and place it in the back of the fridge. It thickens some more and is ready to be eaten later that day.
If you have a chance, try making yoghurt from sheep milk. It’s creamier and more dense than any other yoghurt, has more fat and is less sour.
Also, don’t leave the yoghurt you intend to use as starter overnight out – this allows non-yoghurt bacteria and yeasts to develop, will give your yoghurt a sour note and favor the separation of whey. Instead, heat the milk up to 45 degrees C, skim the top layer of yoghurt of the starter jar, and add about one heapfull tablespoon of yoghurt to one litre of warm milk, without reaching into the bottom of the jar. Yeasts tend to gather at the top of the jar, and bacteria which make the milk sour and sort of slimy tend to gather at the bottom of the jar, which is why the middle of the jar is where the yoghurt ferments are purest.
After you have added the starter, pack your pot/jar into a woollen cloth, so it keeps a temperature of above 42 degrees C for a few hours (3-4-5, depending on how thick you want it to be – I like it very thick, so I keep it warm for 8 hours or more – you can almost cut it in pieces after that). After that, put it in the refrigerator, to cool it down quickly. This allows you to keep it for a few days (3, at most 4, after that it becomes sour milk, and that’s not to everybody’s taste), and finishes the thickening process. The result should be creamy, thick, not at all sour, and with no visible whey separation. If you want to drink it, rather than eating it with a spoon, give it a quick whirl with a mixer.
Are you saying with regular store bought milk it can be thick enough to cut like cheese making curds or you are talking about sheep milk you have experienced this thickness and not so sour taste.
Thank you!
Hello Isara,
The orange spots you are refering to are probably a form of fungus.The yogurt could have gotten contaminated during making or something got into the jars or on the spoon someone used or it got contaminated from something in the fridge.Don’t worry too much,it happens. You can scrape off the surface layer and check if the layer under it has changed color or smell. If you observe any change I would throw it away. If not you may use it.
Keep in mind though that most safty instructions say that fluid or semi fluid foods should be thrown away if you see signs of mould on the surface because you can’t be sure how much of it is contaminated. While with solid food you can safely scrape off the affected part and use the rest.
Hello, I have been making yogurt for 20 years, and today, a new thing happened! I have small orange spots on the top of my yogurt! I made it about 2 weeks ago. I have kept it in the refrigerator much longer than this in the past, with no px’s. My gut feeling is that I can scrape it off and it is still good. But I am just wondering if you have any insight as to “why”? Is it mould? Should I be more leary of it? I use skim milk … and I use a yogurt maker to maintain the heat … and I use starter from my last batch – have for years!
Thank you Theresa, you can use any type of milk you want, full fat, fat free, skimmed, it is up to you
What a wonderful recipe. I have never tried making yogurt before and would like to give it a try. one question before I start. what kind of milk do you use? Vitamin D or 2% or does it matter
I make my own yogurt every week–keep spreading the word! Since I’m in a cooler climate than you, I put my jars of yogurt in a cooler/thermos to retain the heat better.
Thank you for the tip Sara,I make yogurt every week too and I love all the things you can make with it. I hope the post will encourage people to give it a try