
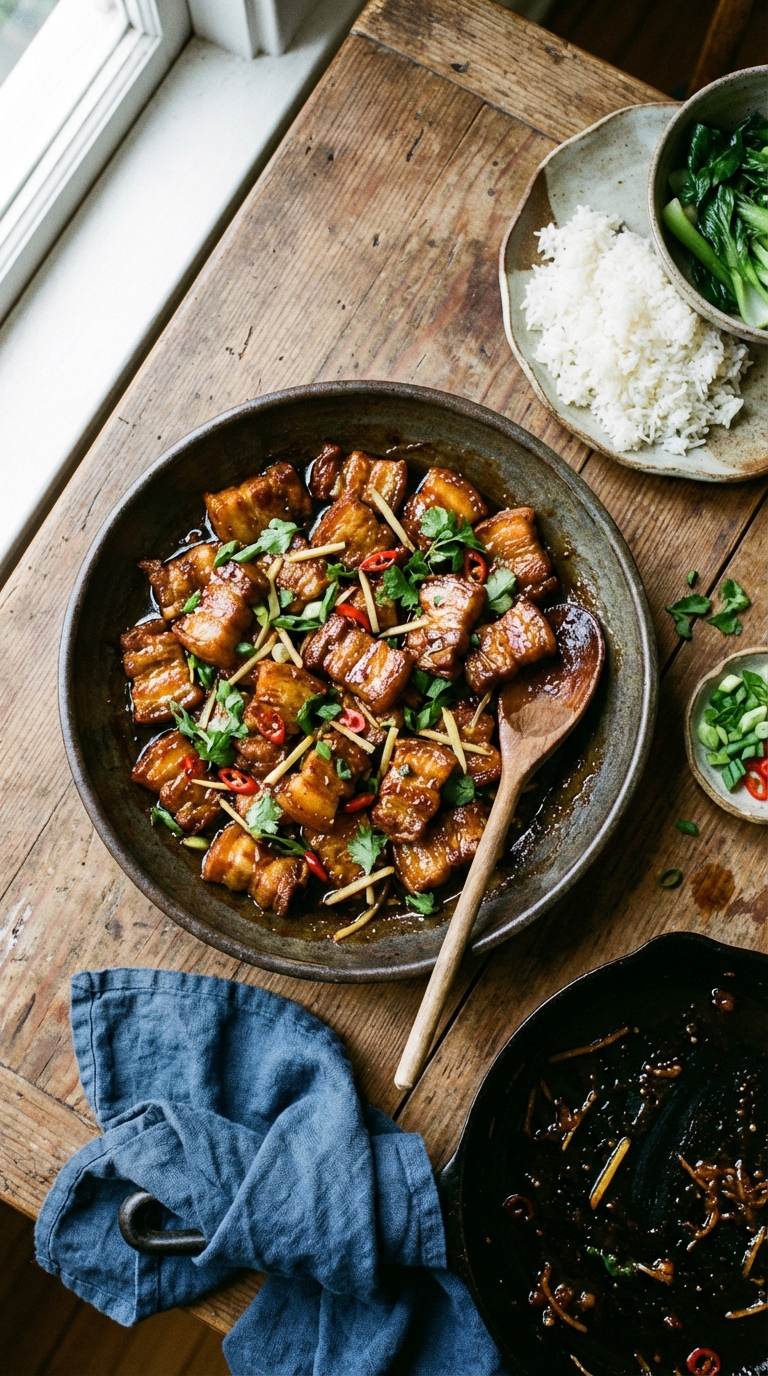
Chinese sticky pork belly is one of those dishes that stops you mid-bite. Rich, sweet, salty, and impossibly tender, it’s just so ridiculously luxurious that a second helping is almost impossible to resist. At the heart of it is pork belly, which, when cooked slowly, becomes silky and fall-apart tender.
You can find regional variations all over China. In Shanghai, the classic red-braised pork (hong shao rou) is savory with just hints of sweetness. Hunanese versions often turn up the heat with fresh chili, while Cantonese tend to focus more on the sweet and sticky glaze.
Honest Cooking’s version of this wonderful dish begs to be served with a bowl of plain steamed rice—something to balance out the richness and soak up the sauce. A few crunchy greens on the side don’t hurt either. By the way, it is incredibly easy to succeed with, and you only need to be active here and there over the course of the cooking process.
How to Make Sticky Chinese Pork Belly at Home
Step 1: Slow Cook the Pork Belly
Place pork belly slices, hot stock, chopped ginger, garlic cloves, rice wine, and caster sugar into a large pot or deep pan.
Bring the mixture to a gentle boil over medium heat.
Reduce heat, cover the pan with a lid, and simmer gently for 2 hours. Check occasionally to ensure it stays at a simmer.
Step 2: Drain and Reserve Liquid
Turn off the heat and carefully drain pork belly slices, discarding garlic and ginger pieces.
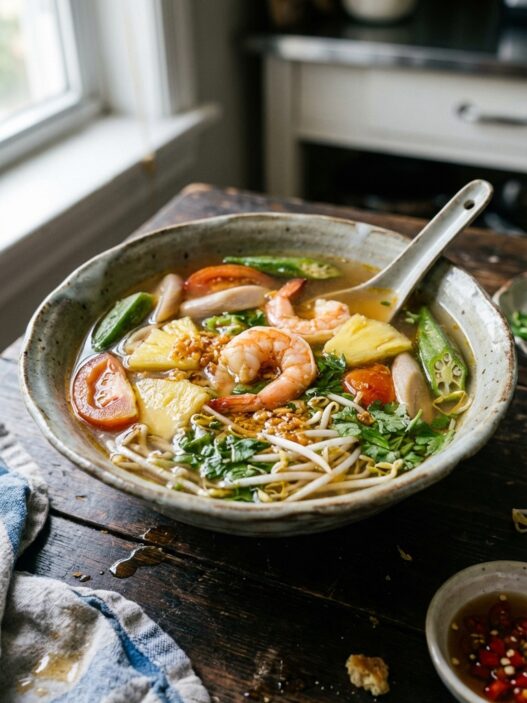
Optionally, reserve the cooking liquid for soups or sauces (excellent for noodle soup bases).
Step 3: Crisp the Pork Belly
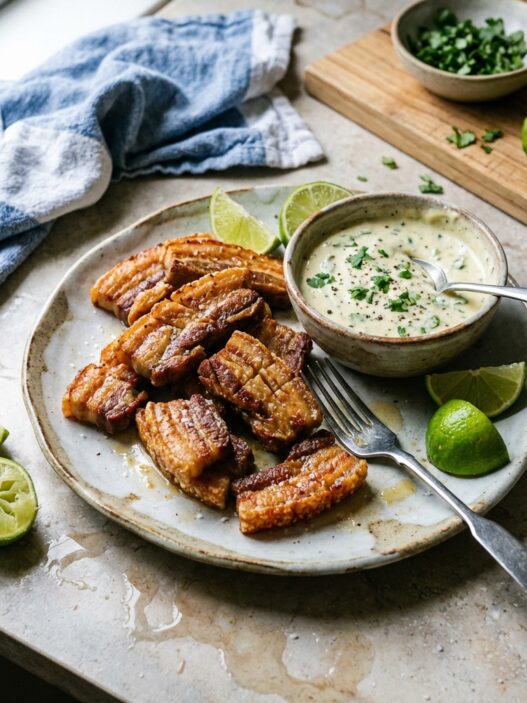
Chop cooked pork belly into bite-sized chunks (approximately 1 inch each).
Heat 1 tablespoon vegetable oil in a cast iron or heavy-bottomed skillet over medium-high heat.
Add pork pieces to skillet. Season with salt and pepper. Cook until golden and crisp on all sides, about 5-7 minutes, turning regularly.
Step 4: Prepare the Garlic and Chili Glaze
Meanwhile, whisk together ginger, chili, honey, brown sugar, soy sauce, lemongrass, and remaining 1 tablespoon vegetable oil in a bowl.
Step 5: Glaze and Finish Cooking
Pour glaze over crisp pork belly pieces in the skillet.
Stir continuously, coating pork pieces evenly. Cook until glaze thickens, darkens slightly, and becomes glossy (approximately 3-5 minutes).
Remove from heat immediately.
Step 6: Serve
Serve hot, garnished with chopped green onions or cilantro if desired.
Pair with steamed jasmine rice and steamed or stir-fried green vegetables.
Sticky Pork Belly FAQ:
Can I substitute pork belly with another cut?
Pork shoulder or pork butt can work, but cooking time may vary, and texture won’t be as melt-in-your-mouth tender as pork belly.
What can I serve with this pork belly?
Steamed jasmine rice, noodles, bok choy, broccoli, or sautéed greens pair well.
Can I prepare this recipe ahead?
Yes, slow-cook pork in advance. Crisp and glaze just before serving for best texture.
How long does leftover pork belly last?
Store leftovers refrigerated in an airtight container up to 3 days.
Can I freeze cooked pork belly?
Freeze cooked pork belly (before glazing) for up to 3 months. Thaw fully and crisp/glaze before serving.

Sticky Pork Belly with Chili-Garlic Glaze
- Total Time: 145 minutes
- Yield: Serves 4
- Diet: Omnivore
Description
Slow-cooked pork belly, crisped to perfection and glazed with a sweet and spicy chili-garlic sauce. A decadent, lip-smackingly delicious meal.
Ingredients
- 2 lbs (907 g) pork belly
- 4 cups (946 ml) hot chicken or vegetable stock
- 1 thumb-sized piece fresh ginger
- 4 cloves garlic
- 1.5 tablespoon rice wine
- 1 tablespoon sugar
- 2 tablespoons vegetable oil
- Pinch of salt and black pepper
- 1-2 red chili
- 2 tablespoons honey
- 2.5 tablespoons brown sugar
- 4 tablespoons soy sauce
- 1.5 teaspoon lemongrass paste or fresh finely minced lemongrass
Instructions
- Place pork belly slices, hot stock, chopped ginger, garlic cloves, rice wine, and sugar into a large pot or deep pan. Bring the mixture to a gentle boil over medium heat. Reduce heat, cover the pan with a lid, and simmer gently for 2 hours. Check occasionally to ensure it stays at a simmer.
- Turn off the heat and carefully drain pork belly slices, discarding garlic and ginger pieces.
- Chop cooked pork belly into bite-sized chunks (approximately 1 inch each). Heat 1 tablespoon vegetable oil in a cast iron or heavy-bottomed skillet over medium-high heat. Add pork pieces to skillet. Season with salt and pepper. Cook until golden and crisp on all sides, about 5-7 minutes, turning regularly.
- Whisk together ginger, chili, honey, brown sugar, soy sauce, lemongrass, and remaining 1 tablespoon vegetable oil in a bowl.
- Pour glaze over crisp pork belly pieces in the skillet. Stir continuously, coating pork pieces evenly. Cook until glaze thickens, darkens slightly, and becomes glossy (approximately 3-5 minutes). Remove from heat immediately.
- Serve hot, garnished with chopped green onions or cilantro if desired. Pair with steamed jasmine rice and steamed or stir-fried green vegetables.
Notes
- For extra crispy pork belly, pat the cooked pieces dry with paper towels before searing.
- Leftover glaze can be stored in an airtight container in the refrigerator for up to a week.
- Substitute maple syrup for honey for a slightly less intense sweetness.
- Prep Time: 20 minutes
- Cook Time: 125 minutes
- Category: Main Course
- Method: Braising
- Cuisine: Asian-inspired
Nutrition
- Serving Size: 1 serving
- Calories: 600
- Sugar: 25
- Sodium: 800
- Fat: 40
- Saturated Fat: 15
- Unsaturated Fat: 20
- Trans Fat: 0g
- Carbohydrates: 40
- Fiber: 5
- Protein: 35
- Cholesterol: 100
If you liked this, you are going to love these favorite Chinese recipes:
Chinese Five Spice Fried Chicken
Warm Chinese Lettuce in Garlic Oil
Chinese Beef and Scallion Stir Fry – Cong Bao Niu
Frequently Asked Questions
Can I use a different type of meat instead of pork belly?
While pork belly is ideal for its rich flavor and tender texture, you can experiment with pork shoulder or belly cuts, but cooking times may vary.
What can I do with the reserved cooking liquid after draining the pork belly?
The reserved cooking liquid can be used as a flavorful base for soups or sauces, adding depth and richness to your dishes.
How do I ensure the pork belly becomes tender while simmering?
Make sure to keep the pot covered and maintain a gentle simmer for the full 2 hours; checking occasionally helps ensure it doesn’t boil too vigorously.


We cooked this for a Friday dinner and let the garlic chili glaze cook down until it went properly sticky and lacquered. The pork belly turned meltingly soft underneath all that sweet heat, and I was gnawing the last bits off the bone with ZERO shame. Do you think it would work on pork shoulder for a bigger batch?
For sure it will Trevot!!!
Kids and husband loved this! Will definitely repeat.
Followed your recipe exactly, turned out fantastic! Thank you! Love this so much.
Ok, this is officially amazing!
What an awesome recipe!
This is amazing. I will cook this again and again. Thank you!!
I tried this today but it didn’t quite work. When I went to take the pork out of the pot after 2 hours, it was falling to bits and turned out more like pulled pork with bits of skin through it. It couldn’t be crisped properly because it wasn’t in proper chunks. The taste was there but it was very dry. Am going to try it again but won’t cook it for quite as long (maybe only 1 hour or so) in the hope that I can glaze firm chunks that really crisp up! Plus I think I’ll make a bigger quantity of glaze to give me more of a sauce.
i have cooked this three times,LOVE IT.
I use the reduced stock and add to a wonton soup recipe.DELICIOUS.
cheers Gary
Stunning Really enjoyable and worth the effort of time Fried the belly pork in sesame oil A new favourite Thanks
I have never cooked Pork Belly before and normally stay away from three steps foods over a couple of hours, but this looked easy and tasty so why not give it a go. It was amazing and super easy to make. The glaze happens real fast because of the sugar in step three. Had friends over and they loved it so much I had to print out the recipe for them to take home. Family all loved it as well.
Could you put this in the slow cooker up until the glaze bit?