When a friend passed along some sour dough starter, Sheila McGrory-Klyza embarked on a bread baking adventure that had tasty and surprising results.
By Sheila McGrory-Klyza
There’s no better breakfast than a thick slab of homemade bread. For me, anyway. Dense and chewy whole wheat or light, airy ciabatta, I love it all—as long as it’s made with high quality, unadulterated ingredients.
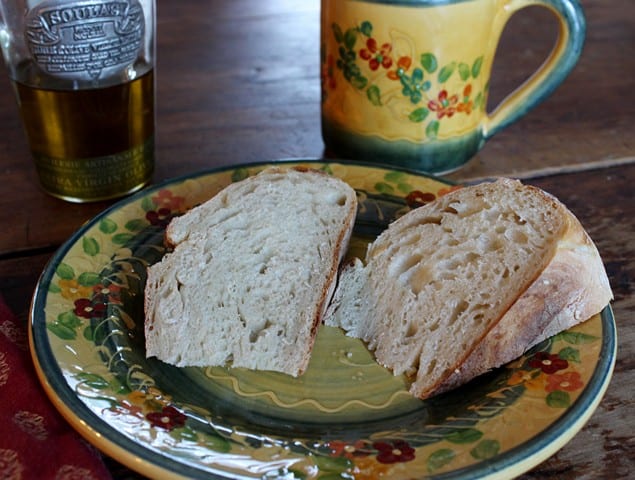
I used to bake bread back before Chris and I had kids, but then it became one of those things that was edited out. Not to mention that we’re fortunate to have five artisanal bakeries within about a 15 mile radius of our house. So I’ve never lacked for good bread. But a few months ago we were over at our friend’s house for dinner and were served homemade sourdough bread. With its toothsome crust and complex, moist crumb and the distinctive sourdough tang, we both couldn’t get enough of it.
On our way out the door, Maggie gave us a scoop of her sourdough starter in a jar. The instructions seemed pretty simple: keep it in a big, glass bowl in a warmish place in your kitchen and feed it every day with flour and water. Easy enough. Chris agreed to feed it every morning, and I would be in charge of making the bread.
With 1¼ cups of flour and water added to it every day, the starter rapidly grew. Bubbles from the fermenting wild yeast erupted on its surface, and the bowl emitted a pungent, yeasty aroma.
Sourdough bread is, after all, bread that is made with natural yeast drawn from the environment in which the starter resides—bread with terroir. No need to add yeast to the dough, but what you do need is a little more time and patience to get it right.
I set out to make bread once a week, a seemingly reasonable amount of bread for our family of (now) three to consume. I love bread, and would even go so far as to say that it’s one of my three favorite foods. I eat it every day, trying to limit myself to having it only in the morning which, if it’s an excellent bread or bagel, satisfies me for the rest of the day.
A few years ago, I made a failed attempt to go gluten-free. I really don’t know what possessed me. I lasted a mere few weeks. Fortunately I have no medical need to go without gluten and have been happily scarfing it down ever since (no offense intended to the many who successfully live gluten-free due to medical reasons or personal choice; it just didn’t work for me).
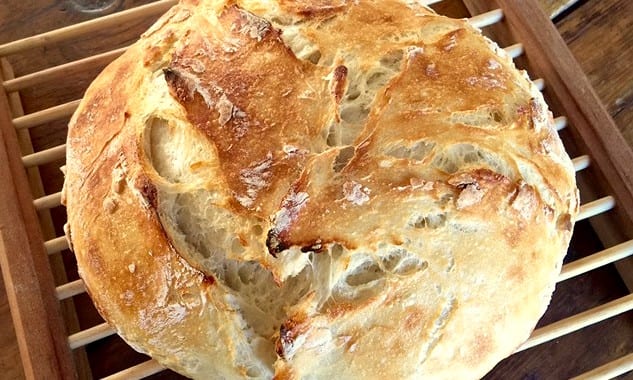
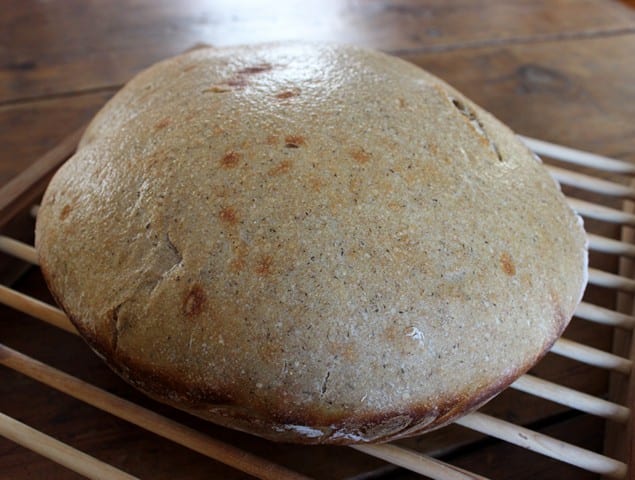
Now that we had some live starter and I was back to making bread again, the house filled in the early hours of the morning with that incomparable aroma of freshly baked bread—to me, one of the best smells in all the world. I would pull the bread out of the oven and cut into its golden crust, allowing the bread’s steam to further warm up my wintry kitchen. Slathered with fresh butter or drizzled with a rustic olive oil, a slice or two of this bread was a breakfast fit for a peasant or a queen.
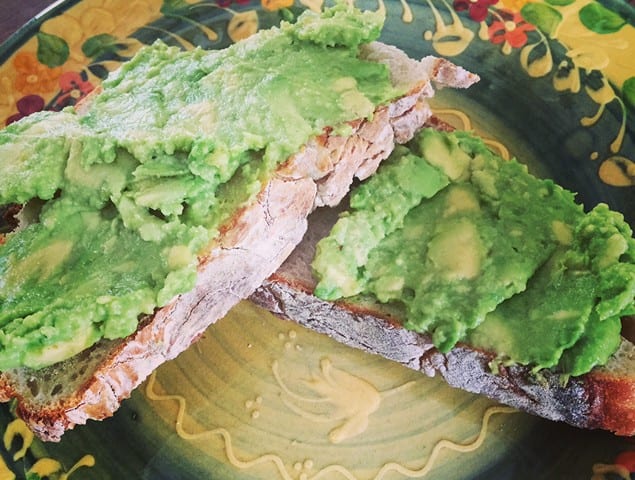
Sometimes I like to mix it up by making an avocado toast, or melting some cheese over top. Raclette is a favorite for its meltability and meatiness. It stands up especially well to a hearty whole wheat loaf.
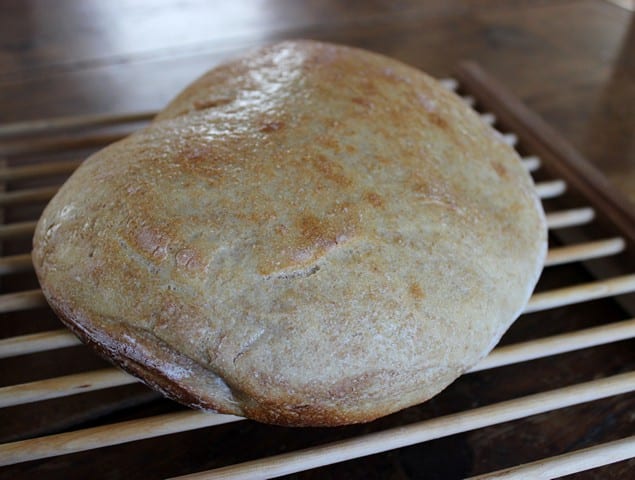
Part of the fun of making bread is experimenting with different flours. In addition to white and whole wheat, I tried a seven grain mix, oat flour, and a fine Italian style flour that makes an airy focaccia. My kitchen turned out a lot of bread this past winter.
But if you do the math, making bead once a week—which entails using one cup of starter—leaves you with a lot of starter sitting on your kitchen counter if you’re feeding it every day as you’re supposed to. Chris was diligent about his job, so the starter grew. It grew and grew, threatening to spill out over the edge of the bowl and creep across the kitchen counter. I began calling it The Beast and gave it away to friends and to my daughter’s friends, spawning Baby Beasts throughout Vermont. I started baking bread twice a week and freezing it. But eventually I threw up my hands. Too much starter! Too much bread!
The Beast had to go. With a mixture of sorrow and relief, Chris and I scraped the starter into the compost bin, its bubbles giving out their last gasps. We reluctantly sucked in our muffin tops and vowed to cut down on bread and hit the gym a few extra times each week.
Only now that we’ve finished up the last of the bread I had frozen am I beginning to feel some regret. I’m considering asking Maggie if she has any more starter she can spare (which I’m guessing she does, remembering the enthusiasm with which she passed on a portion of hers to us).
PrintMaggie’s Sourdough Bread
Description
This recipe creates one large round loaf of white sourdough bread. You can substitute different flour or use a combination of flours (such as half whole wheat, half white), or shape the dough into rolls or smaller loaves, for variety.
Ingredients
- 5 cups flour
- 2 teaspoons salt
- 2 cups water
- 1 cup starter (see below for instructions on how to create your own)
Instructions
- Mix ingredients together and let sit in a large bowl covered with a cloth for 12 to 24 hours.
- Turn the bread out on a board and fold it into the center (do not over-handle the dough).
- Let the dough rest 45 minutes.
- Preheat the oven to 475?F.
- Place the dough in a cast iron Dutch oven and bake 20 minutes, covered.
- Uncover and bake another 10 minutes, or until the crust is golden brown.
- To make sourdough starter: combine ¾ cup unbleached all-purpose flour and ½ cup water in a large glass or ceramic bowl.
- Stir with a wooden spoon until the consistency is smooth and sticky.
- Cover loosely (I find that a plate placed on top of the bowl, but slightly askew to allow air to circulate, works well).
- Place the bowl in a location with a temperature of 70–75?F and let rest 24 hours.
- After 24 hours, you hopefully will start to see bubbles starting to form, indicating that the wild yeast is active.
- Feed the starter with the same amount of flour and water, stir well, and let rest another 24 hours.
- By now, you should be seeing bubbles and the starter should have a tangy, yeasty aroma.
- Feed the starter again, stir well, and let rest another 24 hours.
- Repeat the next day, and by day five the starter should be very bubbly and tangy, and the consistency should be thicker.
- It is now ready to use.
- Continue feeding it every day, discarding half of it if you can’t give it away or use it up fast enough!
- Category: Bread













This is the BEST recipe and I’ve been using it for years. Turns out fabulous every time. Sometimes I adds tablespoon of apple cider vinegar with “the mother” to add a little extra tartness to the flavor.
After rising for 22 hours and baking for the required time, the bread was still not close to cooked. I added 10 minutes and it looked much better. Upon attempting to take it out of the dutch oven, the bread was horribly stuck (maybe there should be instructions for greasing and/or flouring the pan?). But after that amount of baking time, the middle was still not good and had the consistency of rubber.
You can sleep your starter in the fridge if it’s growing too fast or your are going away and can’t feed it. Mine woke up after two days of TLC after having a holiday in the fridge. It’s also survived me forgetting to feed it. They are pretty resilient.
I followed the recipe, and my loaf was awesome! I also used the recipe and instead of making it into a loaf…I divided it into 24 pieces and made English Muffins. They were a hit!
Followed by the recipe exactly using some inherited starter and it came out perfectly… beautiful looking loaf chewy crust and moist delicious center.
Thank you
Hi, I have enjoyed reading your sourdough info. here, thanks, and was wondering if you know if I can use my “dough hook” with the soughdough batter, and/or doughs? I bought this cool tool, but the hook end is stainless steel. I’m afraid it will ruin the batch of bread if I let it come in contact with the moistened mass! I’m finding it difficult to find consistant info. on the internet about soughdough recipes. Thank you for any help you can give. Jeanne Marie
Hi Cindi, That’s the recipe I use and the bread turns out great. The dough is pretty wet when it’s first mixed together, but less so after it rises. It makes a moist crumb, with the amount of moisture depending on the type of flour I’ve used (with denser flours usually yielding a moister crumb, so I sometimes adjust the ingredients a bit depending on the flour). I don’t know where you are in the process, but I wouldn’t give up on it yet. I hope it turns out!
Sadly I followed your instructions to a tee and I have a wet blob sitting on my counter. Way too wet. Using grams in recipes may help but what a waste. I bake a lot and should have realized the recipe was wrong. 5 cups of flour with 2 cups is water plus starter?