Cookies are everyone’s favorite, but there are levels to the art of making them. We’ve compiled the ten most important tips that will take your cookie making skills from good to incredible.
“C is for cookie, that’s good enough for me!”
—The Cookie Monster.
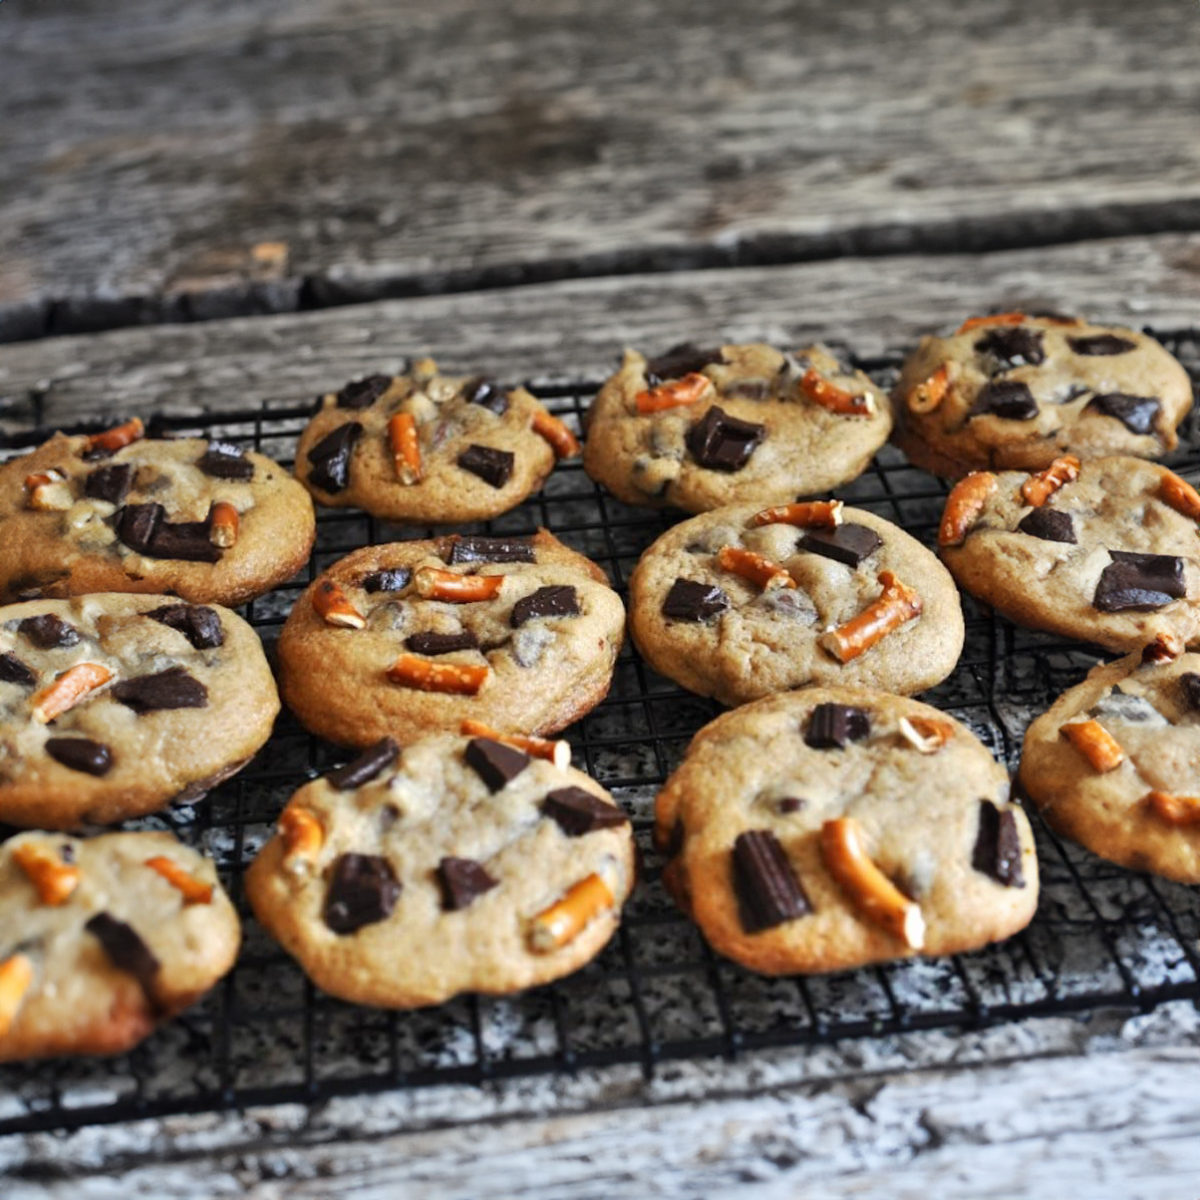
When I was a kid in India, cookies weren’t really a thing. We had biscuits instead—crunchy, not-too-sweet, and nothing like the soft, gooey American cookies I came to love later in life. My obsession started with Bourbon biscuits (no relation to the alcohol), which were chocolatey and sandwiched with a rich chocolate cream. I could never get enough of them! Fast forward to my first encounter with American-style cookies, and I was hooked. The chewy middle, the burst of chocolate chips—total heaven. Over the years, I’ve tried countless variations, but I always come back to the classic chocolate chip.
The beauty of cookies is their versatility. From snickerdoodles and ginger snaps to white chocolate macadamia nut and jam-filled thumbprints, the possibilities are endless. They’re easy to make, freeze well, and let’s be honest—they’re the perfect comfort food. Whether you’re a seasoned baker or a total newbie, these top ten tips will help you bake the best cookies every single time!

Top Ten Tips For Successful Cookie Baking
1. Butter Should Be Soft, Not Melting
Soft, room-temperature butter is key to achieving that perfect cookie texture. If it’s too cold, it won’t cream properly with the sugar, resulting in dense, flat cookies. But if it’s too melted, your cookies will spread too much and become thin and crispy. So, aim for that sweet spot where the butter is soft but not shiny or oily. A good rule of thumb: if you can easily press your finger into the butter and leave an indent, it’s ready.
Why It Matters: Creaming butter and sugar together creates air pockets that help leaven the cookies, making them light and fluffy. Cold butter won’t blend well, while melted butter leads to overly spread cookies.
2. Light-Colored Cookie Sheets for Even Baking
Believe it or not, the color of your cookie sheet can make or break your batch. Light-colored, shiny metal sheets are your best bet because they reflect heat, baking the cookies more evenly without causing them to brown too quickly. Darker sheets absorb more heat, leading to over-baked or burnt bottoms before the centers are cooked through.
Pro Tip: If you only have dark baking sheets, reduce the oven temperature by 25°F and keep a close eye on your cookies to prevent over-browning.
3. Make Your Own Brown Sugar for a Flavor Boost
Ran out of brown sugar? No problem! You can easily make your own by mixing 1 cup of granulated sugar with 1 tablespoon of unsulfured molasses. This not only ensures that your sugar is fresh, but it also gives your cookies a richer flavor. For a deeper, more intense taste, add 2 tablespoons of molasses to make dark brown sugar.
Why It’s Awesome: Freshly made brown sugar has a more robust flavor and retains more moisture, giving your cookies a chewier texture.
4. Adjust Eggs for Desired Texture
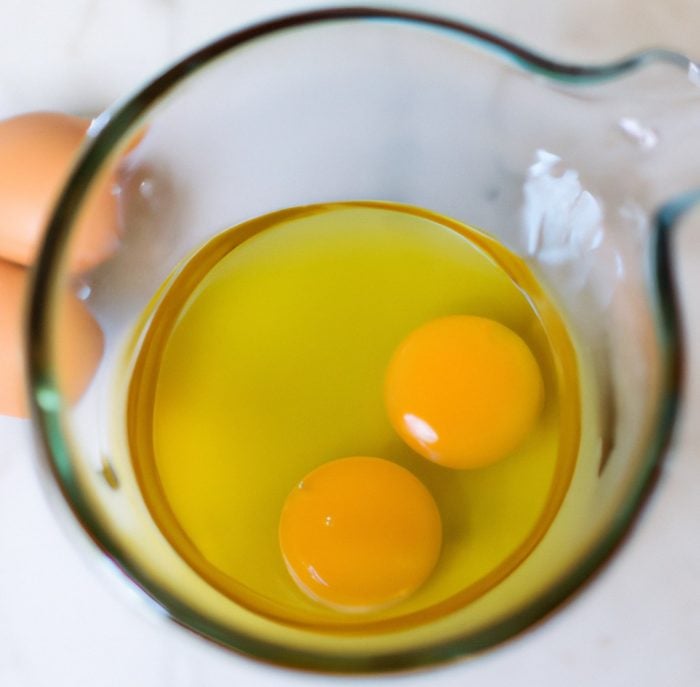
Eggs are more than just a binding agent in cookies. They play a huge role in the texture. More eggs or just egg yolks make cookies cakey and soft, while using fewer eggs results in a denser, chewier texture. If you’re looking for a thin, crispy cookie, try reducing the number of eggs or adding an extra yolk for richness.
Baking Science: Eggs add structure, moisture, and leavening. Yolks provide fat, making cookies richer, while whites contribute to a firmer texture.
5. Chill the Dough for Thicker Cookies
Chilling the dough before baking does wonders for your cookies. It solidifies the fat, preventing the cookies from spreading too much and resulting in a thicker, chewier texture. Plus, it allows the flavors to meld together, making for an even more delicious cookie. Ideally, chill your dough for at least 30 minutes, but overnight is even better.
Why It Works: Chilled dough spreads less and bakes up thicker. It also gives the flour time to fully hydrate, making for a more flavorful cookie.
6. Check Your Nuts!
Nuts can go rancid quickly, especially if stored at room temperature. Always taste and smell your nuts before adding them to the dough to ensure they’re fresh. To keep them from spoiling, store them in the fridge or freezer. And for an extra flavor boost, toast them lightly before folding them into the dough.
Pro Tip: Rancid nuts have a bitter, unpleasant taste and can ruin an otherwise perfect batch of cookies. Toasting fresh nuts brings out their natural oils and enhances their flavor.
7. Don’t Skip the Salt
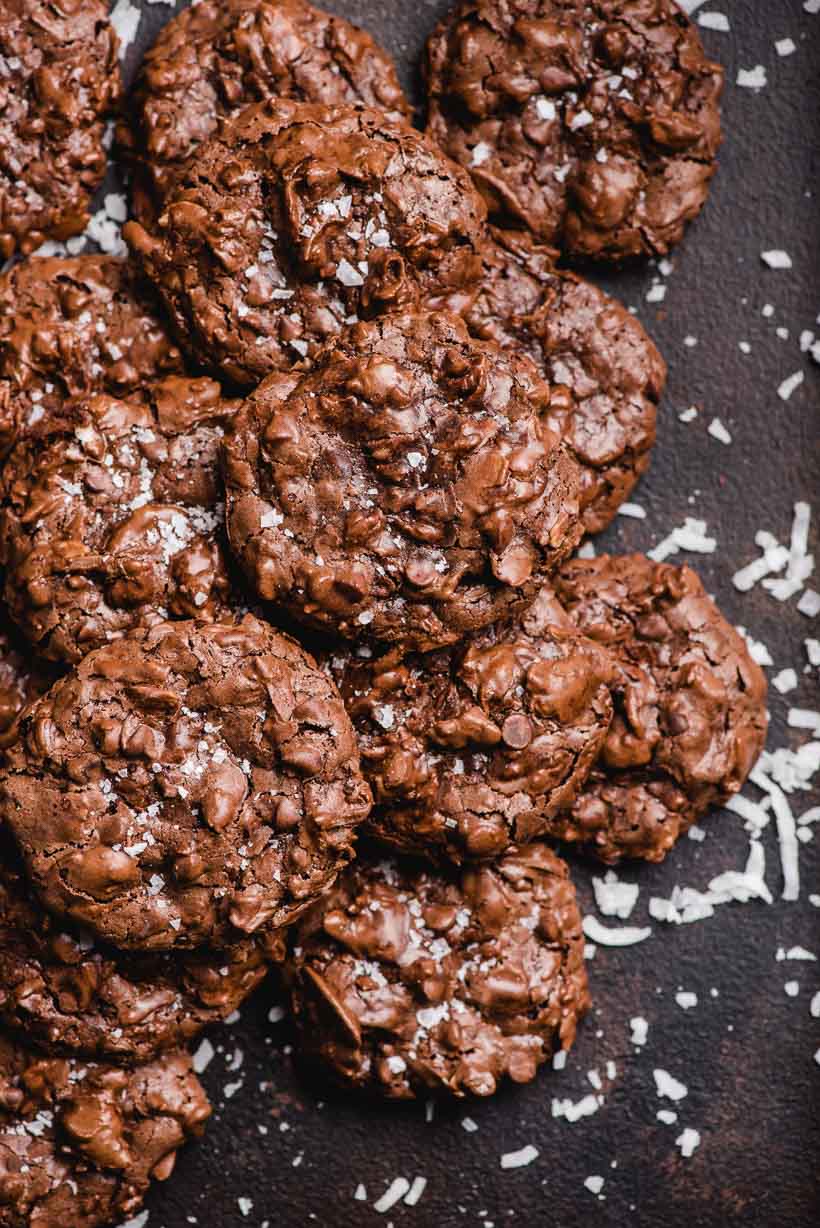
Salt might seem like a minor ingredient, but it’s crucial for balancing the sweetness and enhancing the overall flavor of your cookies. A pinch of salt brings out the best in chocolate and caramel flavors. And if you’re feeling fancy, sprinkle a little flaky sea salt on top of the dough before baking for an extra layer of flavor.
Why It’s Crucial: Salt is a flavor enhancer. It reduces bitterness, balances sweetness, and adds complexity to the taste profile of your cookies.
8. Invest in Silicone Baking Mats
Silicone baking mats are a game-changer for cookie baking. They create a non-stick surface that promotes even baking, prevents spreading, and makes cleanup a breeze. Plus, they’re reusable and can last for years, making them a sustainable choice for eco-conscious bakers.
Bonus Tip: Silicone mats prevent cookies from sticking and eliminate the need for extra butter or oil on the baking sheet, which means no greasy cookies!
9. Master the Timing for Perfect Chewiness
For soft, chewy cookies, bake them just until the edges are set and golden brown, but the centers still look slightly underdone. Remember, cookies continue to bake on the hot baking sheet after being removed from the oven. So, if they look a little underdone, that’s perfect—they’ll firm up as they cool.
The Secret: Cookies continue to cook from residual heat even after they’re out of the oven. Removing them when they’re slightly underdone ensures a chewy center.
10. Check Early and Adjust as Needed
Ovens can be unpredictable, and baking times are often just guidelines. Start checking your cookies a couple of minutes before the minimum suggested time. Look for visual cues like lightly browned edges and a slightly soft center. This way, you can prevent over-baking and ensure your cookies come out perfect every time.
Why It’s Important: Every oven is different, and factors like humidity and altitude can affect baking times. Keeping a close eye on your cookies ensures they don’t over-bake and become too hard or dry.
You are now ready to go into the world as a certified Cookie Master. Happy Baking!



This is just delightful – a most spiffing assortment of handy baking tips!
the best!
great tips
Alas, “The best part about cookies at home is that you can refrigerate or freeze the dough for months on end…” I have tried this many, many times and the dough never lasts more than a week. I can’t help but eating it. I have had a little better luck buying the large tub of frozen chocolate chip cookie dough at Costco – it is large enough to last more than a week, but it puts me into the obese class in a hurry. Had Jim Henson tasted frozen cookie dough, our favorite blue furry friend (sorry Grover) would have been the Cookie Dough Monster.
I agree with you, the classic chocolate chip cookie will always have my heart as well! I really enjoyed reading all of your tips, thanks for sharing.