Make two beautiful challah loaves, packed with gorgeous rosemary and a hint of garlic. Perfect for your next dinner party or picnic.
I taught a challah making class a few months ago at the local Co-op and it was so much fun. Each participant braided their own challah to take home and before the class, I made a few to nosh on while they baked.
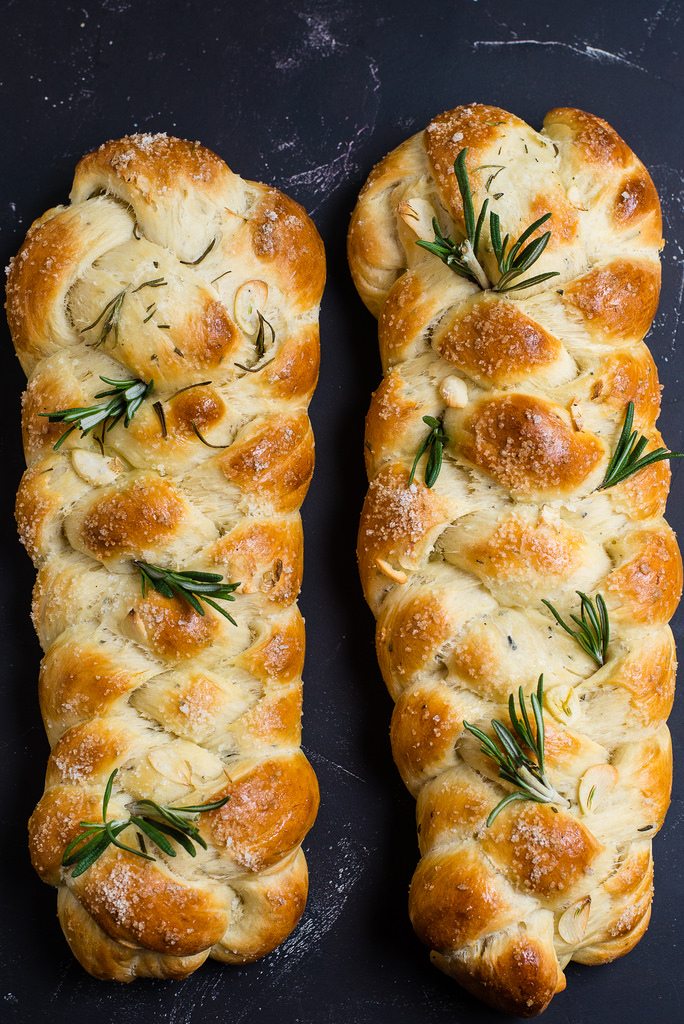
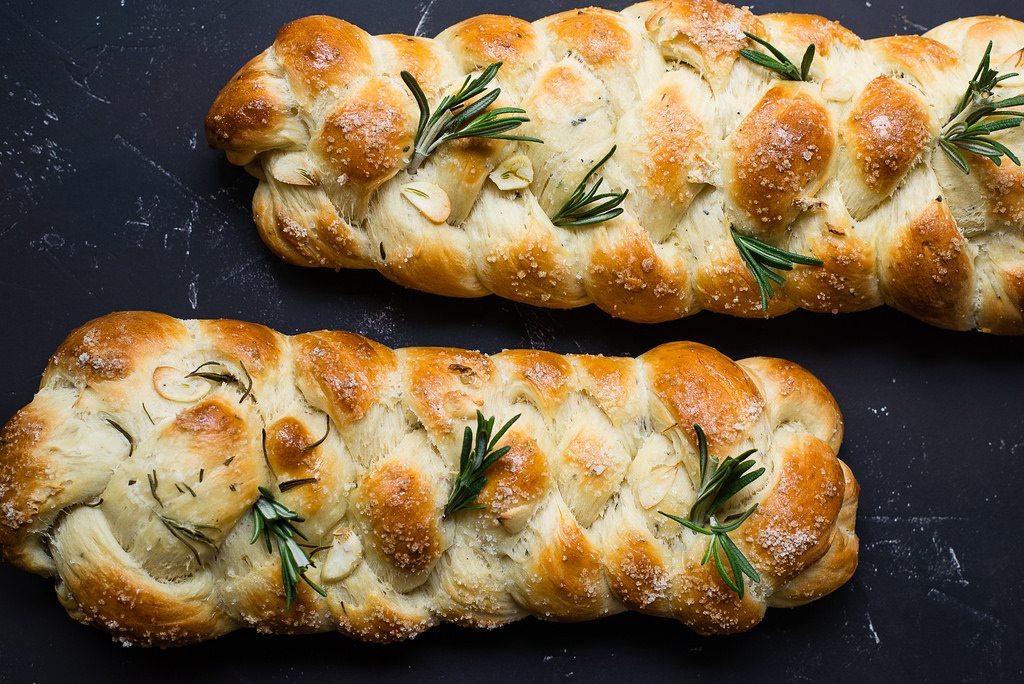
This was the exact challah I brought to the class. A gorgeous aromatic, savory garlic rosemary challah. There is roasted garlic powder and freshly chopped rosemary inside the dough as well as garnished with thin slices of garlic and small sprigs of rosemary. It is certainly a show-stopper and one of my favorite classic flavor combinations.
Challah Bread 101
Challah bread is a delicious traditional Jewish bread, often associated with the Sabbath and Jewish holidays, but also increasingly popular outside the Jewish community. It is rich in history and cultural significance, and its awesome braided shape makes it instantly recognizable.
Origin and Significance
Challah originates from the Ashkenazi Jewish tradition, and it has been a staple in Jewish households for centuries. The word “challah” comes from the Hebrew term used in the Torah, referring to the portion of dough that is set aside as an offering. This practice of separating a small portion of dough dates back to ancient times and is still observed by many Jewish families today as a way to honor their heritage.
Characteristics and Ingredients
Challah bread is known for its slightly sweet flavor, soft and fluffy texture, and shiny golden crust. The key ingredients include flour, water, yeast, eggs, sugar, and oil. The inclusion of eggs and oil gives challah its rich texture and makes it different from other types of bread like baguettes or sourdough.
The Braiding Tradition
One of the most distinctive features of challah is its gorgeous braided shape. While a three-strand braid is common, more elaborate braids with four, six, or even twelve strands can be made, especially for significant occasions. The braiding symbolizes unity and the intertwining of family and faith.
Variations
While traditional challah is plain, modern variations often include ingredients like raisins, honey, or sesame seeds. There are also savory versions, like the Rosemary Garlic Challah, which incorporates herbs and spices to add unique flavors.
When and How to Eat Challah
Challah is typically eaten during Shabbat (the Jewish Sabbath), which begins at sunset on Friday and ends at nightfall on Saturday. It is also a staple during Jewish holidays, except during Passover when leavened bread is not consumed. The bread is usually served at the beginning of the meal, and a special blessing, known as “Hamotzi,” is recited over it.
Challah can be enjoyed in various ways: fresh from the oven, as a base for French toast, or even as part of a sandwich. Its versatility and delicious flavor make it a favorite in many households, Jewish and otherwise.
How to Make Rosemary Garlic Challah Bread
What You’ll Need:
- 1 packet of yeast (1/4 oz / 7 g)
- 1 cup warm water (240 ml)
- 1 tbsp sugar (15 g)
- 1/4 cup vegetable oil (60 ml)
- 2 tbsp honey (30 ml)
- 2 whole eggs + 1 egg whisked for egg wash
- 4 cups all-purpose flour (480 g)
- 1 tsp Kosher salt (5 g)
- 1 tbsp roasted garlic powder (15 g)
- 1 tbsp fresh rosemary leaves, chopped finely (15 g) + more for garnish
- Coarse sea salt for garnish
- 2 garlic cloves, thinly sliced
- Fresh rosemary sprigs, about 1 inch for garnish
Step by Step Guide:
Activate the Yeast:
In the bowl of a stand mixer, combine 1 cup warm water, yeast, and sugar. Mix lightly with a fork to ensure all the yeast is in the water. Set aside for about 15 minutes until it foams up and bubbles form.
Prepare the Dough:
In another bowl, whisk together the oil, honey, and 2 eggs. Pour this mixture into the yeast mixture.
Using the dough attachment on your mixer at low-medium speed, gradually add the flour, salt, garlic powder, and chopped rosemary. Add about 1/2 cup of flour at a time with the mixer on low. Continue mixing until everything is incorporated and the dough begins to pull away from the bowl, forming a large ball.
Knead the Dough:
Turn the dough onto a well-floured surface and knead for about 5 minutes. The dough is ready when it bounces back quickly after pressing with a finger.
First Rise:
In a large bowl, pour a bit of oil and place your dough ball inside. Turn the dough around so it’s coated with a thin layer of oil. Cover with a clean towel and place in a warm spot (such as an oven). Let it rest and rise for 1 1/2 hours until it doubles in size.
Shape the Dough:
Punch the dough down and divide it into 2 balls for your challahs. Cover one ball of dough while working with the other.
Divide the dough into 3 or 4 pieces (depending on the braid you prefer). Roll each piece into a long rope, about 8-10 inches in length, and braid as desired.
Second Rise:
Preheat the oven to 350°F (175°C). Place the challahs on a baking sheet. Brush each challah with the egg wash, sprinkle with coarse sea salt and chopped rosemary, and place sliced garlic in the nooks of the braid. Allow resting for another 30 minutes.
Bake:
Bake the challahs for about 30 minutes or until the top is lightly golden brown.
Recipe Notes:
- Ensure the water for the yeast is warm, not hot, to activate the yeast properly.
- Use fresh rosemary for the best flavor.
- If the dough is too sticky while kneading, add a little more flour, a tablespoon at a time.
- The second rise helps develop the flavor and texture of the bread, so don’t skip this step.
Yield:
- Makes 2 challah loaves
Prep Time:
- 2 hours (including rising times)
Cook Time:
- 30 minutes
Rosemary Garlic Challah Bread
- Total Time: 2 hours 30 minutes
- Yield: 2 challah loaves 1x
Description
Make two beautiful challah loaves, packed with gorgeous rosemary and a hint of garlic. Perfect for your next dinner party or picnic.
Ingredients
For the Dough:
- 1 packet of yeast (1/4 oz, 7g)
- 1 cup warm water (240ml)
- 1 tbsp sugar (12g)
- 1/4 cup vegetable oil (60ml)
- 2 tbsp honey (30ml)
- 2 whole eggs
- 4 cups all-purpose flour (480g)
- 1 tsp kosher salt (5g)
- 1 tbsp roasted garlic powder (8g)
- 1 tbsp fresh rosemary leaves, chopped finely (5g)
For the Topping:
- 1 egg, whisked for egg wash
- Coarse sea salt for garnish
- 2 garlic cloves, thinly sliced
- Fresh rosemary sprigs, about 1 inch for garnish
Instructions
Activate the Yeast:
In the bowl of a stand mixer, combine 1 cup warm water, yeast, and sugar. Mix lightly with a fork to ensure all the yeast is in the water. Set aside for about 15 minutes until it foams up and bubbles form.
Prepare the Dough:
In another bowl, whisk together the oil, honey, and 2 eggs. Pour this mixture into the yeast mixture.
Using the dough attachment on your mixer at low-medium speed, gradually add the flour, salt, garlic powder, and chopped rosemary. Add about 1/2 cup of flour at a time with the mixer on low. Continue mixing until everything is incorporated and the dough begins to pull away from the bowl, forming a large ball.
Knead the Dough:
Turn the dough onto a well-floured surface and knead for about 5 minutes. The dough is ready when it bounces back quickly after pressing with a finger.
First Rise:
In a large bowl, pour a bit of oil and place your dough ball inside. Turn the dough around so it’s coated with a thin layer of oil. Cover with a clean towel and place in a warm spot (such as an oven). Let it rest and rise for 1 1/2 hours until it doubles in size.
Shape the Dough:
Punch the dough down and divide it into 2 balls for your challahs. Cover one ball of dough while working with the other.
Divide the dough into 3 or 4 pieces (depending on the braid you prefer). Roll each piece into a long rope, about 8-10 inches in length, and braid as desired.
Second Rise:
Preheat the oven to 350°F (175°C). Place the challahs on a baking sheet. Brush each challah with the egg wash, sprinkle with coarse sea salt and chopped rosemary, and place sliced garlic in the nooks of the braid. Allow resting for another 30 minutes.
Bake:
Bake the challahs for about 30 minutes or until the top is lightly golden brown.
Notes
- Ensure the water for the yeast is warm, not hot, to activate the yeast properly.
- Use fresh rosemary for the best flavor.
- If the dough is too sticky while kneading, add a little more flour, a tablespoon at a time.
- The second rise helps develop the flavor and texture of the bread, so don’t skip this step.
- Prep Time: 120 mins
- Cook Time: 30 mins
- Category: Bread
- Method: Baking
- Cuisine: Jewish
Nutrition
- Serving Size: 1 slice
- Calories: 200
- Sugar: 2g
- Sodium: 200mg
- Fat: 8g
- Saturated Fat: 1.5g
- Unsaturated Fat: 6.5g
- Trans Fat: 0g
- Carbohydrates: 28g
- Fiber: 1g
- Protein: 5g
- Cholesterol: 25mg


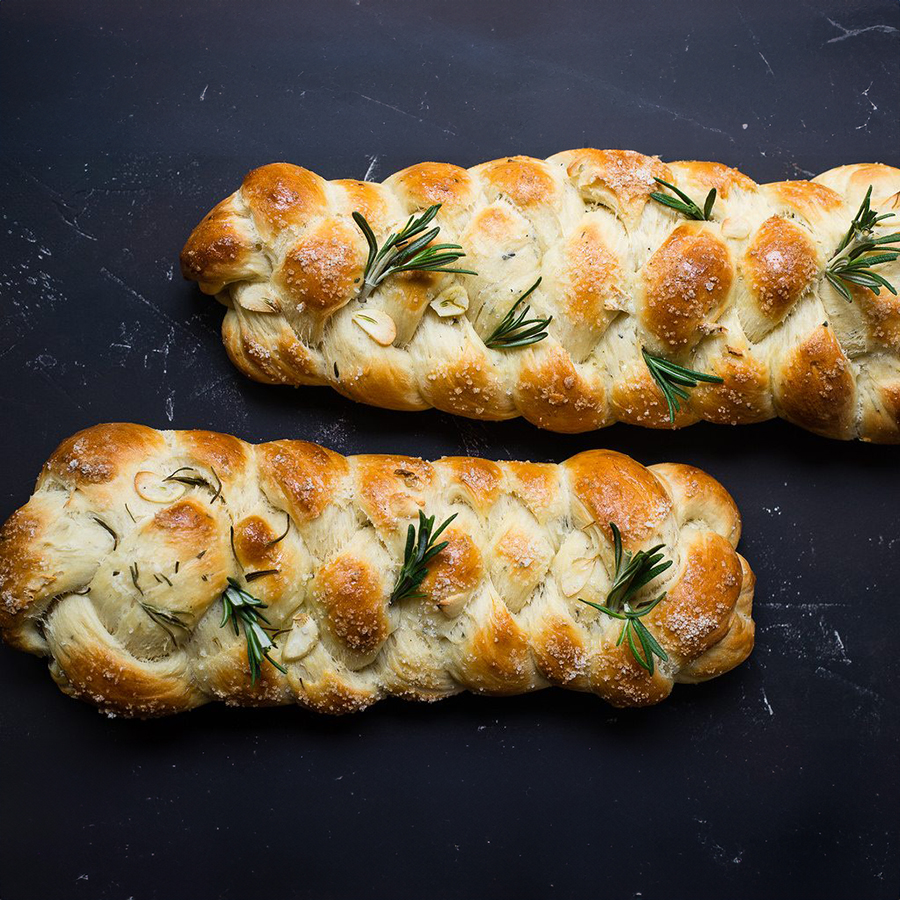





Challah at ya girl! This bread is what dreams are made of. Pass me the butter!
I love this bread so much, amazing recipe!
Did everyone use plain flour for this (i.e not bread flour)? Thanks x
AI – You can absolutely use plain flour, however be aware that you may need to add a little extra water to make sure the dough doesn’t run dry.
I made this yesterday, and they were a total hit. Absolutely delicious!
Made this for the first time and it turned out great (even though I didn’t have garlic powder).
Silly question, Do you have nutritional info? (Calories per serving at least)
Thank you for the recipe!
I just made this for the first time… a must make again. Great taste and texture. A big hit with my husband. Thank you for the recipe.
The rosemary and garlic really added a nice flavor to an already-amazing bread!
Success, even making for the first time! It was absolutely delicious and not difficult to make. A new favorite recipe for sure!
Can you make this with sourdough starter? Currently, yeast is unavailable in my area. I do have active sourdough starter.
This turned out amazing!! What a fantastic, simple, and delicious recipe.
Thank you for sharing :)
Will you be adding photos of the process? It’s nice to see how each step goes for those of us who are inexperienced bread bakers
This is a great recipe! Thank you for sharing it, my family really enjoyed it!
The bread looks beautiful. I only have bread flour. Will that be ok?
the most delicious bread ever
Hi there,
I was wondering if I can make the dough ahead of time and leave it in the fridge overnight to bake the next day?
Let me know please!
I haven’t tried it with instant yeast, but I think it would be fine, just proof a lot faster.
Love the recipe; the challah is in the oven as we speak.
Can you use instant yeast?
This turned out perfectly! Thank you for the amazing recipe!
This recipe is fantastic. Just made it for the first time and the first loaf is almost entirely gone. Thanks for posting!
Can we use dry rosemary instead?