A favorite Paris eatery, Restaurant Cleo, shares its recipe for squid ink strigoli.
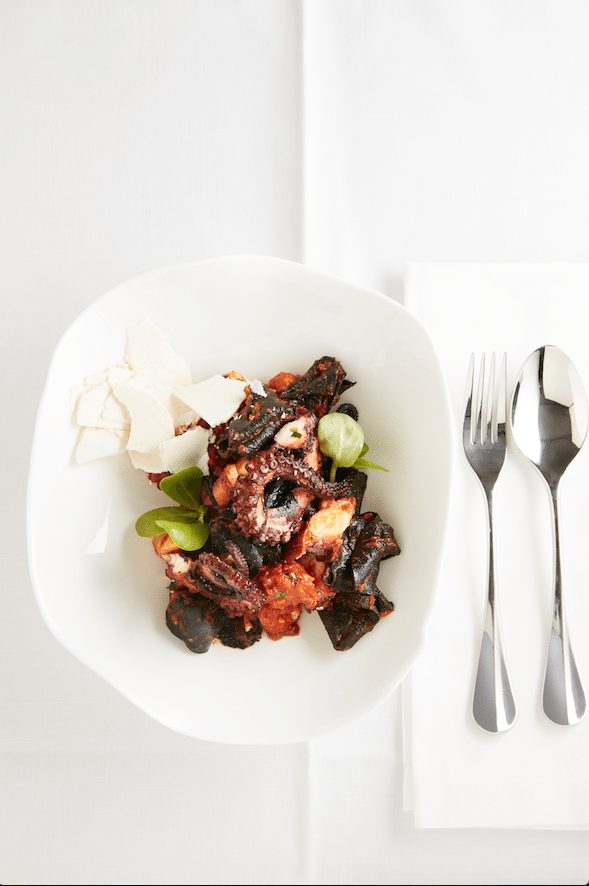
In Paris? Hungry?
Lucky for you, Hotel le Narcisse Blanc in the 7th Arrondissement (near the Eiffel Tower) is a perfect spot for food lovers.
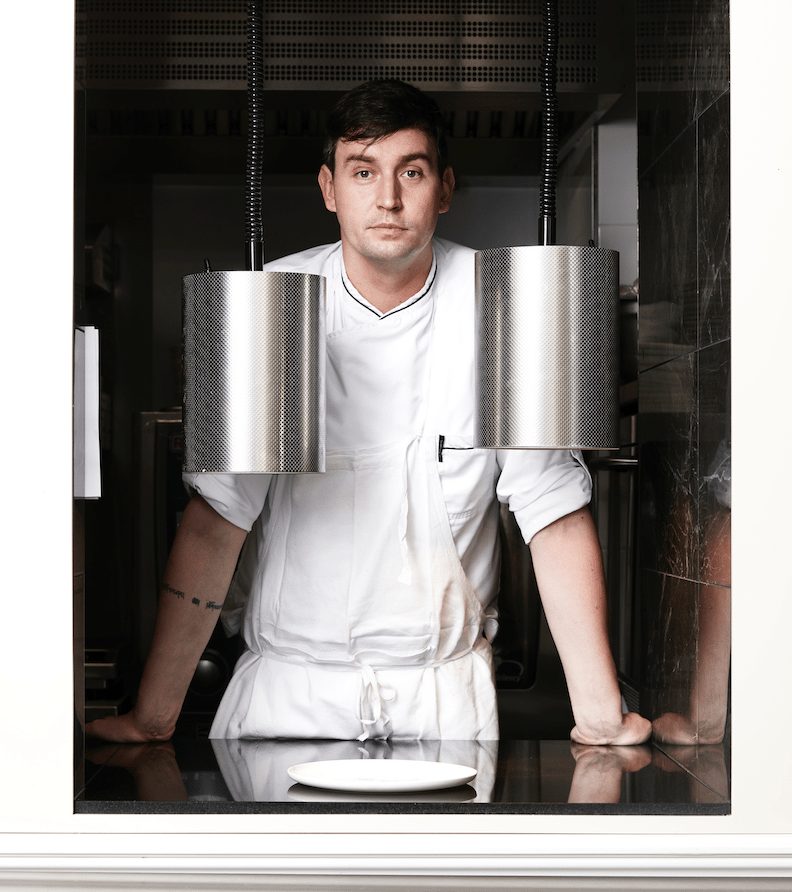
Chef Zachary Gaviller, from Ontario, Canada finds himself in the heart of Paris and heading up the kitchen at this luxury, designer hotel. The hotel’s eater is called Restaurant Cleo and it has a lot going for it: friendly staff, chic environment and delicious food.
Here is my ABSOLUTE favorite recipe from the restaurant.
Insider Tip – be sure to eat the bread served in the restaurant – it’s delicious!
IMAGES BY THOMAS DHELLEMMES
PrintParis Best: Squid Ink Strigoli
Description
A favorite Paris eatery, Restaurant Cleo, shares its recipe for squid ink strigoli.
Ingredients
Scale
Squid ink pasta dough
- 1 kg of good pasta flour or 700g 00 flour to 300g semolina
- 600 g egg yolk
- 1 whole egg
- 100 g squid ink
Braised Squid and Nduja Ragu for 10
- 150 g Nduja
- 1.5 kg of Squid
- 3 L of good tomato sauce
- 2 cloves of chopped garlic
- Parsley
- Lemon juice
- Olive Oil
- Unsalted butter
Instructions
Pasta
- You can prepare the dough two ways: in a strong stand up mixer with a mixing bowl and a dough hook or you can mix it together by hand.
- The Manual Method: Pile your flour on the counter top and mound it together. Press the flat side of a bowl into the flour to form a well deep enough to hold the egg yolks and squid ink.
- In another bowl mix together you yolks, ink and whole until homogenous. Pour everything into the well.
- With a fork begin mixing the egg through the flour in slow, circular motions. Gradually encorparting the flour into the well.
- Once the flour and egg are mixed together begin working the dough with your hands until it coalesces. Break the mix into three separate balls and knead each ball thoroughly until it feels firm and smooth.
- Wrap each ball in plastic wrap and let it rest in the refrigerator for at least an hour before you work it again.
- The Mixer Method: Put everything in a mixing bowl with the dough hook. Repeat steps 4 and 5.
- Now I could teach you how to make the shape of this pasta but that’s a closely guarded secret. Come to Paris and I’ll teach you sometime. You don’t have to use squid ink or even homemade pasta for this recipe. You can use anything.
Braised Squid and Nduja Ragu
- This is a very simple recipe. Just have everything ready to go before you start so you can cook it all at once.
- In a large cast iron casserole sauté your garlic mince in olive oil on medium low heat.
- Add your nduja to the garlic and mix together with a wooden spoon until it dissolves
- Add your chopped squid to the garlic and nduja mix, stir occasionally so the squid has a chance to get some colour.
- Deglaze with white wine
- Add your tomato sauce and mix everything thoroughly
- Put a lid on your pot and bake in the oven at 185 degrees Celsius for 1 hour and 20 minutes.
- Like most pasta sauces this sauce benefits from a night of rest before you serve it. It deepens the flavor and allows the sauce to thicken. Not a must but a must try.
Assembly
- Cook your pasta
- Warm up your sauce
- Add pasta to the sauce while its still al denté
- Reduce your sauce a little bit and allow the sauce to be absorbed by the pasta
- Add a knob of butter to cream the sauce out a bit
- Add your parsley and a good squeeze of lemon, toss and serve.


