
My kids do not love having cereal for breakfast. They’ll eat it, but they also let me know they disapprove of my lack of breakfast cooking. To them, if I don’t have to actually make it, it doesn’t count as a meal. I cannot say I blame them; I’ll take eggs and bacon or pancakes over cereal any day.
Of course, they wouldn’t complain if that cereal happened to be chocolate, covered in frosting, or coated with sugar and cinnamon. Those cereals they happily devour. The other day I had a moment of weakness, and picked up a box of Cinnamon Toast Crunch.
It occurred to me as I ate handfuls right out of the box that I could make this myself.
Believe me when I tell you, it it SO easy to make your own cereal. And while this one is on the sweet side, it is made with only a handful of ingredients, all of which I’m sure are already in your house, and everything in moderation is fine.
Print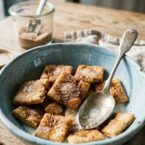
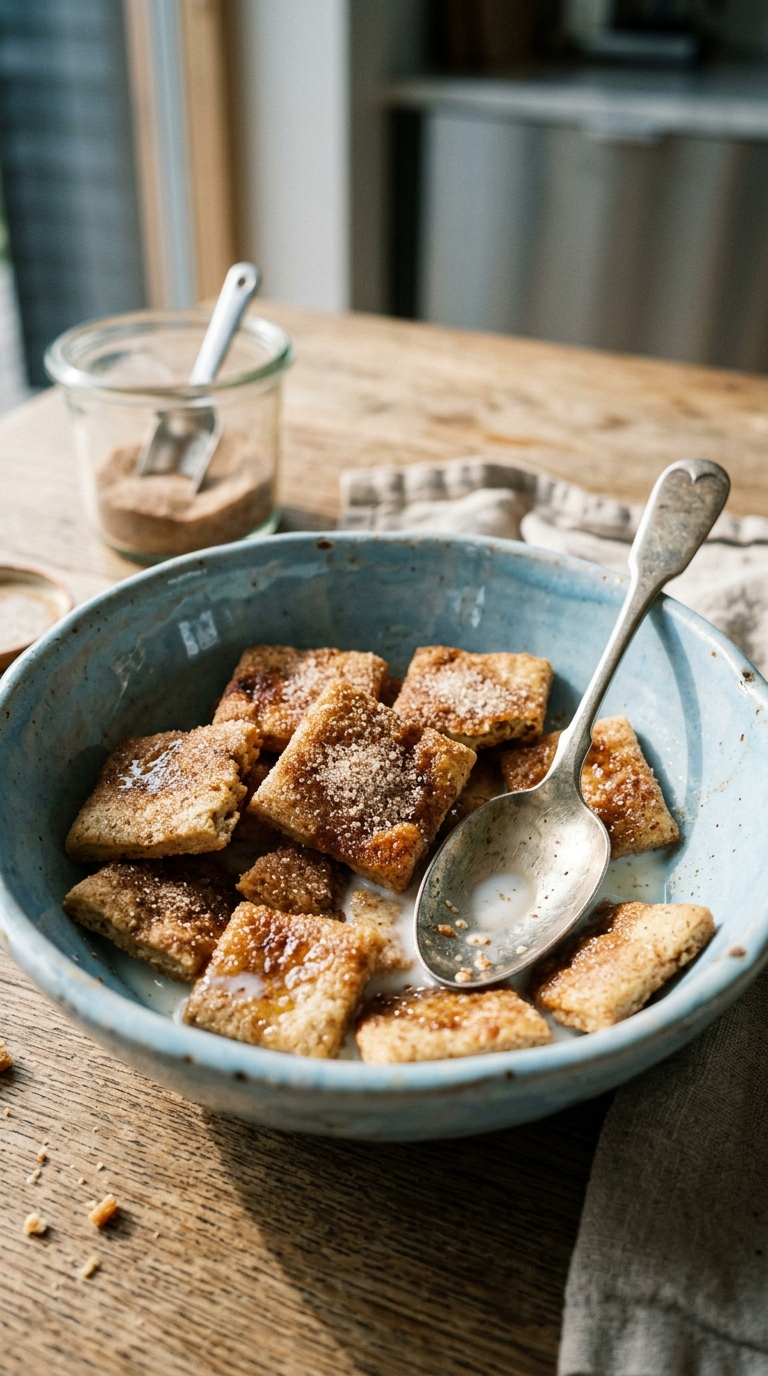
Make Your Own Cinnamon Toast Cereal
- Total Time: 55 mins
Description
Learn how to make a version that is better than the box, and perfect for mornings when only something sweet will do.
Ingredients
- 1 cup all purpose flour
- 1 cup rice flour, I used a combination of half white and half brown rice flours
- 1/2 cup sugar, divided
- 1 1/2 tsp cinnamon divided
- 1/2 tsp salt
- 1 tsp vanilla
- 1/2 - 3/4 cup milk
- 2 Tbsp butter, melted
Instructions
- combine flours with 1/4 cup sugar, 1/2 tsp cinnamon, and salt, stir in vanilla and 1/2 cup of the milk,
- if the dough is too dry add milk 1 Tbsp at a time until it comes together without crumbling
- roll out the dough on a parchment lined baking sheet – about 1/8 inch thick
- score the dough into squares – a pizza cutter works best for this – you do not need to cut all the way through
- brush with the melted butter
- combine the remaining 1/4 cup sugar with 1 tsp cinnamon, and sprinkle on top
- bake at 350 degrees 15 – 20 minutes until lightly browned
- cool and break into squares
- keep cereal in an airtight conainter
- Prep Time: 15 mins
- Cook Time: 20 mins
- Category: Breakfast
Frequently Asked Questions
How thin should I roll the dough, and does it matter?
Roll to about 1/8 inch thick, that’s the sweet spot. Too thick and the squares won’t crisp up in 15-20 minutes; they’ll come out chewy in the middle. Too thin and the edges burn before the center sets. Use a rolling pin on parchment and check the thickness in a few spots. A slight unevenness is fine, those slightly thicker squares just taste a little more like a shortbread bite.
Why use rice flour alongside all-purpose instead of just one flour?
The rice flour is what gives these squares that dry, snappy crunch you expect from cereal. All-purpose flour alone produces a softer, more cookie-like texture that goes soft quickly after baking. The combination, half white, half brown rice flour works well, gives you the structure of a grain-based crunch with just enough all-purpose to hold the dough together. Don’t skip the rice flour.
How do I keep homemade cereal crispy after baking?
Cool the squares completely on the pan before storing, at least 20 minutes. Any residual warmth creates steam that softens them fast. Store in an airtight container at room temperature. They keep well for 4-5 days. If they soften after a day or two, spread them on a baking sheet and return them to a 300°F oven for 5-8 minutes. They crisp right back up.


This came out really delicious, thanks for a great recipe!
First time making this recipe and it does not at all look like yours so I’m wondering what maybe I did wrong? The cereal came out crunchy rather than crispy or a bit chewy as was the case with the middle pieces. I think the edges were too thin for sure but the middle was the correct thickness and it was more chewy cookie than crispy cereal. Any thoughts or suggestions?
How manny calories do they have?
I saw the comment about potwntially making it gf – have you made this with all rice flour to see how it works or no?