It took me NINE tries to get these bars exactly right. The lemon part of these bars? A SNAP. Those were perfected by try numero dos. It’s pretty hard to mess up lemon juice, honey and eggs. It’s like when you decide to put chocolate in cookies and make paleo cookies. Putting delicious things into ONE thing can only mean it will totally, insanely YUMMY.
Like rich eggs, sweet honey and tangy lemon juice. SO GOOD.
But the crust? MY NEMESIS. I kept making these perfect crusts. But then they were notsoperfect by the time I poured the topping on them.
After a billion batches, these happened. I let the whole thing cool over-night and woke up with major anxiety (can you write off counseling sessions as business expenses?! Please say yes.) about cutting into them.
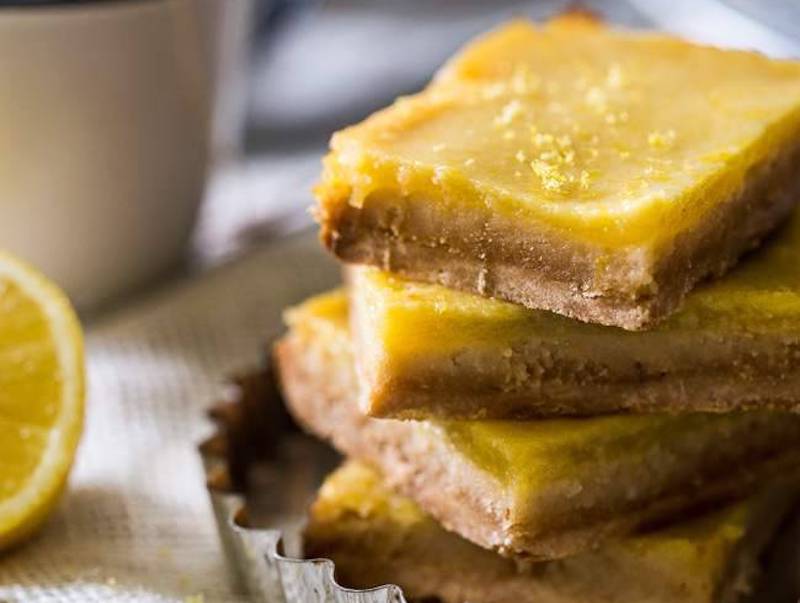
I rolled out bed and uncovered them. I cut into them VERY apprehensively. AND AND AND, I actually felt my knife CUT through the crust. Like in a CRUNCHY-HOW-A-CRUST-SHOULD-BE sort of way
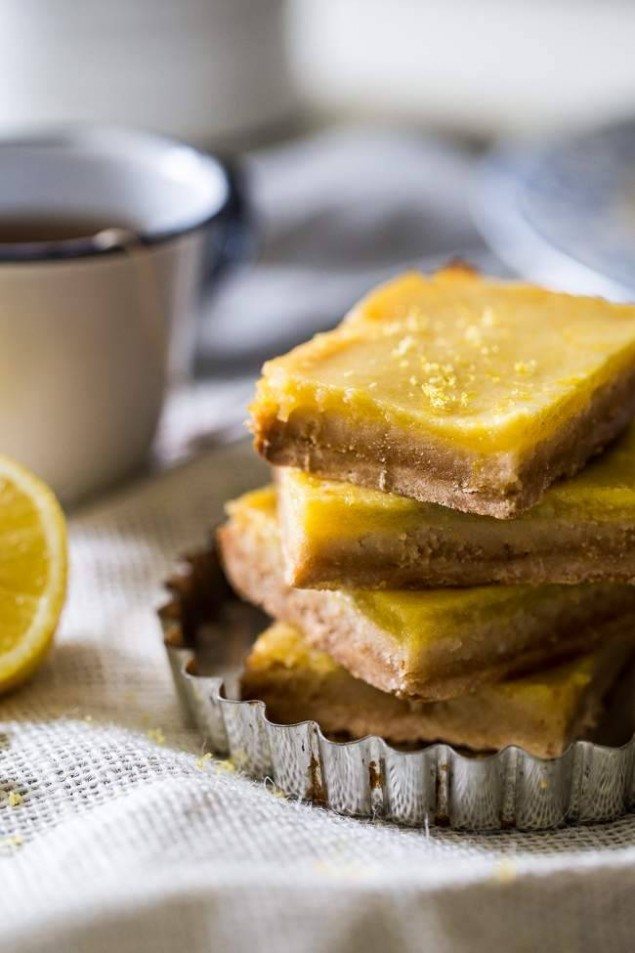
And the taste? Fresh, bright, perfectly sweet and loaded with lemon flavah!
Only 5 INGREDIENTS? CHECK. Paleo? CHECK, the sequel AND good for you WHILE still taking you to Num town? OH BABY.
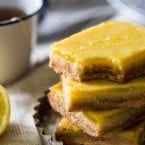
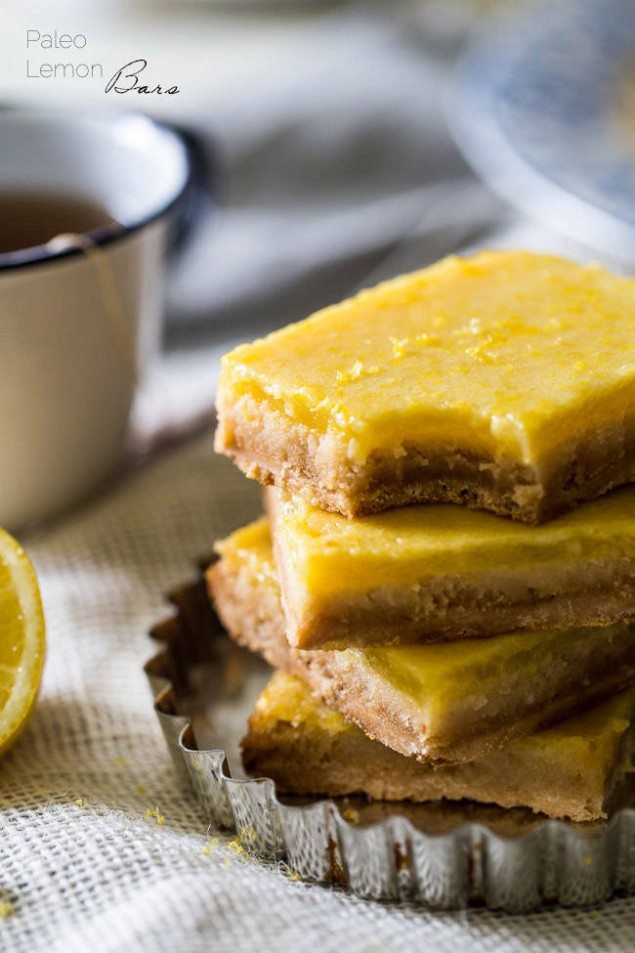
Gluten Free Lemon Bars
- Total Time: 45 minutes
- Yield: 9 -12 squares
Description
Good news! These lemon bars are not only gluten-free, they’re Paleo and so perfectly sweet and tart.
Ingredients
For the crust:
- 1/4 Cup Honey
- 1/2 Cup Coconut Oil at room temperature it should be the consistency of soft butter
- Pinch of salt
- 1 Cup Coconut Flour sifted (95g)
For the lemon topping:
- 3 Eggs
- 1/2 Cup Honey
- 2 tsps Lemon zest about 1 large lemon
- 2 tsps Coconut flour sifted
- 1/2 Cup Fresh* Lemon juice about 3 large lemons
Instructions
- Preheat your oven to 350 degrees and generously rub an 8×8 inch pan with coconut oil. Set aside.
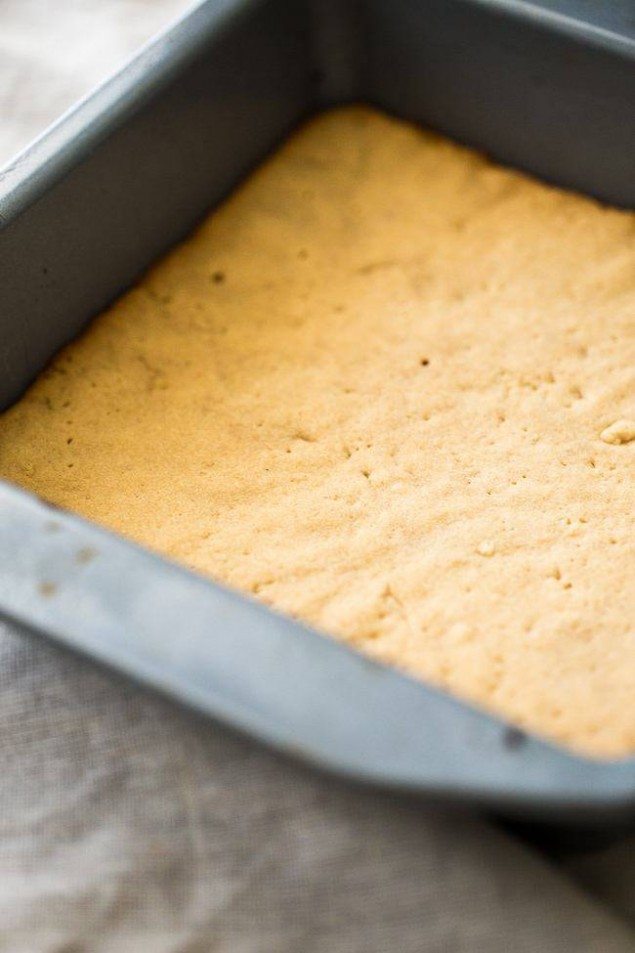
- In a large bowl, using an electric hand mixer, beat together the honey, coconut oil and pinch of salt until creamy and well combined. Stir in the coconut flour until a dough forms.
- Press the dough evenly into the prepared pan and bake until just lightly golden brown, about 8 minutes. ** Once cooked, let cool for 30 minutes.
- Lower the temperature of your oven to 325 degrees and lower the oven rack to the 2nd from the bottom position.
- Once the crust has cooled, gently whisk together the eggs, honey and lemon zest in a large bowl. Do NOT use an electric mixer here or you will over-beat the eggs and the topping with crack once baked. Use a hand whisk.
- In a separate, medium bowl, whisk the coconut flour into the lemon juice, 1 tsp at a time, until well mixed. Make sure you continually whisk as you add the flour so that it doesn’t clump up.
- Pour the lemon juice mixture into the egg mixture, whisking while you pour, until evenly combined.
- Pour the topping over top of the cooled crust and bake until it is just set, and the very center is just slightly jiggly, about 21-23 minutes. Let cool completely at room temperature. Then, cover and refrigerate for at least 6 hours, best over-night. You need to let the crust completely cool, or it will be soft.
- Using a VERY sharp knife (or else you might not cut through the crust) cut the bars into squares and DEVOUR. ***
Notes
Do NOT use lemon juice from a bottle, it tastes completely different than fresh. I tried it. Not good.
* Make sure you DON’T OVER-BAKE it. I did once, and it completely makes the lemon layer bake funny, and makes it almost disappear. You want to to be golden brown on the edges and VERY light brown on the inside.
I have had a few readers struggle with this recipe, but I have made in MANY MANY times with great results. Please make sure to follow the directions as written, and I highly recommend weighing your flour, as gluten free baking is tricky.
Store bars in the refrigerator until ready to serve. ***The first bar is a little difficult to get out, so be gentle! But, once one is out, it’s smooth sailing!
- Prep Time: 15 minutes
- Cook Time: 30 minutes
- Category: Baking
Frequently Asked Questions
What type of honey should I use for the lemon filling?
You can use any variety of honey you prefer, but mild-flavored honey works best to let the tangy lemon flavor shine.
How do I ensure the crust stays crunchy after baking?
Make sure to bake the crust until it’s golden brown, and allow the entire dish to cool overnight before cutting to maintain its texture.
Can I substitute the eggs in the lemon filling?
Unfortunately, the eggs are crucial for the filling’s structure, so I do not recommend substituting them unless you have a specific egg replacement in mind that mimics their binding properties.


Oh wife of mine !!!! I am going gluten free after seeing this Lemon Bar recipe !!!!