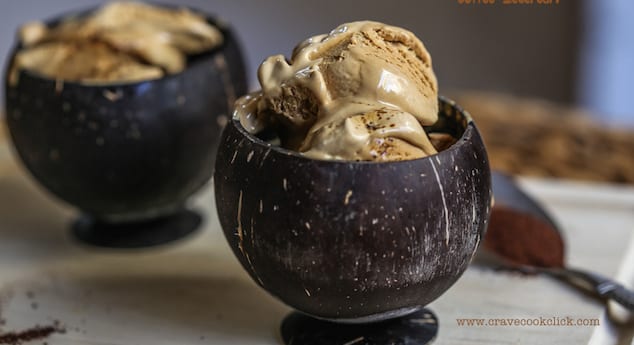
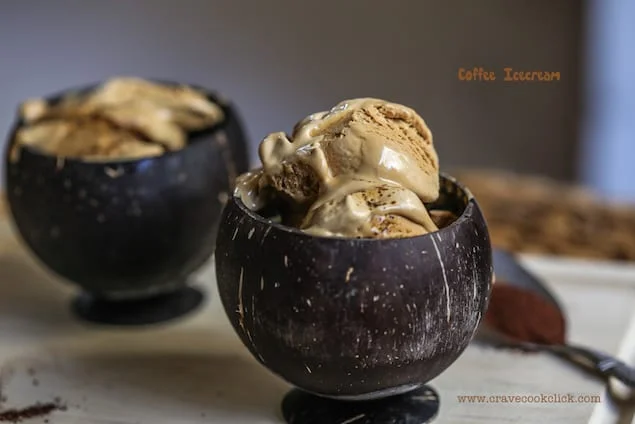
This is a super simple coffee ice cream. It is a ridiculously easy recipe that does not require an ice cream maker. Whipping cream is combined with sweetened condensed milk and instant coffee and beaten until thick. Frozen until set, this rich, creamy ice cream is not only delicious, but the work of mere minutes – give it a go!

Coffee Ice Cream Without a Machine
- Total Time: 10 minutes
- Yield: 1.5 liters of ice cream
Description
This rich and creamy coffee ice cream is effortlessly made without an ice cream maker, combining whipping cream, sweetened condensed milk, and instant coffee for a delightful frozen treat.
Ingredients
- 600ml (20 fluid oz) of Whipping Cream
- 200g (7 oz) of Sweetened Condensed Milk (about 1/2 a can)
- 2-3 tbsp (30-45 ml) of Instant Coffee Powder
- 2 tbsp (30 ml) of Water
Instructions
- In a small cup, dissolve the instant coffee powder with 2 tbsp of water, stirring until completely dissolved.
- In a large mixing bowl, combine the dissolved coffee mixture with the sweetened condensed milk. Mix well until fully incorporated.
- Add the whipping cream to the coffee and condensed milk mixture.
- Using an electric mixer, whisk the mixture on medium-high speed until it becomes thick and creamy, resembling the consistency of soft peaks.
- Transfer the creamy mixture into a freezer-safe container, smoothing the top with a spatula.
- Cover the container with a lid or plastic wrap and freeze for at least 6 hours, or until the ice cream is firm and set.
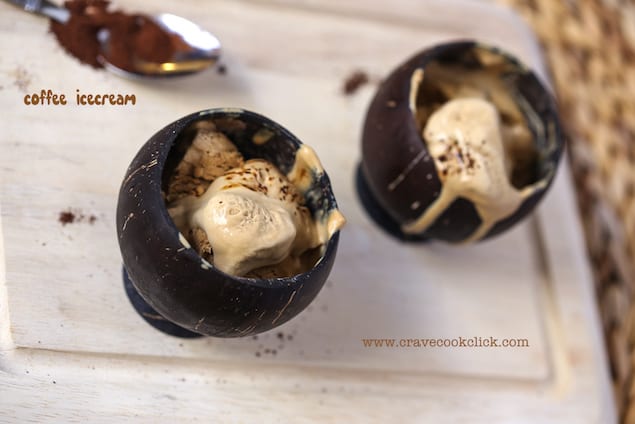
- Scoop and serve the ice cream directly from the freezer, enjoying its rich and creamy texture.
Notes
- For a stronger coffee flavor, use 3 tablespoons of instant coffee powder.
- Store the ice cream in an airtight container in the freezer for up to 2 weeks.
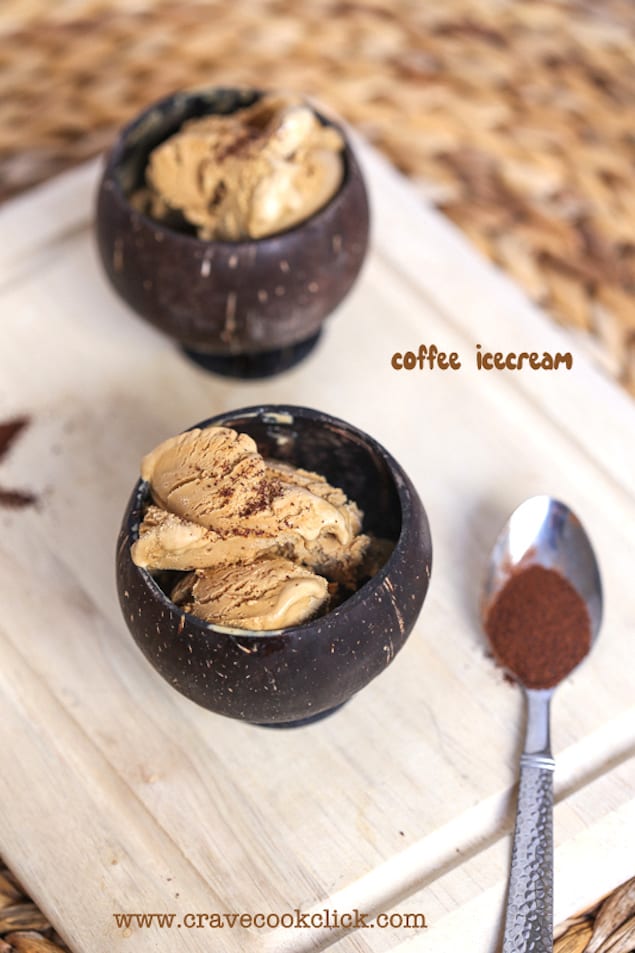
- Serve with chocolate sauce or sprinkle with cocoa powder for an extra treat.
- Prep Time: 10 minutes
- Cook Time: 0 minutes
- Category: Dessert
- Cuisine: American
Nutrition
- Serving Size: 1/2 cup
- Calories: 250
- Sugar: 18
- Sodium: 60
- Fat: 18
- Carbohydrates: 20
- Fiber: 0
- Protein: 3
- Cholesterol: 70
Frequently Asked Questions
Can I use a different type of coffee instead of instant coffee?
While instant coffee is recommended for this recipe for its ease of use and quick dissolving, you can use brewed coffee, but it may alter the texture and require additional time to freeze.
How long do I need to freeze the coffee ice cream before it’s ready to serve?
You should freeze the mixture for at least 4-6 hours, or until it is completely set and firm.
What can I do if my whipped cream doesn’t thicken properly?
Make sure to use cold heavy whipping cream and whip it until soft peaks form; if it remains thin, it may be due to overwhipping or using a lower fat content cream.


Have your coffee and eat your ice cream too? I’m in!
The creamiest coffee ice cream! though i have eaten the worlds most expensive ones. I wanted to try this cheap thing!!! Amazing though!!!
Absolutely amazing!
Definitely recommended.
Great recipe thank you! Took 5 minutes to prepare. Highly recommend. Only tips: By ‘creamy’, it means thicker but not whipped (or at least it worked for me this way) and the container needs to be quite shallow for it to freeze in 3-4 hours. Mine was about 2″ deep and only the top was frozen after 4 5 hours. Yummy though!
Iv made the coffee and vanilla bean ice cream. Out of this world. I added Mimi chocolate chips to the coffee recipe . Everyone that’s tried it loved it.
Sounds wonderful And simple!
I’m thinking other flavors can be used fairly easy?