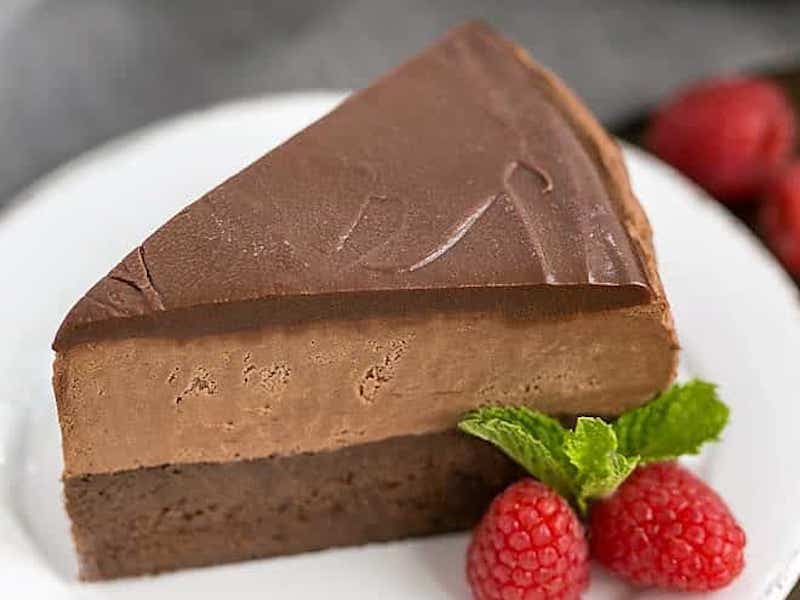
If you’re looking for a swoon worthy chocolate dessert, look no further and make this sublime Flourless Frozen Chocolate Mousse Cake.
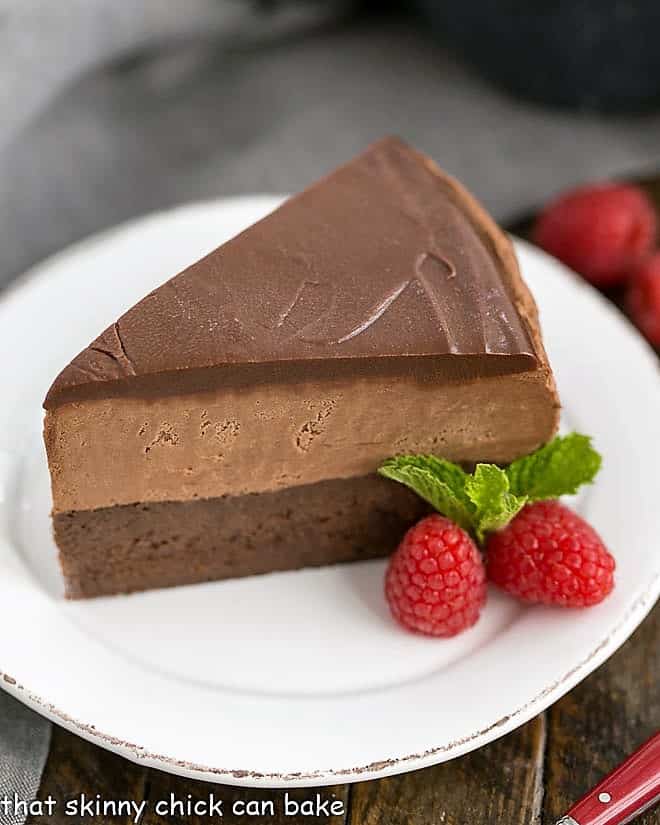
This chocolate number started with a flourless chocolate cake base, topped by an incredibly rich and creamy mousse and iced with a glossy ganache. It was perfect for a friend facing back surgery and her chocoholic husband.
Frozen desserts are perfect for gifting as they don’t need to be eaten right away and are terrific for unexpected company or those pesty cravings! My girlfriend is a chocolate fanatic and I knew having slices of this dreamy frozen chocolate mousse cake in her freezer would brighten up a dreary day of rehab.
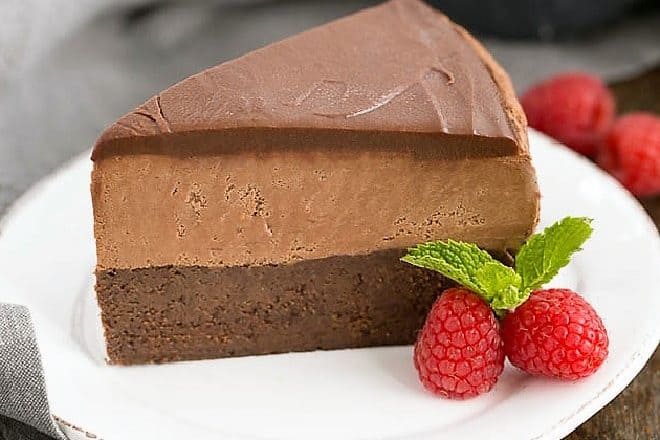
There are three layers of decadence in this frozen mousse cake: a flourless chocolate cake, a layer of dreamy mousse, and a topping of chocolate ganache! Each one is fabulous on its own, but together, they create a chocolate extravaganza!
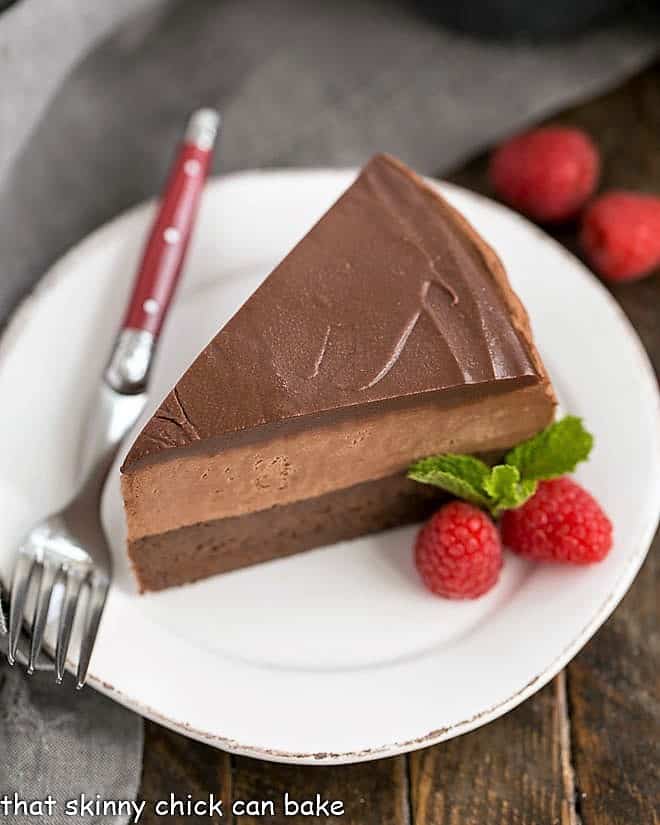
I brought this cake to my friend, Candes, with a couple pre-cut slices for her and our other friends to sample at one of our knitting group meetings. Our hostess is gluten free so rarely gets to enjoy my treats. She was happy to indulge as was the rest of the crew.
I left a slice at home for my own chocolate taste tester—and this was unequivocally a hit across the board. I found this recipe on the blog of my dear blogger friend, Danielle. She and I cook from each other’s blogs each month, and when I spied this chocolate number on Hugs & Cookies XOXO, I knew it would bring sheer bliss to all who indulged.
I got an email from Candy only days after her surgery, requesting the recipe. Her husband told her it was the only chocolate cake she ever needed to make. And she clarified that it was most likely the only dessert she’d ever need to make! If you’re looking for a showstopping treat for the chocoholic in your life, you’ve found it.
If you want any chance of getting the mousse cake out of the springform pan, you’ll want to use non-stick foil to line it. I used two pieces placed perpendicular to each other so that all the inner surface was cover.
I did my best to press the foil tightly against the inside of the pan, but you’ll still see wrinkles and folds on the sides of the dessert when it’s unmolded. No one except the baker will notice this!
Do you know what a springform pan is? It’s used mainly for cheesecakes, but works great for any cakes. It has a removable base and a “collar” for the sides which can be released with a clip. It’s a must for this mousse cake.
I also like using this cake spatula for moving cakes and cheesecakes from the pan to the serving plate.
You will need to separate your eggs for the mousse. PRO-Tip: Remember that eggs separate easiest when cold, but egg whites whip best when at room temperature.
PRO-Tip: And note than any yolk that contaminates the egg whites (or any grease on the bowl or beaters) will prevent them from whipping into stiff peaks. It’s worth taking your time separating the eggs so none are wasted.
The cake layer will shrink as it cools, so the mousse layer invariably will be a little bit wider than the cake below.
To cut, I found using a long, sturdy bread knife worked well as it could straddle the whole cake. Warming the knife helps cut through a frozen dessert if needed.
You’ll want this dessert to sit out at room temperature after it’s sliced and placed on dessert plates. It slices cleanly when frozen solid, but let it soften for a few minutes to make for easier indulging.
Did you know that cold inhibits a dish’s flavor? So for desserts like ice cream, you need to bump up the flavorings a bit.
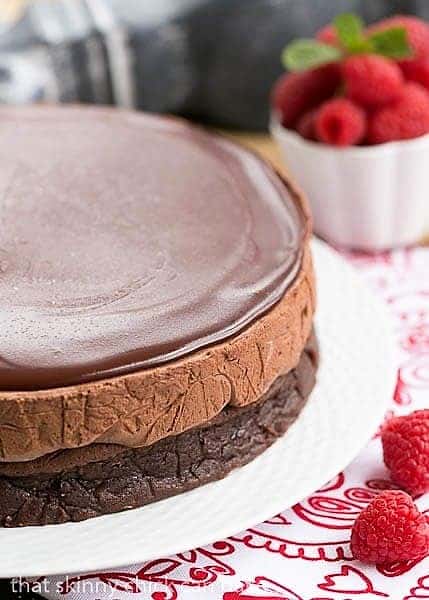
Flourless Frozen Chocolate Mousse Cake
Ingredients
FLOURLESS CAKE:
- 2 sticks (1 cup butter)
- 12 ounces semisweet chocolate (chopped)
- 6 large eggs
- 1 cup sugar
- 1 tablespoon vanilla
MOUSSE:
- 4 tablespoons 1/4 cup butter
- 10 ounces semisweet chocolate
- 3 large eggs (separated (pasteurized eggs preferred)*)
- 3 tablespoons sugar
- 1 tablespoon vanilla
- 1 cup heavy whipping cream
GLAZE:
- 4 ounces semisweet chocolate
- 1/4 cup light corn syrup
Instructions
Make the cake:
- Preheat oven to 350º.
- Line inside of 9-inch springform pan with nonstick foil and wrap a piece of foil around outside, too.
- Heat butter and chocolate in the microwave until melted. Whisk till smooth.
- Whisk in the eggs and sugar.Add vanilla and pour into prepared pan.
- Place the pan in a larger roasting pan and fill the larger pan with hot water to come about halfway up the sides of the pan.
- Bake 40-45 minutes and remove from oven, allowing cake to cool in the water bath.
- Once cool, place cake pan in freezer.
Make the mousse:
- Melt butter and chocolate in the microwave. Whisk till smooth.
- Whisk yolks, sugar and vanilla together.
- Whisk yolk mixture into hot chocolate mixture carefully.
- Using a mixer, beat the whites to stiff peaks. Fold the egg whites into the chocolate.
- In the mixer, beat the cream to soft peaks and fold it into the mousse.
- Spread mousse over the cold cake and return to freezer for an hour.
Make the Glaze:
- Microwave corn syrup and cream just till hot. Add chocolate.
- Let sit one minute and then whisk smooth. Let sit an additional 30 mins to thicken. Remove cake sides. Pour glaze over cold mousse layer and return to freezer for a few hours until ready to serve. Keep frozen. Let warm up at room temperature for a couple minutes before slicing and serving.
Notes
To prevent foodborne illnesses, I recommend using pasteurized eggs in recipes calling for raw eggs.
Recipe adapted fromThe Pastry Queen by Rebecca Rather via Hugs & Cookies XOXO






All of my favorite things in one place!
Two thoughts: 1. If pesky yolks make it into your eggwhites, they are easy to remove. Chase them with 1/2 an eggshell and by some miracle of gravity, they swim right in. And 2: I always found that the easiest and most efficient way to unmold a cake from the base of a springform pan is to slip the base from a tart mold right under it. This seems to be better than trying to remove the foil from the base while lifting it with a knife. Actually, this brings me to a number 3: To prevent leaking, invert the base in the pan rather than right-side-up. This is also what makes unmolding with a tart pan base easy-peasy.
Hi there. I’m just trying out your recipe for the first time and I’ve got to the instructions for the glaze. The list of ingredients states chocolate and corn syrup but the method mentions cream as well. Could you clarify please? Many thanks, Fiona. Edinburgh, Scotland.