
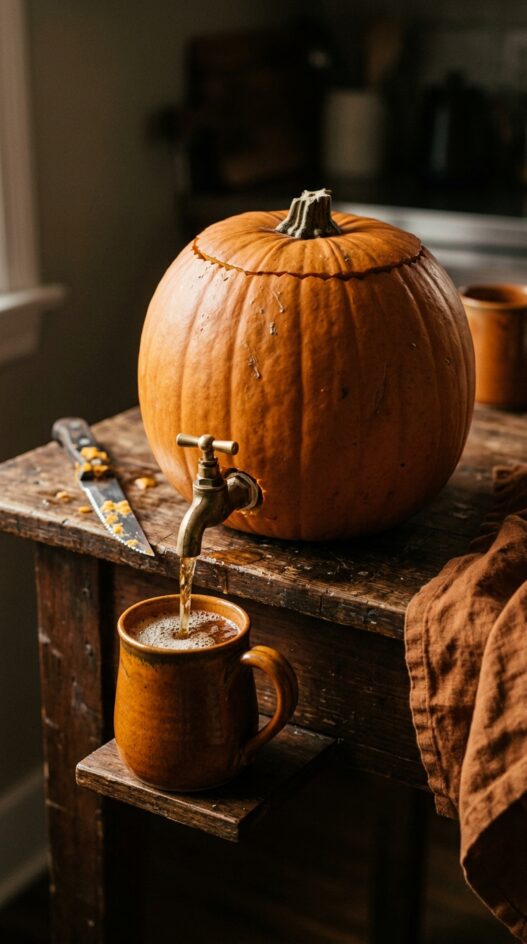
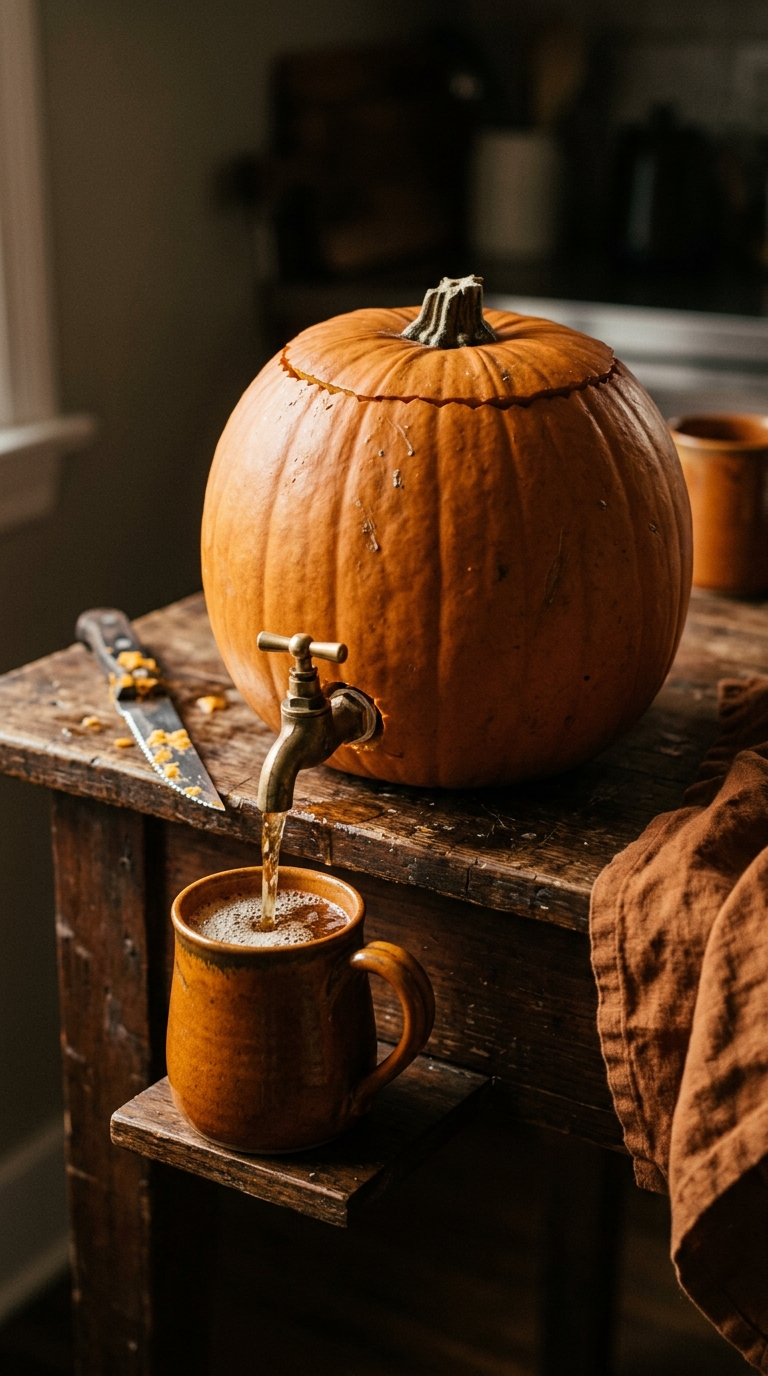
Making a pumpkin keg is easy as pumpkin pie. All you need is a sharp knife, a tap, beer, and about 15 minutes of your time. Utilizing a pumpkin as a keg and filling it with beer adds a touch of pumpkin flavor to your favorite brew. Plus, it’s a great conversation piece and it is festively fun.
These DIY kegs are a perfect addition to any fall gathering, shindig, or holiday party – Halloween, tailgate, or even Christmas. Simply stencil whatever floats your boat onto the front of the pumpkin or leave it plain. Then tap the pumpkin, add your beer, and viola – pour yourself a cold, pumpkin flavored, one.
Enough chit chat, let’s craft a pumpkin keg.
You Will Need: Pumpkin, Tap, Beer, Mugs. (Not Pictured: Knife)
Use a sharp, serrated knife to cut about 1/2” off the top of the pumpkin to create a lid.
Scoop and clean out all the innards and seeds. Either discard or set aside to roast and eat.
Use a coring tool or knife to make a hole 2-3” above the bottom of the pumpkin.
*Be sure to make the hole the same size as tap to prevent leaking*
Insert tap through the hole in pumpkin. Secure and tighten locking nut on the inside.
Add your beer of choice.
*Make sure tap is in vertical position!*
Replace lid. Pull handle forward to dispense beer and enjoy!
Beers that pair well with pumpkin:
Pumpkin Ale
Sweet Stout
Oatmeal Stout
Print
DIY Halloween Pumpkin Beer Keg
- Total Time: 15 mins
Description
This year, up your Halloween game, and impress even the most skeptical of neighbors.
Ingredients
- Pumpkin
- Tap
- Beer
- Serrated Knife
- Mugs
Instructions
- Use a sharp, serrated knife to cut about 1/2” off the top of the pumpkin to create a lid.
- Scoop and clean out all the innards and the seeds. Either discard or set aside to roast later.
- Use a coring tool or knife to make a hole 2-3” above the bottom of the pumpkin. Be sure to make the hole the same size as tap to prevent leaking.
- Insert tap through the hole in pumpkin. Secure and tighten locking nut on the inside.
- Add your beer of choice, making sure tap is in vertical position.
- Replace lid. Pull handle forward to dispense beer and enjoy!
- Prep Time: 15 mins
- Cook Time: 0 mins
Frequently Asked Questions
What type of beer should I use for the pumpkin keg?
Beers that pair well with pumpkin include Pumpkin Ale, Sweet Stout, and Oatmeal Stout.
How do I ensure the tap doesn’t leak when inserted into the pumpkin?
Make sure to create a hole for the tap that is the same size as the tap to prevent leaking.
What should I do with the pumpkin seeds and innards after cleaning out the pumpkin?
You can either discard them or set them aside to roast and eat.
If You Liked This Recipe, You’ll Love These
- 7 Spooky (and not so spooky) Fall Cocktails
- Sheet Pan Brown Sugar Pork Chops
- Skip the Punch Bowl: Make these Halloween Cocktails






How many days in advance of party can pumpkin be carved? Does it need to be refrigerated?