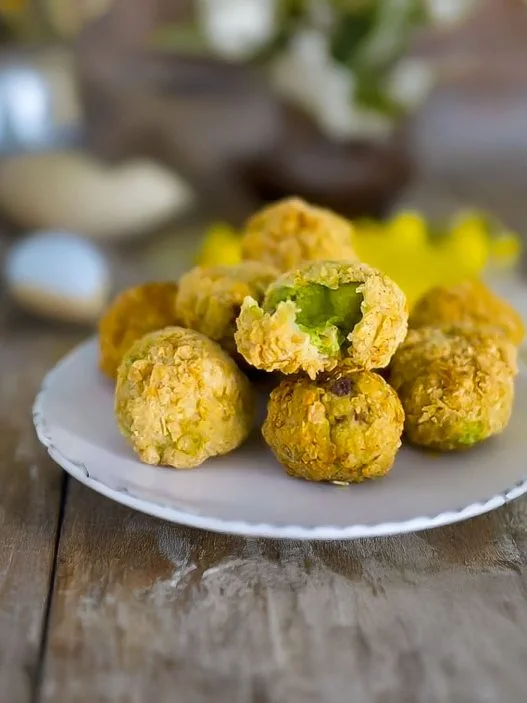
Phyllo dough requires a calm penitence to work with but these spanokopita-inspired appetizers are a delicious payoff.
By Laura Davidson
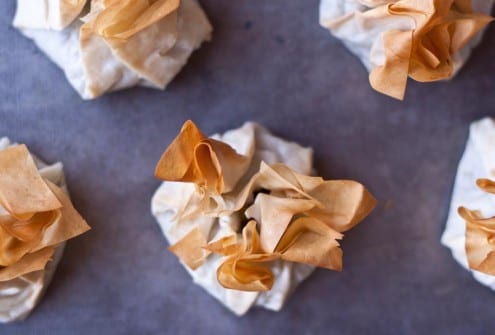
Swiss Chard and Feta Phyllo Purses
- Total Time: 1 hour 10 mins
- Yield: 18-20 purses 1x
Description
Phyllo dough requires a calm penitence to work with but these spanokopita-inspired appetizers are a delicious payoff.
Ingredients
Scale
- 1 lb swiss chard (tough stems removed), roughly sliced
- 1 tablespoon extra virgin olive oil
- 1/2 small onion, finely chopped
- 5 large spring onions, finely sliced
- 3–4 garlic cloves, finely minced
- 7 ounces crumbled feta cheese
- 1 tablespoon + 1 teaspoon freshly squeezed lemon juice
- 1/8 teaspoon freshly grated nutmeg
- 2 pinches of cayenne pepper
- salt
- 1 package or specifically, 10 (18 x 13 inch) frozen phyllo pastry sheets, thawed
- 1/2 cup of clarified butter or ghee
Instructions
- Bring a large pot of salted water to a boil. Add the swiss chard and blanch for 2-3 minutes. Drain into a large colander and allow to cool completely.
- Meanwhile, heat the olive oil in a skillet over medium high heat. Saute the onions until soft and translucent. Add the green onions and garlic and cook for an additional 2-3 minutes, stirring frequently. Remove from heat.
- Once the swiss chard has cooled, place in a clean kitchen towel and squeeze out an excess moisture over a sink. Once squeezed dry, chop finely.
- Combine chopped swiss chard, cooked onion mixture, and crumbled feta in a bowl and mix thoroughly. Add the lemon juice, cayenne pepper, and nutmeg. Season with salt and pepper to taste.
Assemble the Phyllo Purses:
- Preheat the oven to 375 degrees Fahrenheit. Set rack in center of oven. Line a large baking sheet with parchment paper–prepare a clean work surface and set the melted butter and pastry brush within easy reach before you start assembling the purses.
- Remove the thawed phyllo dough from the fridge. Stack the phyllo sheets on top of each other.
- Using a sharp knife, cut the sheets lengthwise in half and cut each length crosswise into thirds, making 6 sections per sheet of phyllo.
- Cover phyllo with a barely damp kitchen towel to prevent from drying.
- Place one square of phyllo on a work surface. Brush lightly with melted butter. Top with a second square of phyllo, off-setting the corners. Brush lightly with melted butter. Top with a third square of phyllo, off-setting the corners again to form a rough star shape.
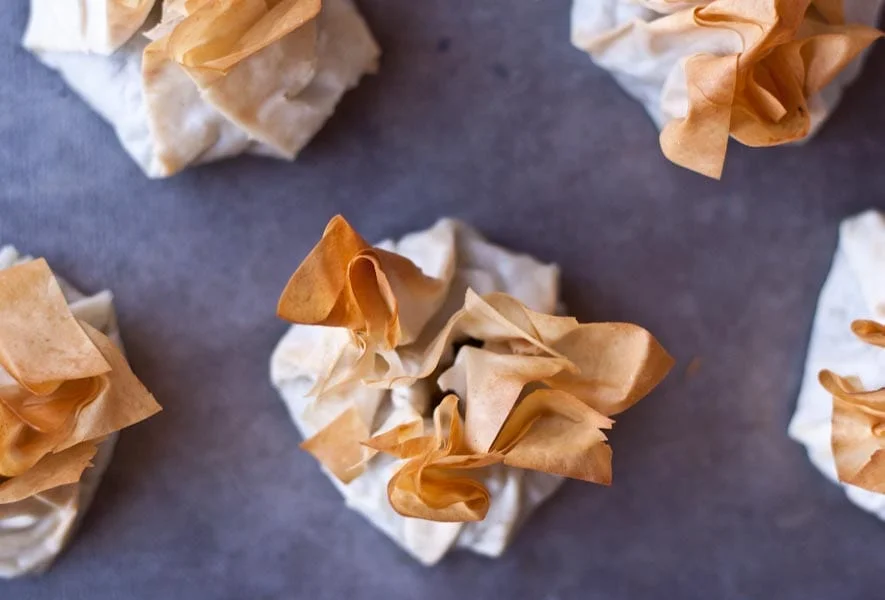
- Place two tablespoons of filling in the center of the phyllo. Enclose filling by bringing together two opposite sides. Continue to gather the edges while twisting and pleating them slightly to form a purse. Brush the top and sides lightly with clarified butter.
- Place the purses on the baking sheet (leaving an inch or two of space around each one) and bake at 375 degrees until tops are golden brown, roughly 18-25 minutes–if baking in batches, allow baking sheet to cool completely between each one.
- Remove from oven and place baking sheet on rack to cool for 5-10 minutes. Serve immediately.
Notes
The filling can be made up to a day or two in advance and kept covered in an airtight container in the refrigerator.
- Prep Time: 45 mins
- Cook Time: 25 mins
- Category: Appetizer


