
Go, go, go, go, go, go, go, shawty
It’s your birthday
We gon’ party like it’s your birthday
We gon’ eat this scone like it’s your birthday
And you know we don’t give a #### it’s not your birthday
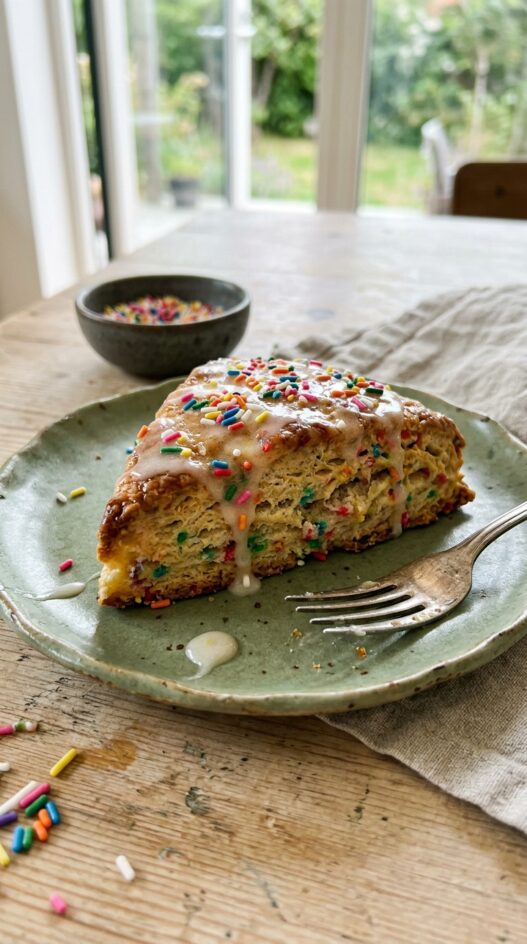
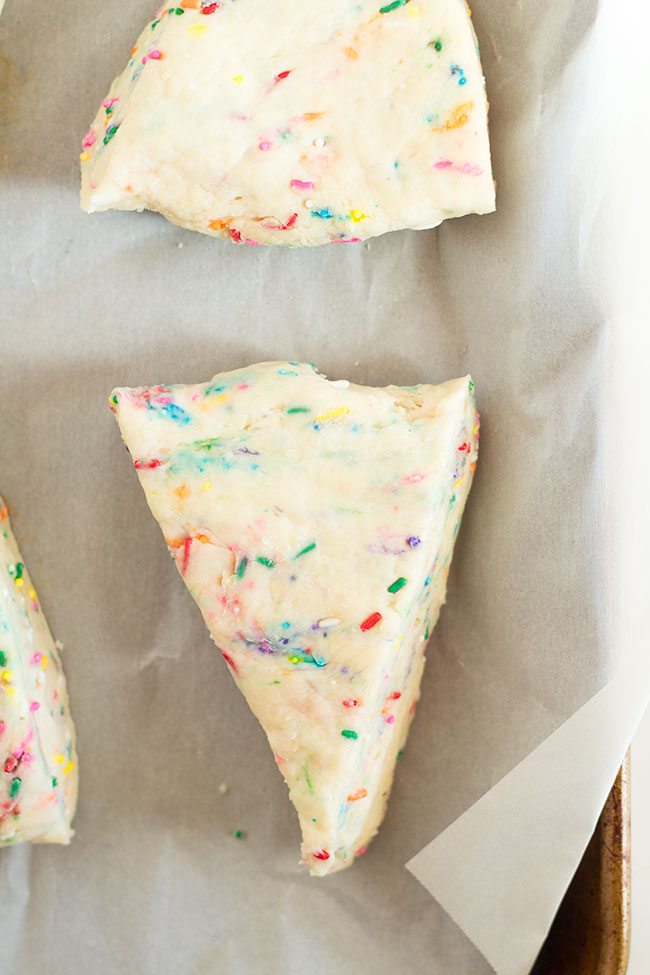
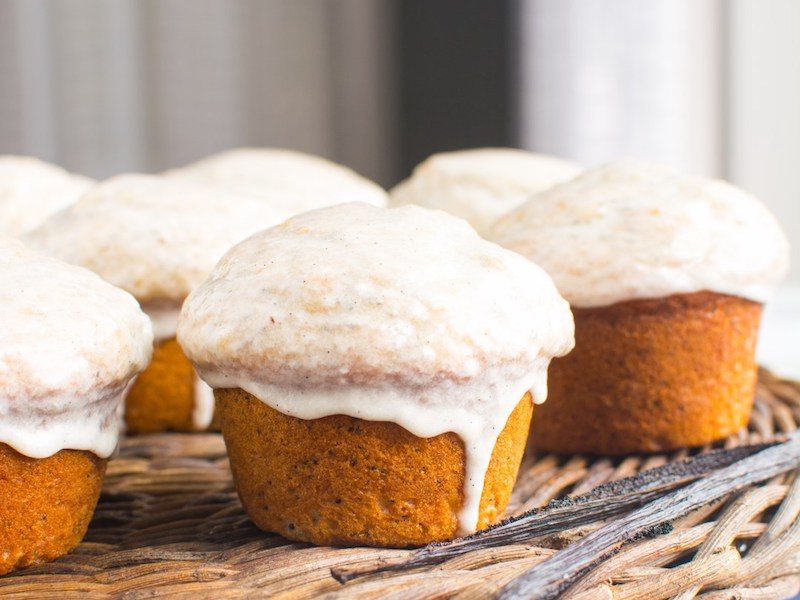
Birthday cake scones complete with glaze and sprinkles a’plenty for days when cake for breakfast seems the only thing to make sense.
When all else fails, have a breakfast of birthday cake scones with glaze and sprinkles. It’s impossible to be grumpy when waking up to sprinkles.
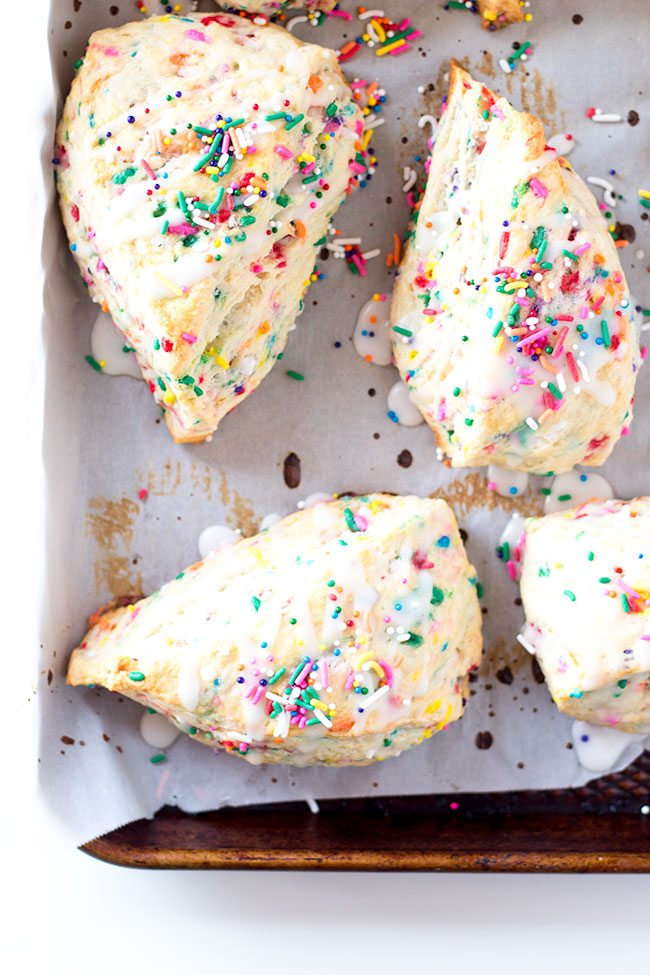
For both the birthday cake bread and birthday cake scones i used a combination of rainbow nonpareils and rainbow jimmies both from wilton. They don’t bleed into the dough, and i love the mix of colors.
If you find these birthday cake scones too sweet for your morning coffee, you could skip the glaze and second dose of sprinkles. but why would you want to do that?
How to Make Sprinkled Birthday Cake Scones
Preheat the Oven:
Preheat your oven to 375°F (190°C).
Line a baking sheet with parchment paper to prevent sticking.
Prepare Dry Ingredients:
In a large mixing bowl, whisk together the all-purpose flour, ¼ cup granulated sugar, baking powder, and salt until well combined.
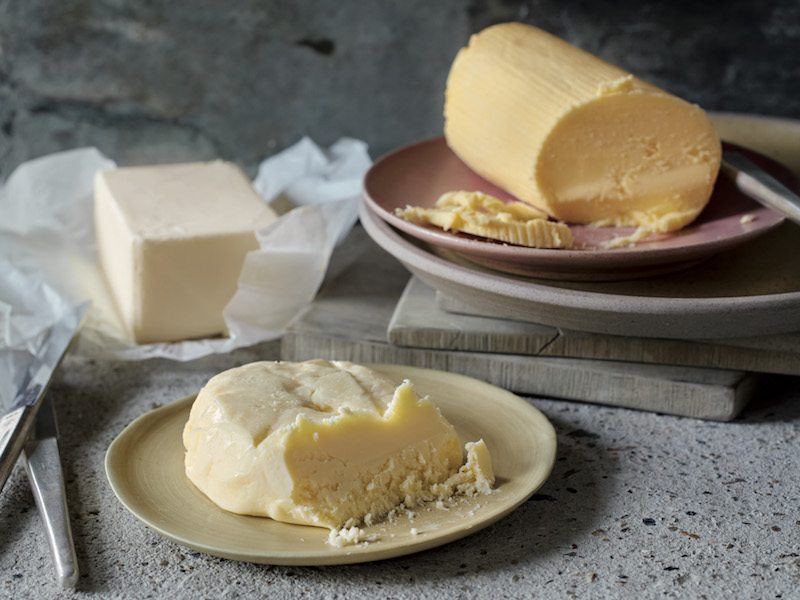
Incorporate Butter:
Add the cold, cubed butter to the dry ingredients.
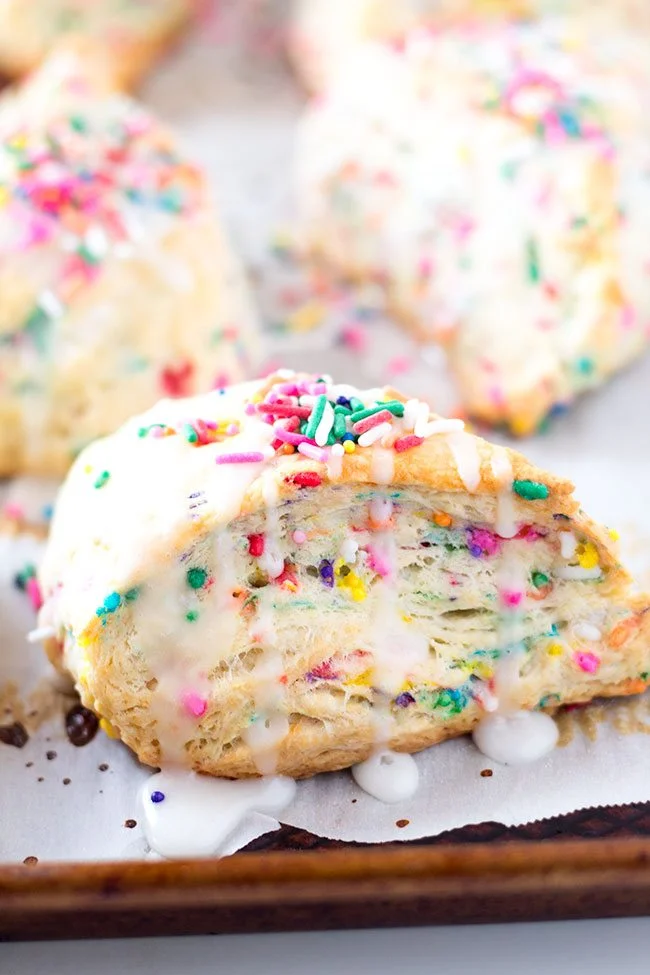
Using a pastry blender or two forks, cut the butter into the flour mixture until it resembles coarse crumbs. This process ensures flaky layers in the scones.
Combine Wet Ingredients:
In a separate bowl or large measuring cup, mix together the whole milk, clear vanilla extract, almond extract, and optional butter flavoring.
Form the Dough:
Create a well in the center of the dry mixture.
Pour the wet ingredients into the well.
Gently stir until the dough begins to come together. It’s important not to overmix to maintain a tender crumb.
Carefully fold in the ½ cup of rainbow sprinkles until evenly distributed.
Shape the Dough:
Transfer the dough onto a lightly floured surface.
With floured hands, gently knead the dough a few times to ensure it holds together.
Shape the dough into a disc approximately 1.5 inches (3.8 cm) thick. This thickness promotes taller scones.
Cut into Wedges:
Using a sharp knife or a bench scraper, cut the disc into 8 equal wedges, like slicing a pie.
Prepare for Baking:
Place the scone wedges onto the prepared baking sheet, spacing them about 2 inches (5 cm) apart to allow for expansion.
Lightly brush the tops of the scones with a small amount of milk to encourage browning.
Sprinkle a pinch of granulated sugar over each scone for added sweetness and crunch.
Chill the Scones:
Transfer the baking sheet with the scones to the refrigerator.
Chill for about 15 minutes. This step helps firm up the butter, reducing spread during baking and enhancing flakiness.
Bake:
After chilling, place the baking sheet in the preheated oven.
Bake for 25 to 30 minutes, or until the scones are golden brown and a toothpick inserted into the center comes out clean.
Remove from the oven and allow the scones to cool on the baking sheet for 5 minutes before transferring them to a wire rack to cool completely.
Prepare the Glaze:
In a small bowl, whisk together the sifted powdered sugar, 2 tablespoons of milk, and ½ teaspoon of vanilla extract until the mixture is smooth and free of lumps.
If the glaze is too thick, add additional milk, a teaspoon at a time, until the desired consistency is reached.
Glaze the Scones:
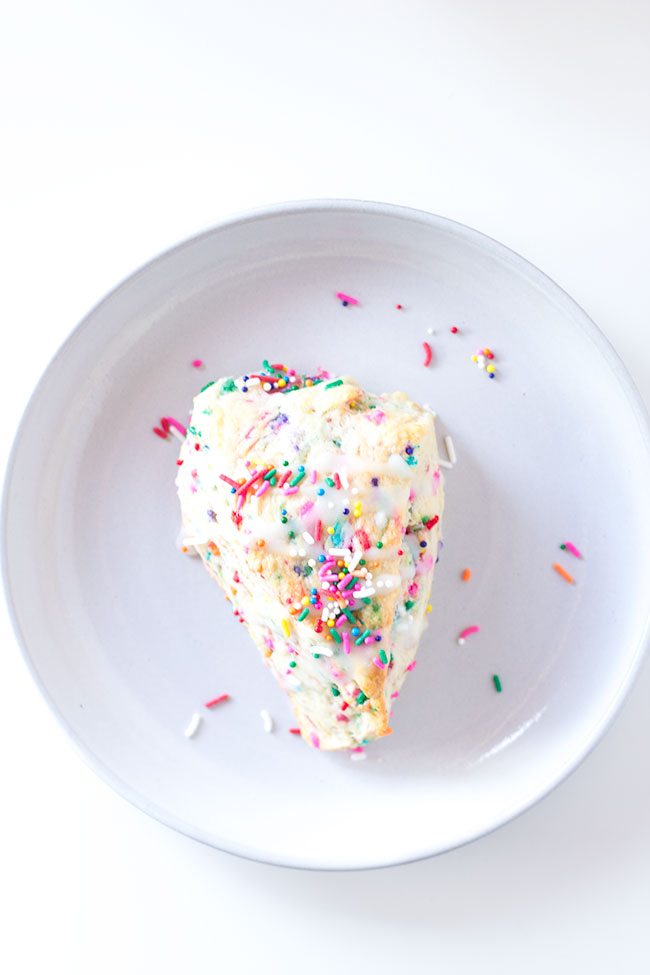
Once the scones have cooled completely, drizzle the glaze over the tops using a spoon or a piping bag.
Immediately sprinkle additional rainbow sprinkles over the wet glaze for decoration.
Allow the glaze to set for about 10 minutes before serving.
Recipe Notes:
- Keep butter cold for flakier scones.
- Do not overwork the dough to keep scones tender.
- Customize the glaze by adjusting milk to achieve desired consistency.
- Experiment with different sprinkle colors for various occasions.
Sprinkled Birthday Cake Scones
- Total Time: 45 minutes
- Yield: 8 scones
Description
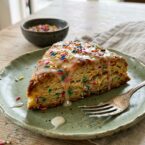
These fun looking birthday cake scones are loaded with sprinkles and are as whimsical as they are delicious.
Ingredients
Instructions
Preheat the Oven:
Preheat your oven to 375°F (190°C).
Line a baking sheet with parchment paper to prevent sticking.
Prepare Dry Ingredients:
In a large mixing bowl, whisk together the all-purpose flour, ¼ cup granulated sugar, baking powder, and salt until well combined.
Incorporate Butter:
Add the cold, cubed butter to the dry ingredients.
Using a pastry blender or two forks, cut the butter into the flour mixture until it resembles coarse crumbs. This process ensures flaky layers in the scones.
Combine Wet Ingredients:
In a separate bowl or large measuring cup, mix together the whole milk, clear vanilla extract, almond extract, and optional butter flavoring.
Form the Dough:
Create a well in the center of the dry mixture.
Pour the wet ingredients into the well.
Gently stir until the dough begins to come together. It’s important not to overmix to maintain a tender crumb.
Carefully fold in the ½ cup of rainbow sprinkles until evenly distributed.
Shape the Dough:
Transfer the dough onto a lightly floured surface.
With floured hands, gently knead the dough a few times to ensure it holds together.
Shape the dough into a disc approximately 1.5 inches (3.8 cm) thick. This thickness promotes taller scones.
Cut into Wedges:
Using a sharp knife or a bench scraper, cut the disc into 8 equal wedges, like slicing a pie.
Prepare for Baking:
Place the scone wedges onto the prepared baking sheet, spacing them about 2 inches (5 cm) apart to allow for expansion.
Lightly brush the tops of the scones with a small amount of milk to encourage browning.
Sprinkle a pinch of granulated sugar over each scone for added sweetness and crunch.
Chill the Scones:
Transfer the baking sheet with the scones to the refrigerator.
Chill for about 15 minutes. This step helps firm up the butter, reducing spread during baking and enhancing flakiness.
Bake:
After chilling, place the baking sheet in the preheated oven.
Bake for 25 to 30 minutes, or until the scones are golden brown and a toothpick inserted into the center comes out clean.
Remove from the oven and allow the scones to cool on the baking sheet for 5 minutes before transferring them to a wire rack to cool completely.
Prepare the Glaze:
In a small bowl, whisk together the sifted powdered sugar, 2 tablespoons of milk, and ½ teaspoon of vanilla extract until the mixture is smooth and free of lumps.
If the glaze is too thick, add additional milk, a teaspoon at a time, until the desired consistency is reached.
Glaze the Scones:
Once the scones have cooled completely, drizzle the glaze over the tops using a spoon or a piping bag.
Immediately sprinkle additional rainbow sprinkles over the wet glaze for decoration.
Allow the glaze to set for about 10 minutes before serving.
Notes
- Keep butter cold for flakier scones.
- Do not overwork the dough to keep scones tender.
- Customize the glaze by adjusting milk to achieve desired consistency.
- Experiment with different sprinkle colors for various occasions.
- Prep Time: 15 minutes
- Cook Time: 30 minutes
Nutrition
- Serving Size: 1 scone
- Calories: 390
- Sugar: 18g
- Sodium: 320mg
- Fat: 19g
- Saturated Fat: 12g
- Unsaturated Fat: 7g
- Trans Fat: 0g
- Carbohydrates: 48g
- Fiber: 5g
- Protein: 1g
- Cholesterol: 50mg
Frequently Asked Questions
What kind of sprinkles should I use for the birthday cake scones?
For the best results, use a combination of rainbow nonpareils and rainbow jimmies from Wilton, as they don’t bleed into the dough and create a fun mix of colors.
Is it important to use cold butter for the scone dough?
Yes, using cold, cubed butter is crucial because it helps create flaky layers in the scones when cut into the flour mixture.
Can I skip the glaze if I find the scones too sweet?
Yes, you can skip the glaze and the second dose of sprinkles if you prefer, but the glaze adds an extra layer of sweetness and fun.


These vanished in minutes at a birthday brunch, tender and packed with sprinkles. So good and so cheerful, a delicious twist on a plain scone!
My daughter picked these for her birthday breakfast and the kitchen looked like a party. Such a great recipe!
OK, these officially turned our completely amazing!
I love these, they are so cute, and mine turned out super well!
The updated recipe worked really well for me. The scones were fluffy, and they looked awesome. Very sweet, but hey, that’s what birthday cakes are right!!
So I’ve made a ton of scones and I should’ve listened to my instinct on this one. The flavor is excellent, but they bake up terribly!! Very disappointing, no hight to them at all, butter melts out and the texture is not right. I’m guessing these would be fine if it weren’t for the double amount of butter compared to similar scones. Very very sad… especially since I made recipe x 4 . ?
Thank you for taking the time to share your experience with our recipe! We truly appreciate your feedback and want to ensure every recipe works beautifully for you.
After reading your comment, we revisited the recipe, re-tested it in our kitchen today, and identified some areas where improvements could be made. It seems that the butter quantity in the original recipe was higher than standard scone ratios, which might have caused the issues you encountered with spreading, lack of height, and texture.
Here are the adjustments we’ve made to the recipe:
Reduced Butter: We’ve adjusted the butter to ¾ cup (1.5 sticks), which strikes a better balance while still delivering that rich, buttery flavor.
Chilling the Dough: We now recommend chilling the shaped scones for 15 minutes before baking to keep the butter cold and help the scones hold their shape in the oven.
Dough Thickness: We’ve updated the instructions to shape the dough to 1.5 inches thick instead of 1 inch. This will give the scones more height and a satisfying, tender crumb.
Leavening Check: Lastly, we’ve emphasized the importance of using fresh baking powder to ensure proper rise.
We believe these updates will solve the issues you encountered and make this recipe a delight to bake and eat. We hope you’ll give the revised version a try. Thank you again for helping us improve—it’s readers like you who make Honest Cooking better every day!
Warm regards,
Kalle Bergman
The link to the glaze is broken
You are absolutely right Erin, we have added this to the actual recipe now. Hope it all turns out great. And thank you for catching that!
Can you substitute Gluten Free 1 to 1 flour?
Yes, typically you can, but check on the package if your particular brand of gluten free flour has any other directions.