
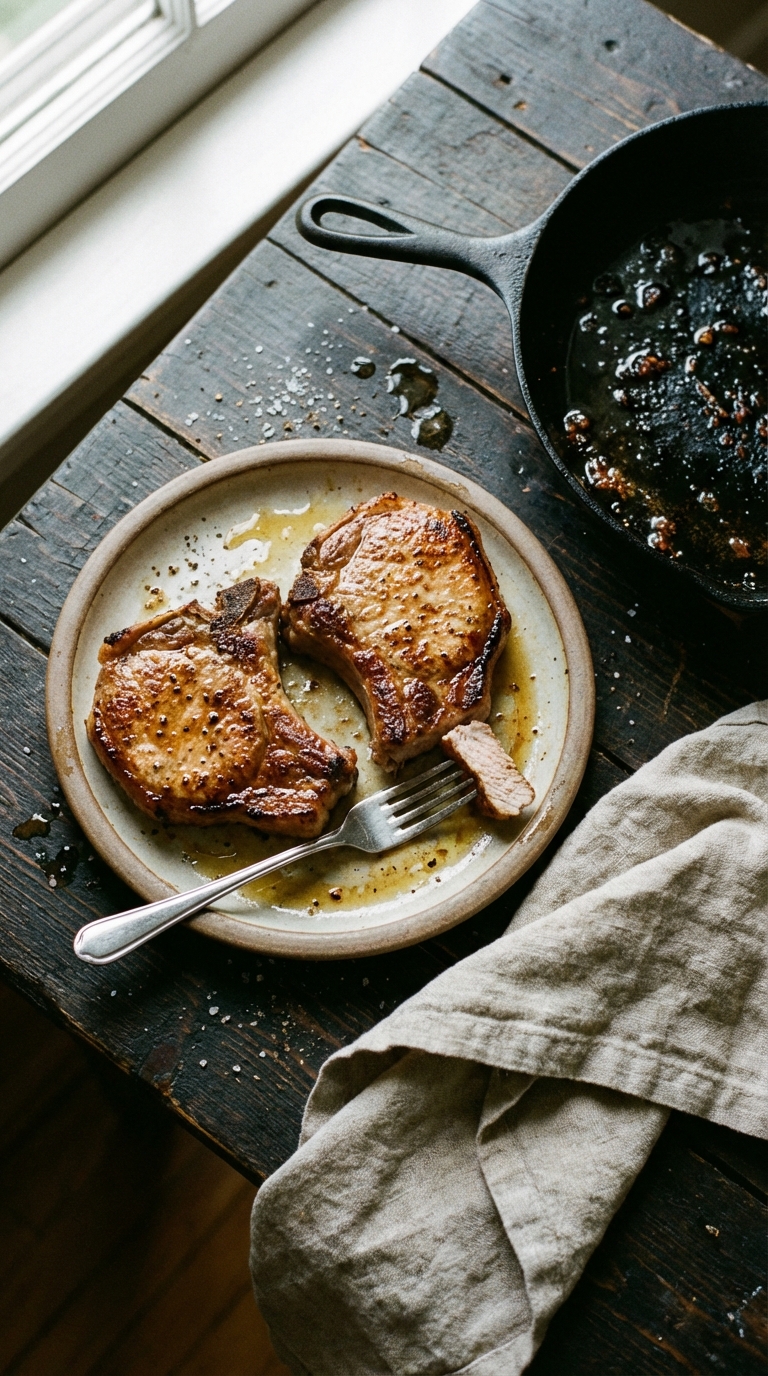
Start with a dry brine, learn how to reverse sear and then dig into the most juicy pork chops of your life served with a shallot herb sauce.
WTF, Dry Brine?
I love the term dry brine. It sounds so official, doesn’t it? It’s a process, people. Do you want to know what the process is, though? It’s sprinkling a little too much salt and maybe some sugar onto meat and then waiting a while. That’s it. Yay.
Brining can help meat stay tender and flavorful, but wet brine is a pain in the ass and can prevent a good sear. Dry brine is kind of a magic solution (pun intended). Salting meat draws out a little bit of its moisture, which dissolves the salt, and then the whole thing gets reabsorbed into the top layer of meat, infusing it with flavor and goodness. The little bit of sugar in this recipe helps the chops sear perfectly and also enhances the flavor of the pork. (You’ll hardly notice it, but pork works well with a touch of sweetness.) 
WTF, Reverse Sear?
Reverse searing is pretty genius, you guys. It gives you a beautiful, golden, crisp exterior but also a lot of control over the cooking process. I would never have thought of this technique on my own, and I’m so glad someone else did. Here’s what it means to reverse sear: you start by cooking meat at a very low temperature, in this case at 250°F in the oven, until it’s not quite done. Then you get a cast-iron pan blazing hot and spend 3 to 4 minutes just searing the shit out of the chops, quickly developing a coveted crust and brining the interior up to temperature in the process.
Again, yay.
WTF, Rib Chops?
I will spare you a pig diagram, because you and pigs both deserve better. But here’s the deal. Rib chops, like all pork chops, are cut from the loin, which basically runs down the pig’s back between shoulder and tush. (I say tush because butt is confusing on a pig — more on that never.) It’s a good, tender cut, once reserved for the wealthy, and is where the expression “high on the hog” came from. The loin gets cut into chops if we’re having chops. Rib chops come from behind the shoulder and can be pretty varied depending on whether they’re cut from closer to the shoulder or the tuchus. (Technical term.) Regardless, they take well to brining and searing, and they should cook nice and evenly, so they’re a good choice for this dish.
Ooookay that’s enough tuchus talk, and not enough general hilarity.
Click here for the quick shallot herb pan sauce.
Print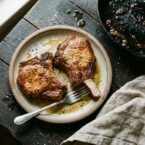
How to Reverse Sear for the Best Pork Chops of Your Life
- Total Time: 30 minutes
- Yield: Serves 6
- Diet: Omnivore
Description
Dry-brined pork chops get a perfect sear after a low-and-slow oven bake. The result? Juicy, flavorful chops with a crispy crust.
Ingredients
- 4 bone-in pork chops, about 1 1/2 inches thick
- 2 teaspoons kosher salt
- 1 teaspoon sugar
- 2 tablespoons neutral oil (such as canola or grapeseed)
Instructions
- Place a wire rack on a rimmed baking sheet and lay pork chops on top. Combine salt and sugar and rub evenly over chops. Place, uncovered, in the refrigerator overnight.
- Remove pork chops from the refrigerator one hour before cooking.
- Preheat oven to 250°F (121°C) with a rack in the center.
- Place the baking sheet with pork chops in the oven and bake until an instant meat thermometer reads 110°F (43°C), about 30 minutes (start checking after 25 minutes).
- Heat two tablespoons of oil in a 12-inch cast iron skillet over high heat.
- Add two pork chops to the hot skillet and sear for about one minute per side, until deep golden brown.
- Stack the chops and sear the fatty side against the bottom of the pan.
- Remove chops to a plate and cook remaining chops in the same way.
For the sauce
Notes
- For even cooking, ensure pork chops are of uniform thickness. Trim excess fat if necessary.
- Substitute brown sugar for granulated sugar in the dry brine for a deeper, molasses-like flavor.
- Rest the seared pork chops for 5-10 minutes before serving to allow the juices to redistribute, resulting in a more tender chop.
- Prep Time: 10 minutes
- Cook Time: 20 minutes
- Category: Main Course
- Method: Roasting
- Cuisine: American
Nutrition
- Serving Size: 1 pork chop
- Calories: 400
- Sugar: 2
- Sodium: 400
- Fat: 25
- Saturated Fat: 8
- Unsaturated Fat: 12
- Carbohydrates: 5
- Fiber: 1
- Protein: 35
- Cholesterol: 100
Frequently Asked Questions
What is the purpose of using sugar in the dry brine for the pork chops?
The sugar in the dry brine helps the pork chops sear perfectly and enhances their flavor, providing a subtle touch of sweetness that complements the meat.
How long should I dry brine the pork chops before cooking?
You should dry brine the pork chops for at least an hour, but ideally, leaving them for several hours or overnight will yield even better flavor and tenderness.
What temperature should I set my oven to for reverse searing the pork chops?
You should set your oven to 250°F to cook the pork chops at a low temperature before searing them in a hot cast-iron pan.


That line about wet brine being “a pain in the ass” is exactly why I’ve avoided brining altogether until now—you made the dry brine feel achievable rather than intimidating. I’m already planning to grab some extra salt and Frys weekly flyer to stock up on pork chops this weekend.
24 hours uncovered in the fridge was what got my pork chops past mediocre. The surface turns tacky overnight and sears in minutes. I got the steakhouse crust I’d only ever had out. I made the shallot herb sauce while the chops rested.
Love this tip!
This is the best way to prepare thick pork chops. They turn out juicy and tender. We made red wattle pork chops using this method. We seared the fat caps first to get that fat into the pan. We’ll never make them any other way again.
I think you missed a beat. The meat goes directly from the dry fridge to the oven. Allowing it to warm slowly for an hour ruins the Malliard effect and promotes moisture condensation on the meat’s surface. The point is to shock the meat in the oven by the contrast of temperature and to keep the meat dry.
what do you do with the other 4 tablespoons of vegetable oil?
Hi Henry, thanks for the question and sorry the instructions aren’t clear. Pour off the used oil (but don’t wipe the pan) and start with two tablespoons fresh oil for each batch of two chops.