These soft and chewy peanut butter thumbprint cookies are the perfect vessel for a dollop of strawberry jam. They’re a super fun little treat for PB and J lovers and happen to be gluten free as well.
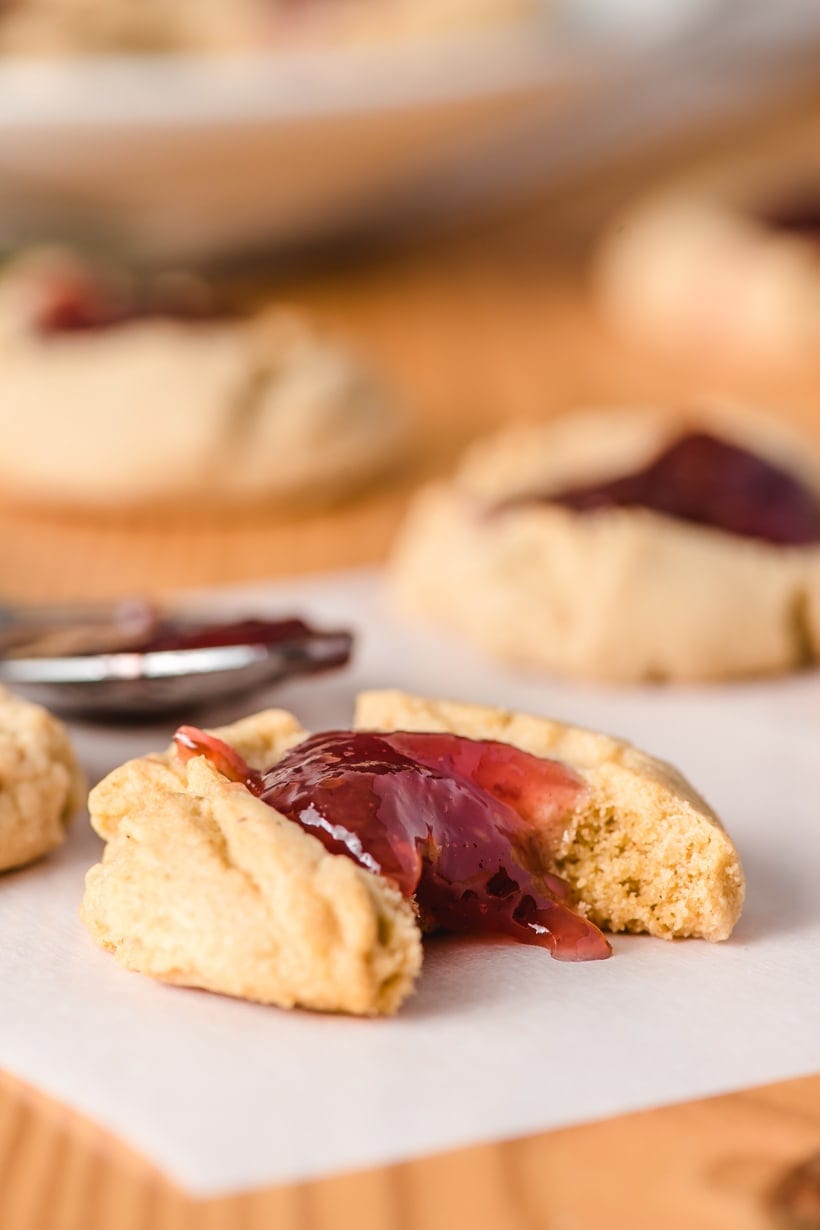
These Peanut Butter Thumbprint Cookies are a raving success. They’re soft and chewy, easy to make, great for baking with kids, and taste just like a sweet, bite size PB and J. What’s not to love?
These cookies also happen to be gluten free. Mom can’t tolerate gluten, so we make almost all of our cookies gluten free these days. Luckily, these were still a cinch to make and the dough is so soft, tender, and delicious, no one would guess they’re gluten free! Still, if you prefer (or if it’s what you have on hand), feel free to sub all purpose flour for the gluten free flour.
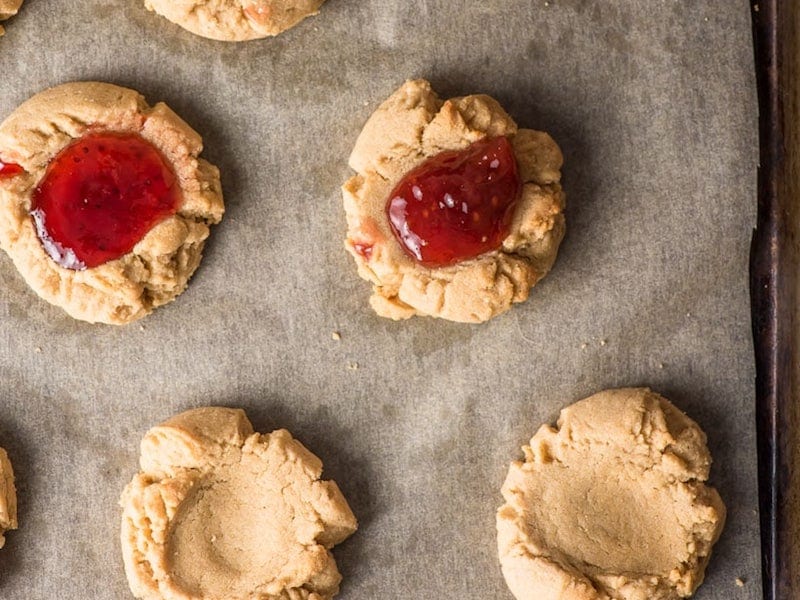
Not surprisingly, thumbprint cookies are made by pressing your thumb into the center of a ball of cookie dough to create a perfect little canyon for a variety of fillings. If you prefer not to use your fingers to make a thumbprint, you can also use the rounded handle end of a wooden spoon. If you’re making these with kids, they’ll love using their thumbs to create the prints in the center!
This version of thumbprint cookies is made with a super simple gluten free peanut butter dough you can whip up in 20 minutes or less. I love the combination of peanut butter and jam, but feel free to experiment with other fillings, like chocolate ganache or nutella. You can also use this dough to make gluten free peanut butter blossoms, like these!
If the thumbprint dips raise too much during baking, you can press your thumb into them gently again after baking to ensure you have a good sized hole in the center for filling.
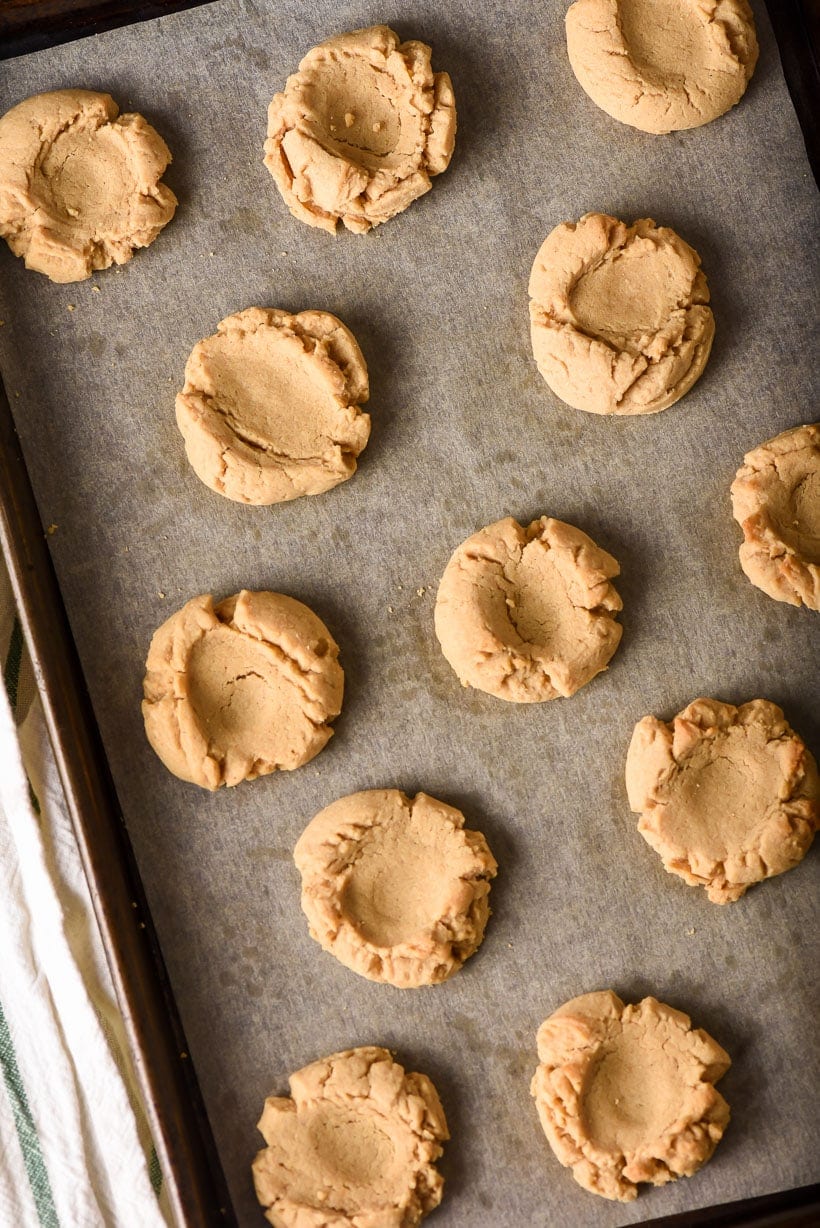
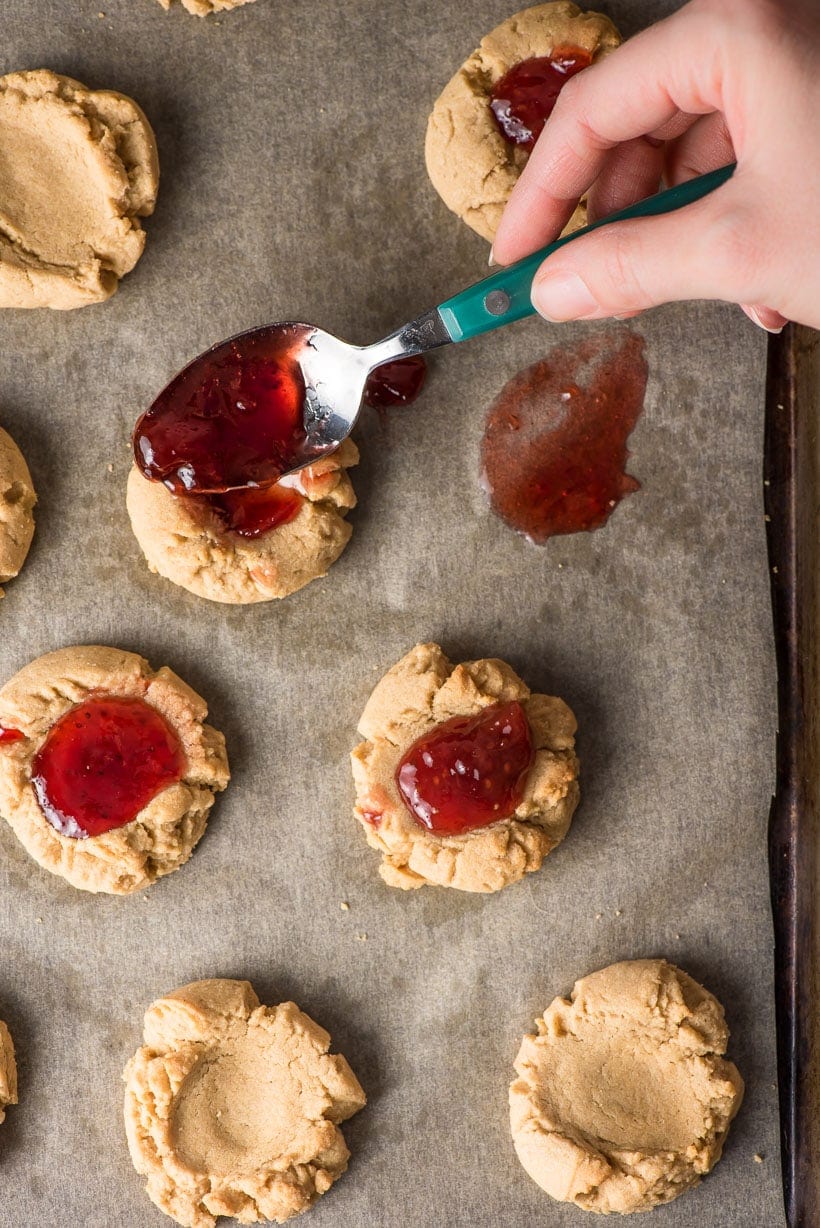
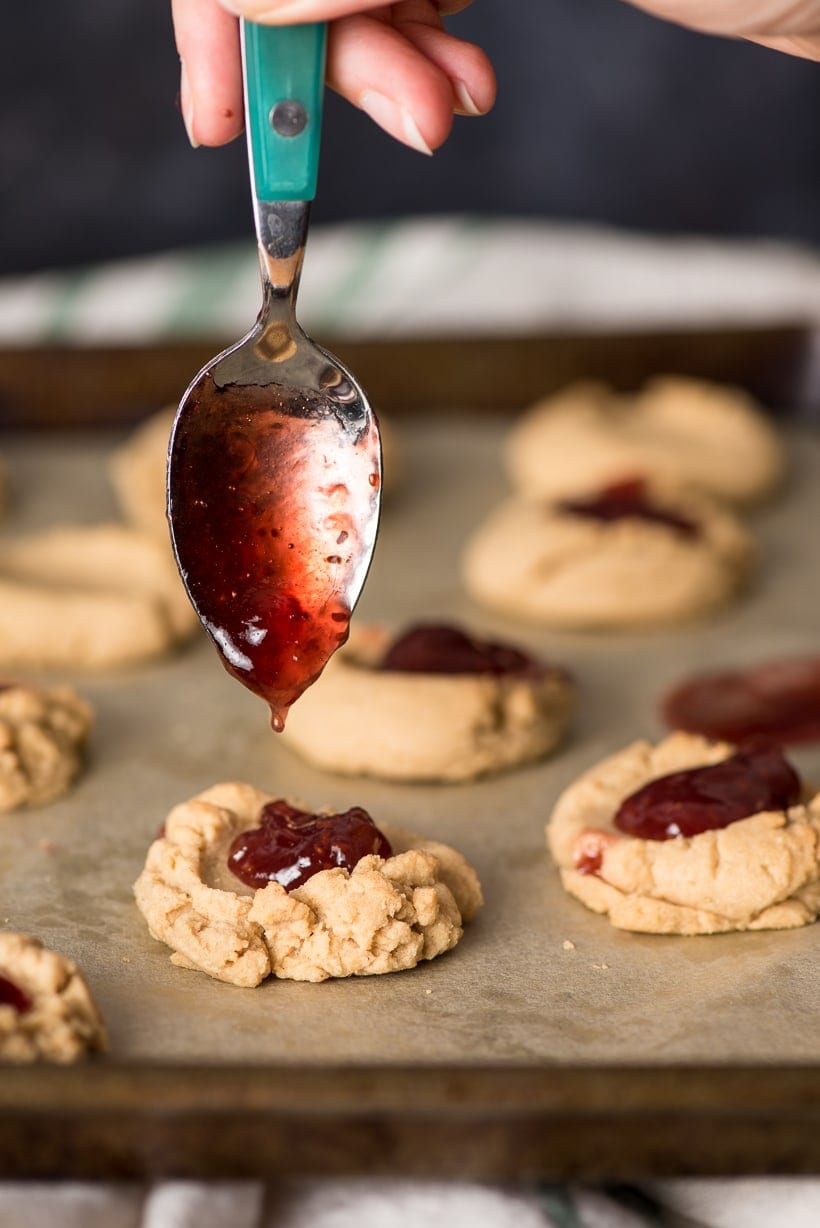
There are a couple different schools of thought regarding whether you add the jam before or after baking these. We experimented with both methods and found we liked filling them after baking better. This allowed the cookies to bake more evenly, and helped them keep for longer as well. (More on that below!). We also loved using different kinds of jam based on our mood– strawberry, raspberry, blackberry, or grape are all great options for classic PB and J cookies.
I recommend refrigerating these Peanut Butter Thumbprint Cookies for an hour before baking so they keep their shape.
If you wait to fill these until after baking, they’ll keep for up to a week in an airtight container. You can fill just a few at a time to enjoy whenever a craving hits!
Print
Peanut Butter and Jam Thumbprint Cookies
- Total Time: 25 minutes
- Yield: 48 cookies 1x
Ingredients
- 1 1/4 cups brown sugar
- 1 cup creamy peanut butter
- 1/2 cup butter
- 2 large eggs
- 1/2 teaspoon vanilla extract
- 2 cups All-Purpose Gluten Free Flour *see note
- 1/2 teaspoon Xanthan Gum *see note
- 1 teaspoon baking soda
- 1/2 teaspoon Kosher salt
- 1/2 cup jam
Instructions
- Combine the butter, peanut butter and brown sugar in the bowl of a stand mixer. Beat on medium speed until light and fluffy. Add the eggs, one at a time, beating well after each addition. Beat in the vanilla extract.
- In another bowl, whisk together the gluten-free flour, xanthan gum, baking soda and salt. Add this mixture to the peanut butter mixture and beat until just combined. Transfer the dough to a piece of plastic wrap and cover it. Refrigerate for at least one hour or overnight.
- Pre-heat oven to 375°F. and Line a baking sheet (or several, if you have them!) with parchment paper. Use a medium cookie scoop to scoop tablespoons of dough onto the cookie sheet. Use a thumb or the handle end of a wooden spoon to make a divot in the center of each cookie. Bake for 7-9 minutes or until puffed and mostly set.
- If the divots rise too much during baking, just use your thumb to press them back down as they cool.
- Allow the cookies to cool completely, then fill each divot with about a 1/2 teaspoon of jam. Depending on the thickness of your jam, you may want to microwave it for ten seconds to make filling easier.
Notes
You can absolutely freeze these Peanut Butter Thumbprint Cookies. I recommend freezing them after baking, but before filling them. Remove from the freezer and thaw at room temperature before filling.
We used Bob’s Red Mill All Purpose Gluten Free Flour. If you don’t need these to be gluten free, you can substitute all purpose flour for the gluten free flour and omit the xanthan gum.
We like to store these unfilled in an airtight container for up to a week. The unfilled cookies can also be frozen. Once filled, they will keep for about 2 days.
- Prep Time: 15 minutes
- Cook Time: 10 minutes
- Category: Cookies


