Take a page out of the playbook of yesteryear, and learn how to extend the growing season by pickling your favorite vegetables.
Sometimes it seems like summer came and went within the flash of an eye. Preserving the harvest helps you hold on to the warmth and joy of these warmer days a little bit longer. That’s where this homemade dill pickle recipe comes in. I made these a few weeks ago and since then I’ve eaten them solo, on hot dogs, thrown them on a plate with steak and rice for a semi-balanced meal, and used the pickle juice for cocktails. (Pro tip: Just add vodka!) And aside from just as a chaser for whiskey, drinking pickle juice has lots of great health benefits, so don’t throw it out once the veggies or fruit are gone!

I actually haven’t taken a stroll through the farmers’ market in a little while, but they were ALL up in there the last time I stopped by. Whenever you go to the farmers’ market (or supermarket for that matter) and there’s a bunch of one item, that’s the signal for what you should be buying and eating.
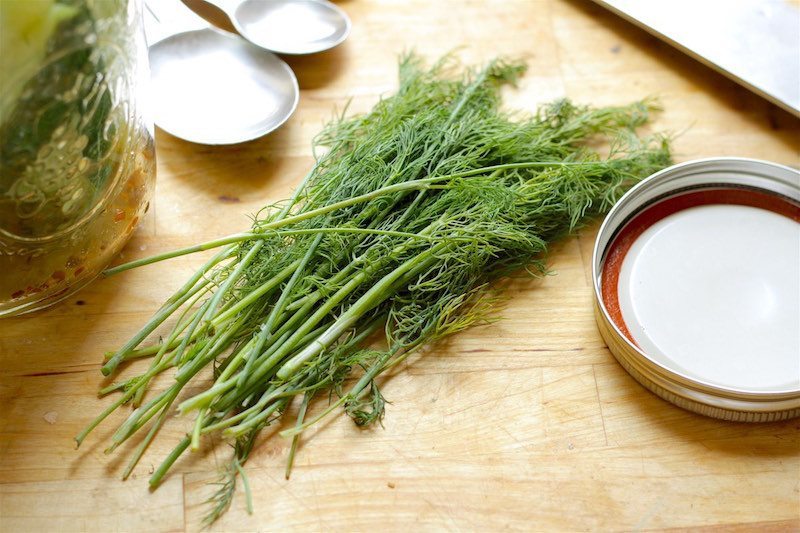
Add some fresh dill and a couple of garlic cloves to some vinegar water and you’re pretty much ready to pickle. That reminds me: I have some fresh dill from work in my refrigerator. I wonder if it’s still any good… Any bets?
Some Pickling Basics
Pickling is a time-honored preservation method that dates back thousands of years. Simply told, it all revolves around submerging vegetables in a solution of vinegar, water, salt, and sometimes sugar, which acts to inhibit bacterial growth and prolong shelf life. The process not only preserves the vegetables – but also make them totally delicious and perfect for so many dishes that we all love.
When it comes to pickling cucumbers, Kirby cucumbers are definitely considered the best choice due to their firm texture and small seeds. But honestly, any cucumber can be pickled – and to be sure, almost any vegetable in general can be pickled, so feel free to use this recipe for whatever you’d like to preserve for colder months (or just for your next aperó).
A Word on Hygiene
Hygiene is super-crucial in pickling to prevent the growth of harmful bacteria. Always start with clean jars and utensils, as that will affect how well your end result is. Boil your jars and lids or run them through the dishwasher on a hot cycle to sterilize them. When handling the ingredients, make sure your hands are clean, and avoid touching the inside of the jars or the cucumbers directly.
About This Recipe
The method we’re using here, often referred to as refrigerator pickling, allows you to enjoy the pickles much sooner than traditional recipes, as it doesn’t require long periods of fermentation or processing. Within just a few hours to a couple of days in the refrigerator, you have delicious, crunchy pickles ready to eat. This makes it the perfect choice for those who want the homemade pickling experience without the commitment of traditional methods. Note that this method doesn’t generate shelf-stable pickles that can be kept for months – this keeps well in the refrigerator for up to two weeks.
How to Make Dill Pickles at Home
Prepare the Cucumbers
- Trim and Cut Cucumbers:
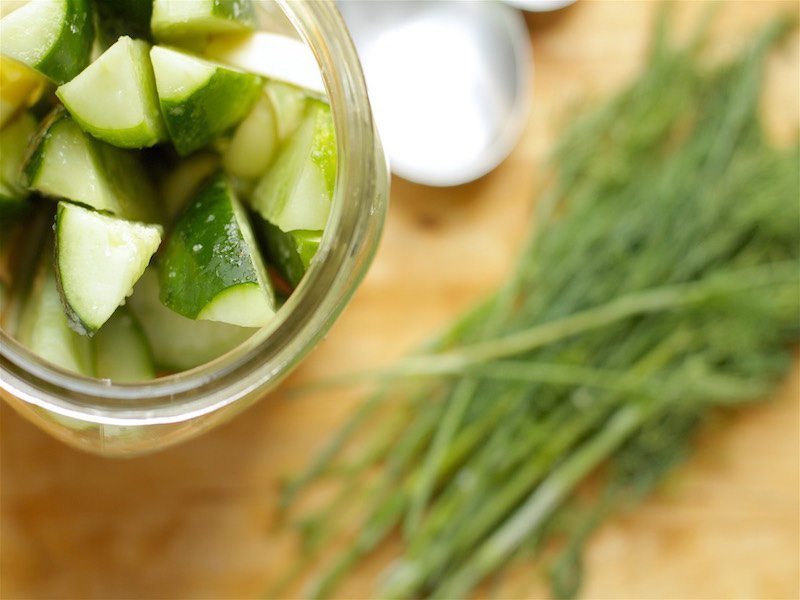
- Trim the ends off 3 medium kirby cucumbers and cut each cucumber into 6 spears.
- Salt the Cucumbers:
- Toss the cucumber spears with 1 tbsp kosher salt in a large bowl. Set aside for 30 minutes. This helps to draw out excess moisture and enhance the flavor.
Prepare the Brine
- Heat the Brine:
- In a medium saucepan, combine 1 cup distilled white vinegar, 1 cup water, and 1/4 cup granulated sugar.
- Place the saucepan over medium heat and cook until the sugar dissolves completely, stirring occasionally. This should take about 5 minutes.
- Cool the Brine:
- Remove the saucepan from heat and let the brine cool slightly for about 5 minutes. This ensures that the cucumbers stay crisp when pickling.
Assemble the Pickles
- Prepare the Mason Jar:
- In a clean 1-quart mason jar (or any container that fits the cucumbers), layer the salted cucumber spears, approximately 1/4 bunch fresh dill fronds, 4 halved garlic cloves, and 1/2 tsp crushed red pepper flakes.
- Add the Brine:
- Pour the slightly cooled vinegar mixture over the cucumbers, making sure all spears are fully submerged.
Pickling Process
- Initial Sitting:
- Let the mason jar sit open on the counter for about 20 minutes to cool to room temperature.
- Seal and Refrigerate:
- Close the mason jar with a lid and store it in the refrigerator overnight. The pickles can be eaten after a few hours, but for the best flavor, let them sit for a few days.
Recipe Notes
- Crispier Pickles: For extra crispy pickles, add a few grape leaves or a pinch of calcium chloride (pickle crisp) to the jar before adding the brine.
- Flavor Variations: Experiment with adding other spices like mustard seeds, black peppercorns, or bay leaves to the brine for different flavor profiles.
- Storage: These pickles can be stored in the refrigerator for up to 2 weeks.
Recipe Details
- Yield: 1 quart of pickles (approximately 18 spears)
- Prep Time: 20 minutes
- Cook Time: 5 minutes
- Inactive Time: 20 minutes initial cooling, overnight pickling
- Total Time: 45 minutes (plus overnight refrigeration)
- Cooking Method: Pickling
How to Make Homemade Dill Pickles
- Total Time: 25 minutes
- Yield: 18 spears 1x
Description
This recipe uses fresh kirby cucumbers, dill, garlic, and a flavorful brine to create perfect pickles in just a few easy steps. With no canning required, these refrigerator pickles are a quick and easy addition to any meal.
Ingredients
- 3 medium kirby cucumbers, ends trimmed and each cut into 6 spears (450 g)
- 1 tbsp kosher salt (15 g)
- 1 cup distilled white vinegar (240 ml)
- 1 cup water (240 ml)
- 1/4 cup granulated sugar (50 g)
- Approx. 1/4 bunch fresh dill fronds
- 4 garlic cloves, cut in half
- 1/2 tsp crushed red pepper flakes (1.5 g)
Instructions
Prepare the Cucumbers
- Trim and Cut Cucumbers:
- Trim the ends off 3 medium kirby cucumbers and cut each cucumber into 6 spears.
- Salt the Cucumbers:
- Toss the cucumber spears with 1 tbsp kosher salt in a large bowl. Set aside for 30 minutes. This helps to draw out excess moisture and enhance the flavor.
Prepare the Brine
- Heat the Brine:
- In a medium saucepan, combine 1 cup distilled white vinegar, 1 cup water, and 1/4 cup granulated sugar.
- Place the saucepan over medium heat and cook until the sugar dissolves completely, stirring occasionally. This should take about 5 minutes.
- Cool the Brine:
- Remove the saucepan from heat and let the brine cool slightly for about 5 minutes. This ensures that the cucumbers stay crisp when pickling.
Assemble the Pickles
- Prepare the Mason Jar:
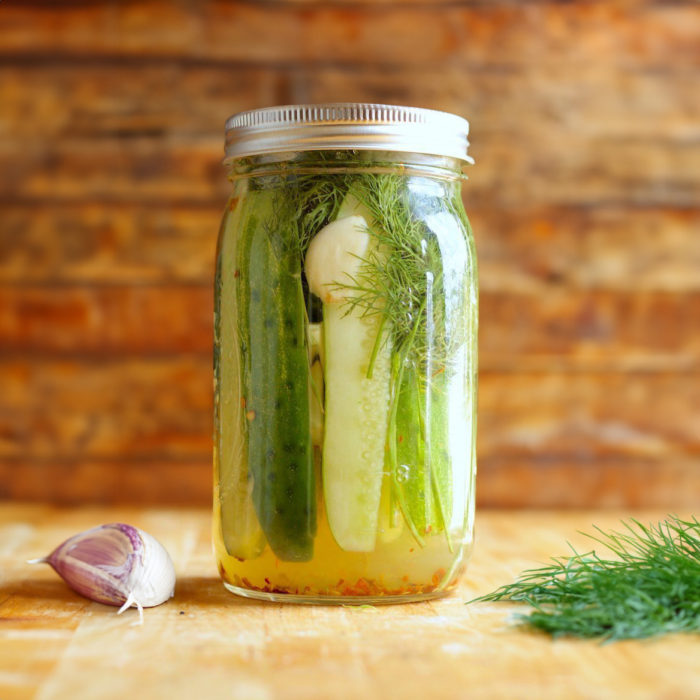
- In a clean 1-quart mason jar (or any container that fits the cucumbers), layer the salted cucumber spears, approximately 1/4 bunch fresh dill fronds, 4 halved garlic cloves, and 1/2 tsp crushed red pepper flakes.
- Add the Brine:
- Pour the slightly cooled vinegar mixture over the cucumbers, making sure all spears are fully submerged.
Pickling Process
- Initial Sitting:
- Let the mason jar sit open on the counter for about 20 minutes to cool to room temperature.
- Seal and Refrigerate:
- Close the mason jar with a lid and store it in the refrigerator overnight. The pickles can be eaten after a few hours, but for the best flavor, let them sit for a few days.
Notes
- Crispier Pickles: For extra crispy pickles, add a few grape leaves or a pinch of calcium chloride (pickle crisp) to the jar before adding the brine.
- Flavor Variations: Experiment with adding other spices like mustard seeds, black peppercorns, or bay leaves to the brine for different flavor profiles.
- Storage: These pickles can be stored in the refrigerator for up to 2 weeks.
- Prep Time: 20 mins
- Cook Time: 5 mins
- Category: Condiment
- Method: Pickling
- Cuisine: American




Love dill pickles, love this guide, thank you!
So glad I found this recipe. The pickles are crisp and tangy, just the way I like them.
Used cucumbers from my garden for this recipe. The pickles are delicious and so fresh-tasting.
Best homemade pickles I’ve ever had. The garlic and dill combo is perfect.
Made these with my kids and they loved it. The pickles were ready by the next day and tasted great.
Tried this recipe over the weekend and now my whole family is hooked on homemade pickles!
Simple and delicious. I added some mustard seeds to the brine for extra flavor. I’m never ever buying pickles again, thank you so much for this awesome recipe!