It’s May and frankly there’s no better time to drool over lemon cheesecake, or at least pictures of them until you bake them up yourself. May means it’s OK to gorge ourselves on citrus and fruit desserts and call it fresh and healthy.
Did I mention that these cheesecake bars are no-bake and so quick and easy to whip up? No? Well, I’m tellin’ ya now. They’re just incredible! You mix up the biscuit base, press it into your cake tin, stir together the ingredients for the filling (a lot of cream cheese and mascarpone!), then scrape onto the base and chill for a few hours. Done! How easy was that?
When I started looking into creating this dessert, it struck me that the usual way of lemon-ifying a dessert (it’s a word and I’m sticking to it!) by adding zest and juice to the mixture would cause problems when the mixture in question is meant to be no bake. Adding liquid to the mixture would only make it runny and less likely to set. Thankfully, this thought process occurred during a particularly weird week when I had made 4 separate portions of lime curd. It hit me as I was whisking away thickening up the latest batch that lemon curd would be perfect for this. It would give me a big zesty lemon kick and its thick, creamy consistency would prevent the cheesecake from turning into a runny mess.
For the freshest, most zesty flavour, I really do recommend that you make your own lemon curd. It’s so quick and easy, takes about 10-12 minutes and taste like a walk on the sun. However, if you’re up against time constraints or just don’t want the hassle, which is fair enough, then shop bought curd will work (almost) as well.
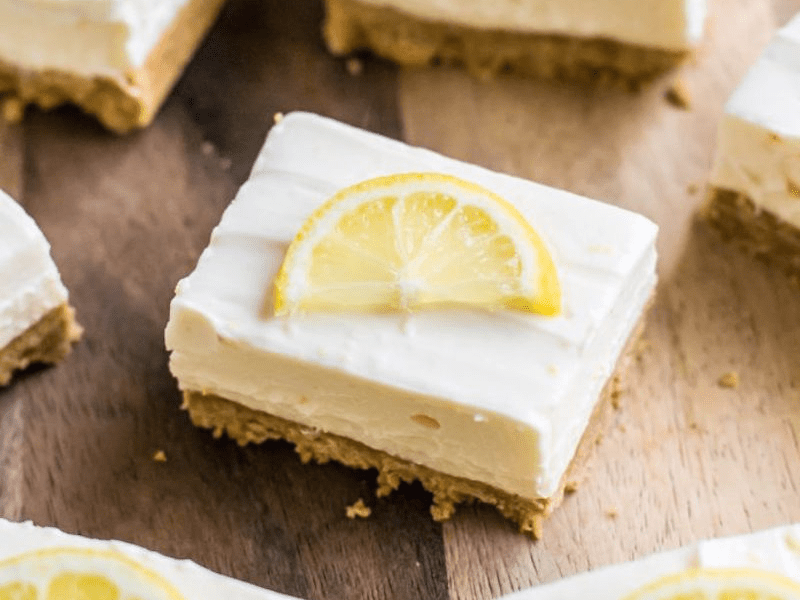
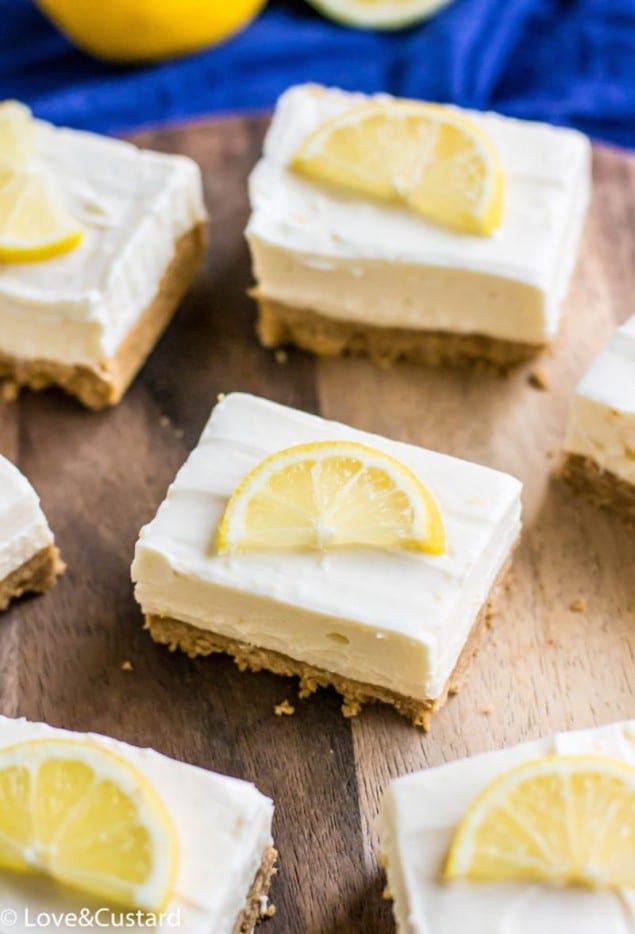
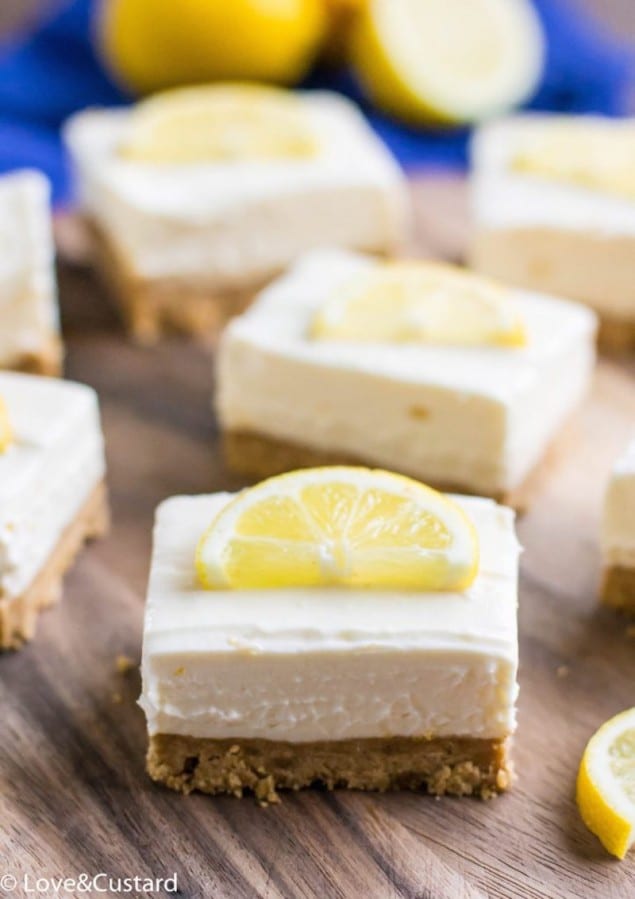
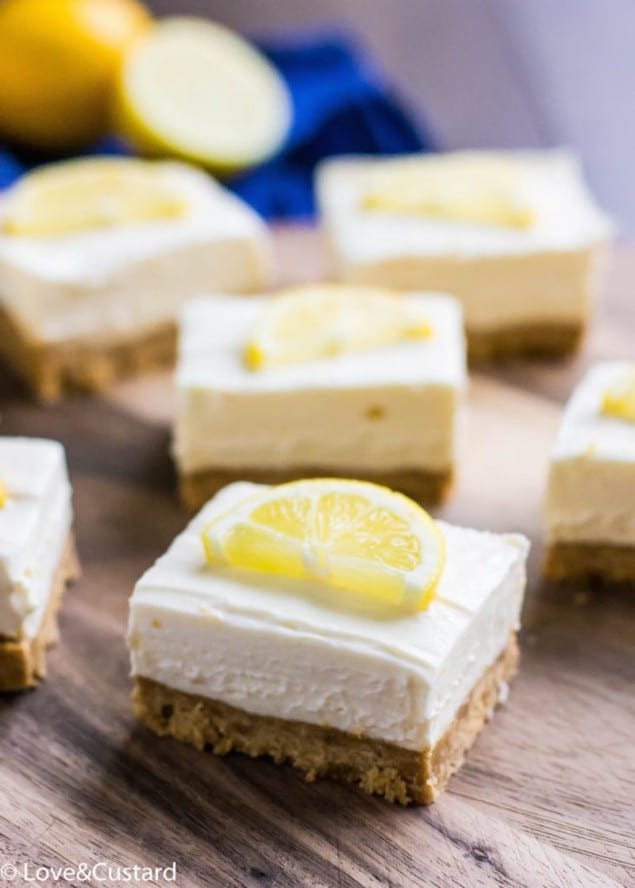
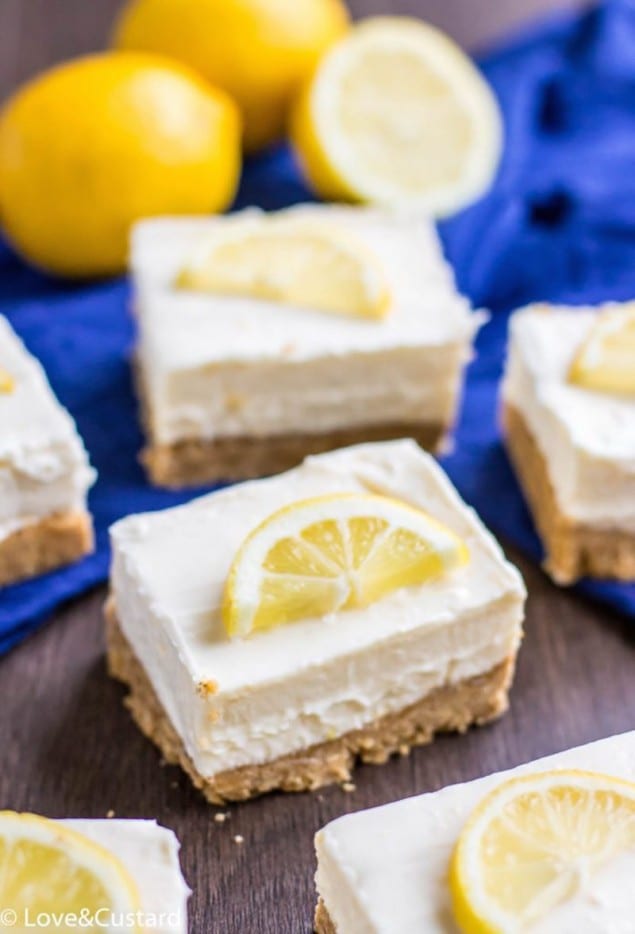
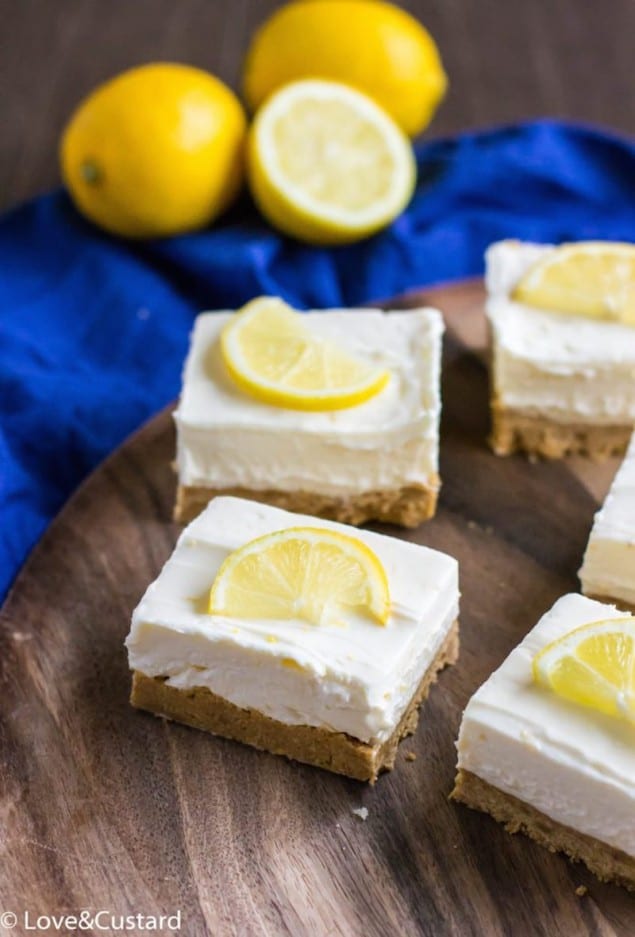
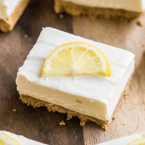
The cheesecake is bursting with lemon flavor, thick, creamy and perfect on the buttery base. My favorite part is that they taste almost like baked cheesecake thanks to the mascarpone that lends them a more ‘set’ texture, until the typical moussey taste of most no-bake cheesecakes. I guess it depends on what you like, but for me the creaminess of baked cheesecake always wins hands down. All the creaminess for almost none of the effort with these bars.
Lemon Cheesecake Bars
- Total Time: 6 hours 27 mins
- Yield: 12
Description
Smooth, creamy no bake cheesecake bursting with fresh lemon on a buttery biscuit base. You won’t believe how quick and easy these bars are to whip up!
Ingredients
For the Lemon Curd (Optional):
- 2 large lemons (zest and juice)
- 100 g caster sugar
- 50 g unsalted butter (cut into 1cm cubes)
- 2 large eggs
For the Biscuit Base:
- 320 g digestive biscuits**7
- 130 g unsalted butter (melted)
For the Filling:
- 225 g cream cheese
- 450 g mascarpone cheese
- 90 g icing sugar
- 2 tbsp double cream
- 1 tsp vanilla extract
- 200 g lemon curd (see above)
Instructions
- If you’re making your own lemon curd, put the lemon zest and juice, sugar and cubed butter into a medium heatproof bowl. Place this onto a pan of simmering water, making sure the water doesn’t touch the bottom of the bowl. Heat gently, stirring the mixture until the butter has melted. Whisk the eggs and add them to the lemon mixture, stirring until smooth. Allow the mixture to cook for 6-7 minutes, stirring occasionally, until the curd is smooth, creamy and thickened enough to coat the back of a wooden spoon. Take the bowl off the heat and allow the curd to cool completely. You can pop it in the fridge to speed this up.
- Prepare a 20cm square cake tin by lining with baking paper or aluminium foil, leaving the paper overhanging at the edges to make it easier to remove later.
- To make the base, put the digestive biscuits into a food processor and blitz until finely crushed. Pour them into a large bowl and add the melted butter and stir until the crumbs are evenly moistened. Scoop the crumbs into your cake tin and press it firmly into the base using your fingers. Place in the fridge to firm up while you make the filling.
- In a large bowl, beat together the mascarpone and cream cheese with a wooden spoon until smooth and well combined. Add in the icing sugar, double cream and vanilla extract and beat again until smooth.
- Stir in the cooled lemon curd until smooth and well combined.
- Spoon the mixture into your prepared tin and smooth the top with a spatula.
- Place in the fridge to chill for 5-6 hours, or preferably overnight.
- To serve, allow the cheesecake to come to room temperature for 10 minutes. Carefully lift it out by pulling on the overhanging baking paper at the sides and cut into 12 bars or 16 squares.
- The cheesecake will keep refrigerated for up to 3 days.
Notes
* If you’re not feeling up to making your own, just substitute with 200g shop bought lemon curd.
** Or graham crackers.
- Prep Time: 20 mins
- Cook Time: 7 mins
- Category: Dessert
Frequently Asked Questions
Can I use a different type of cheese instead of cream cheese or mascarpone?
You can try using ricotta cheese for a different flavor and texture, but it may alter the creaminess of the cheesecake filling.
What kind of biscuits should I use for the base?
Graham crackers or digestive biscuits work best for the buttery base, but you can also use vanilla wafers if you prefer.
How long should I chill the cheesecake bars before serving?
Chill the cheesecake bars for at least 4 hours to ensure they set properly and hold their shape when sliced.


Thanks so much Carina! These bars are perfect if you don’t want to do any actual baking :) I think you’ll love them! Yes you can absolutely make them with just cream cheese, but it’s just worth being aware that they may be a little softer than if you’re using mascarpone too. I recommend using good quality cream cheese which is less likely to be runny. Hope it goes well! :)
Hello Erica – I just made another 1/2 kg of Creamcheese but, I cannot bake!!!! :) :)
Will try your cheese bars thou – question, is it possible just to make them with cream cheese (Mascarpone is not available here in South India). Maybe I can make this one too in my kitchen; will have to check
Beautiful photographs, btw. Carina