Make no mistake: these stunning tartlets take time, but they’re the perfect impressive dessert for any event worth the extra effort.
By Bria Helgerson
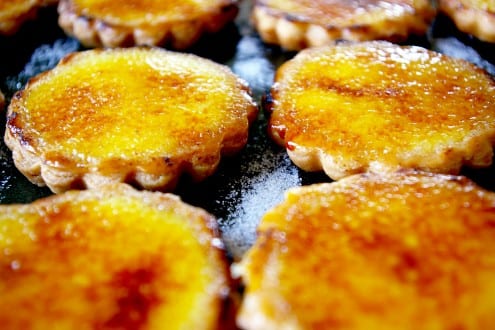
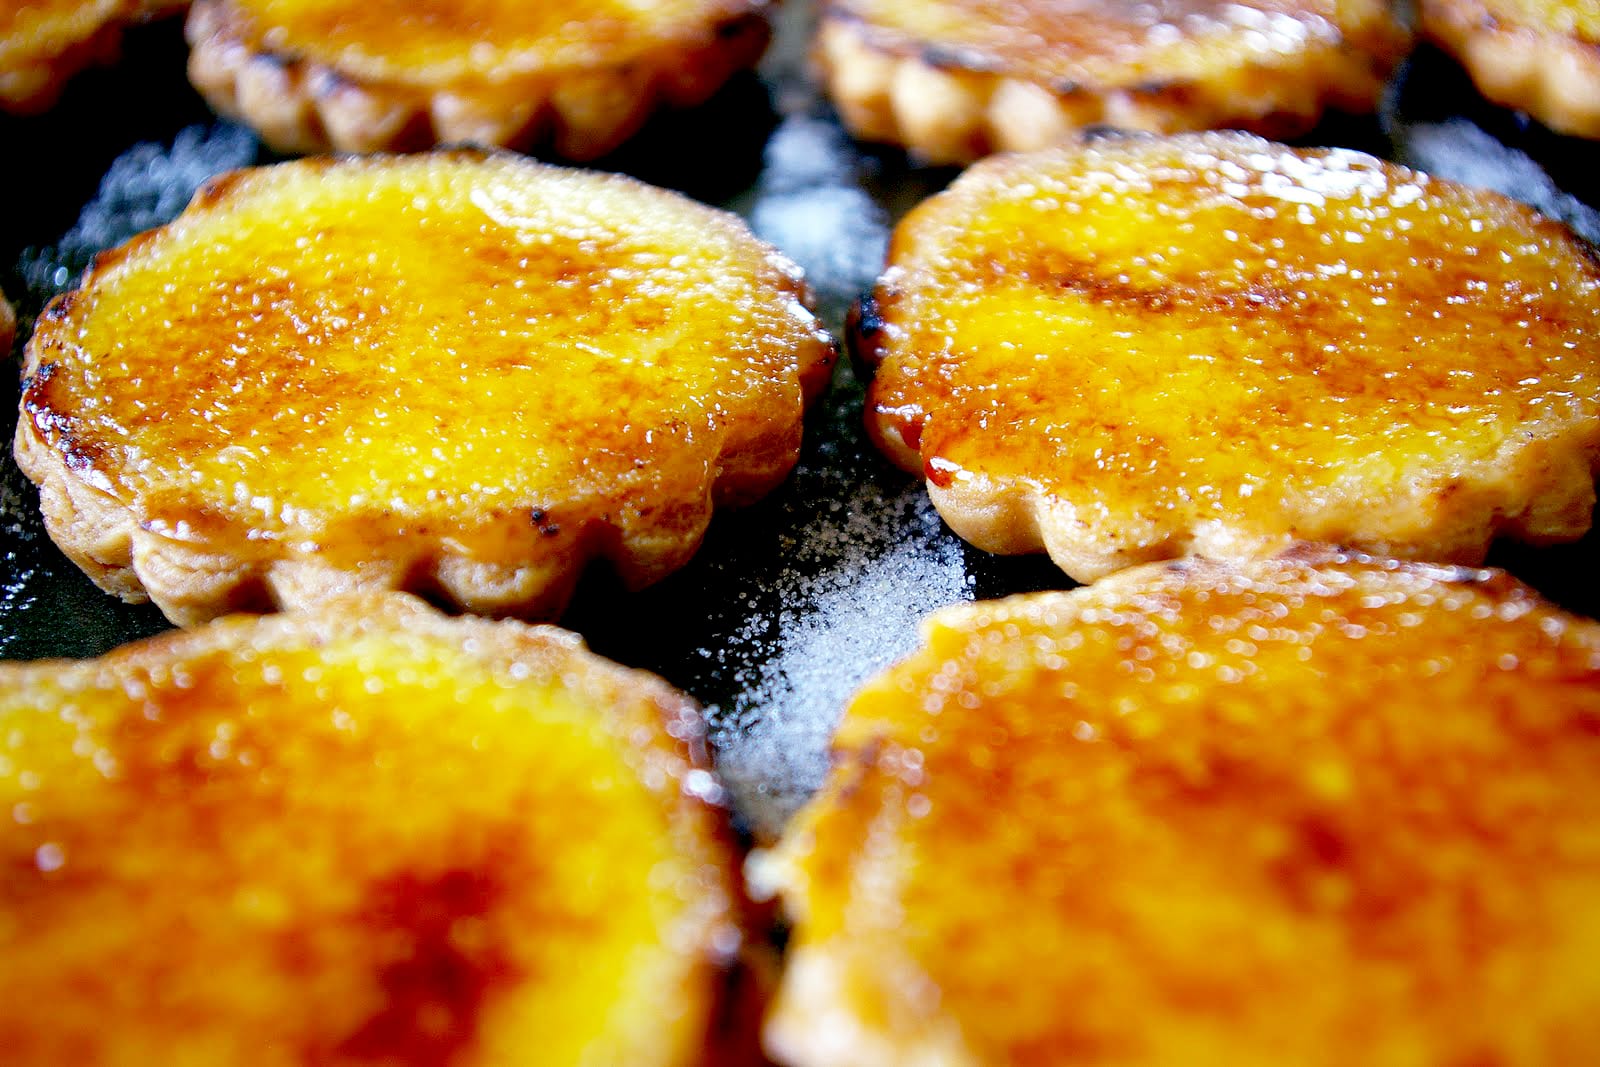
How do you make creme brulee better than it already is? Add some cinnamon and vanilla bean, and put it inside a buttery, flaky pastry tart shell. That’s how. Plus there is always the added bonus when making creme brulee of using a kitchen torch. There is nothing like a little pyrotechnics at 7:00 am on a saturday morning, am I right?
It may be a little more involved than your typical creme brulee, but it is so so worth it. Someone commented on the post I did about the mini fruit galettes, praising/giving me the crazy eye for taking the time to roll out each little disc of dough, and meticulously crimping each tart. Well folks, its true, I am kinda crazy. I will be the first to admit that. I take pleasure in the little things in life, and by ‘little things’ I mean teeny weeny food items. Making them is all part of the fun. Do most people like to sit at their center island for 12 hours rolling and re-rolling, filling and chilling, baking and cooling, freezing and thawing? No. But I do. I realize I am getting into Dr. Seuss territory here, so lets get on with the recipe.
Cinnamon and Vanilla Bean Creme Brulee Tartlets
- Total Time: 3 hours
- Yield: 20-24 tartlets 1x
Description
Make no mistake: these stunning tartlets take time, but they’re the perfect impressive dessert for any event worth the extra effort.
Ingredients
Pate Brisee Tart Shells
- 400 grams (14 oz) unsalted butter, chilled, cut into 1/2 inch cubes
- 1 tablespoon white distilled vinegar
- 100 grams (3 1/2 oz) granulated sugar
- 2/3 cup water, chilled
- 665 grams (1 lb 7 1/2 oz) all purpose flour
- 1 teaspoon salt
Creme Brulee Tartlets
- 720 ml heavy whipping cream
- 1/2 cinnamon stick
- 1/2 vanilla bean, split lengthwise to expose seeds
- 10 egg yolks
- 80 grams granulated sugar, plus extra for torching
- 1 batch pate brisee
Instructions
Tart Shells
- Remove butter from fridge 20 minutes before mixing.
- In a small bowl, combine sugar, water, and vinegar, stir to aid the dissolving of the sugar. Set aside in refrigerator for 10 minutes. Then, stir again to completely dissolve sugar.
- In a food processor, pulse the flour and salt together a few times to combine. Add the butter, and pulse in one second bursts about 3-4 times until butter is cut in and evenly dispersed. You should have visible chunks of butter in your flour mixture, this is where the flakiness comes from.
- Pour mixture into a large bowl and make a little well in the middle of the flour. Pour the vinegar water mixture into the well and gently mix liquids into the flour with a fork. When liquid is evenly dispersed, dump dough out onto a clean surface and knead gently a few times, just until dough comes together in one cohesive ball. It may be a bit shaggy or falling apart, but that’s okay, while it is resting the moisture will bind everything together.
- Using a 4-inch round cookie cutter, cut 10-12 circles out of each disc of dough. Press each disc into a 3 1/4 inch fluted tart mould, being careful not to stretch the dough, as this will cause shrinkage when baking. Push the excess off the edge with your thumb, and make sure the dough gets into each nook and cranny of the tart mould.
- Freeze shells for at least 20 minutes before baking. Preheat oven to 400 degrees F. Line each tart shell with a small piece of tin foil and fill with beans, rice, or pie weights. This is called blind baking. It helps the dough to stay fairly compact and not puff up too much to give you ample room for your filling. Place tart shells on a baking sheet and bake for 20-25 minutes, until shells are a golden brown. You should flip the pans top to bottom and front to back halfway through for even baking.
- Let shells cool in moulds for at least 15 minutes, then gently un-mold and cool completely on a cooling rack. You can make these ahead of time, then freeze until ready to fill.
Tartlets
- In a large saucepan over medium-low heat, combine the cream, cinnamon stick, and vanilla bean and bring just to a simmer. Remove from heat, pour into a glass or metal bowl, cover with plastic wrap, and refrigerate for about 4 hours or overnight.
- Reheat the cream mixture just to a boil, then remove from heat and set aside.
- In a large metal or glass bowl, whisk the egg yolks and sugar for about a minute until the sugar is mostly dissolved.
- Pour about 1/4 of the hot cream mixture through a sieve into the egg yolk mixture and whisk well to combine. Pour the rest of the cream through the sieve into the egg yolk mixture, and discard the leftover cinnamon stick and vanilla bean pod. Whisk well to combine.
- Set bowl containing egg/cream mixture over a pot of barely simmering water to create a double boiler, making sure that the bottom of the bowl is not touching the water itself. Cook, whisking constantly (this will give you arm a fantastic workout) over the simmering water for 10-15 minutes. Note that if you double this recipe, you will be whisking for much longer, about 25-30 minutes.
- Once the custard has thickened, remove from heat and whisk for another two minutes to start the cooling process. Let cool at room temperature for about an hour, whisking every 5-10 minutes or so to aid the cooling. Once it has cooled, set a layer of plastic wrap directly on the custard, this will prevent it from getting a skin, and chill overnight to set up a bit.
- The next morning fill the tart shells (see directions below for pastry crusts) with the custard. You can overfill them a bit and then use a off set spatula to scrape any excess off the top, leaving a nice flat surface for the torched sugar. Once all the tarts are filled, chill them for at least 30 minutes before torching.
- Sprinkle about a teaspoon or so of sugar in a thin layer over each tart, and use a kitchen torch to caramelize sugar. Concentrate mostly on the center, and torch gently around the edges being careful not to burn the edges of the pastry. Chill the tarts for another 30 minutes to reset the melted custard and sugar. You can sprinkle on some chopped nuts, or garnish with some fresh raspberries.
- Prep Time: 2 hours
- Cook Time: 1 hour
- Category: Dessert


