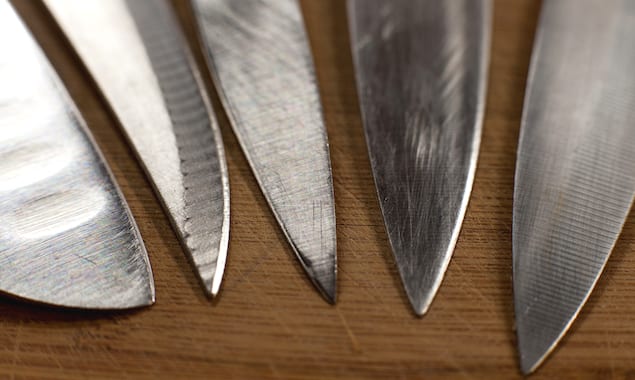
Sharpening or honing on a stone, or using a manual sharpener to put a safe edge on your knives can be done in a few easy steps.
By Annelise McAuliffe
 Shutterstock: Maxim Tarasyugin
A sharper knife is a safer knife. Having a better edge on your tools will make all your chopping infinitely easier. Plus, a sharp blade is supposed to lesson your onion tears, too. Here are our straightforward tips to sharpening and honing your knives and choosing the proper tools to do the job.
 Shutterstock: a katz
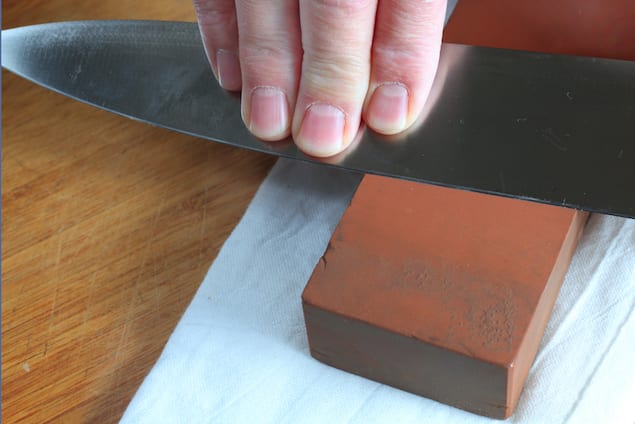
Stone Sharpening
What to use: Check with your particular knife to see if there is a specific stone grit recommendation. Otherwise, use a stone that is 1,000 to 1,800 grit.
1. Before you sharpen, completely submerge your stone in water. This is not a process that should be done for hours, but perhaps 30 minutes before sharpening.
2. Set up your sharpening station with a cloth, for your stone to sit atop, that you are ok with getting dirty, a bowl of water, and your knives.
3. Wet your stone with some water. Hold your knife at about a 20 degree angle as you move it across the stone. For longer knives, such as a chef’s knife, it is sometimes best to sharpen in sections rather than in a half-circle motion. Check out this video to see the motion in action. Continue to lubricate the stone with water as needed.
4. Feel the knife as you sharpen with you finger. You should feel the burrs on the blade as it become to sharper. Once you complete one side, flip the knife and repeat the motion on the other side.
5. Once completed, be sure to let your stone totally air dry before storing. Repeat the sharpening process as needed. It is good to make it a regular habit as a sharp knife is easier and safer to use. We sharpen our knives once or twice a week. This also means that each time we sharpen it is not a long project because the knife is never totally losing its sharp edge.
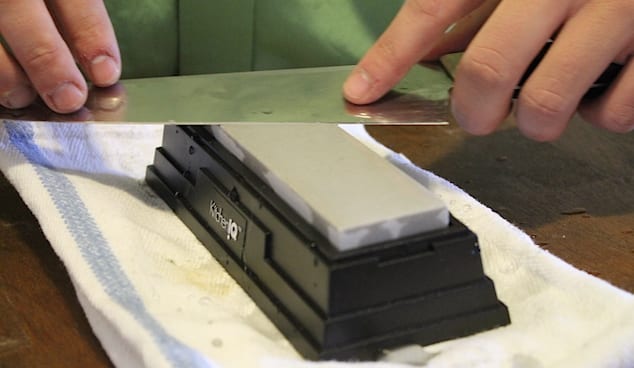
Honing
What to use: Choose a higher grit or finer stone, 3,000 or higher, for this process. We use this stone here as it comes with a nice base to elevate the task off of your work surface.
1. This finer stone should not be soaked before sharping.
2. Set up your sharpening station with a cloth, for your stone to sit atop, a bowl of water, and your knives.
3. Use the same technique as above wetting the stone as you work, however, generally only a few strokes across the stone will do the trick. This honing, fine stone is meant to help your knives keep an edge in between the sharpening process, as described above. It is also a finishing stone. So after following the previous sharpening steps, finish with a few strokes on this stone, too.
Note: A honing steel may also be used to put a quick edge on your knife in between an actually sharping, similar to a fine grit stone. However, steels should not be used on most Japanese knives.
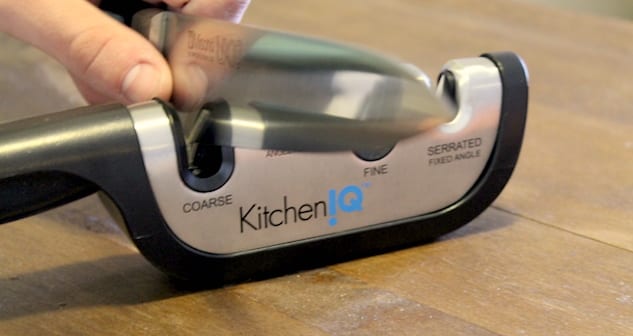
Manual Sharpeners
If maintaining a consistent angle on a sharpening stone is not something you feel comfortable with, it may be better for you to try a manual sharpening system.
What to use: We recommend a sharpener that allows you to adjust the angle of the edge that you sharpen it to. We have used a KitchenIQ sharpener that also has a slot for our serrated knives.
1. This sharpener requires no water, so no setup is needed and little mess is created.
2. Turn the knob to adjust the stone to the proper angle for your knife. Each sharpener should come with an angle guide, but check with your knife brand for a suggestion as well.
3. Slide the knife through the course stone slot until you feel the burrs on the blade as it become to sharper. There is no need to flip the knife as both sides are sharpened simultaneously.
4. Pull the knife through the finer stone slot, set at the same angle, to hone the knife as needed and at the end of the sharpening process.