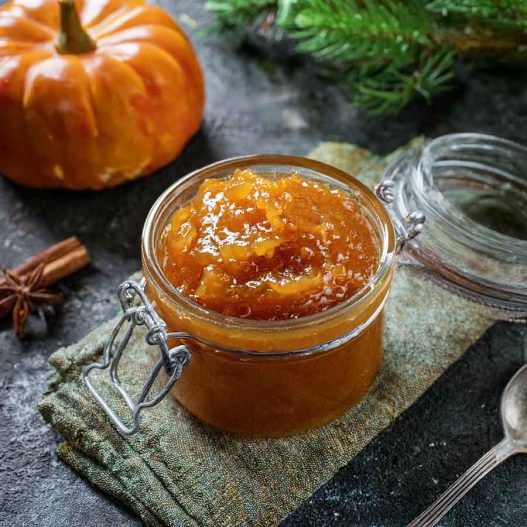
This jam is incredibly easy to make. Pumpkins absorb sugar quickly, so it doesn’t require long cooking. I prefer using butternut squash for its natural sweetness, especially in desserts. You can also mix in carrots or apples for added depth of flavor. Don’t skip the citrus—lemon or orange juice not only enhances the flavor but also helps balance the low acidity of the pumpkin, which is essential for safe canning. Spices like cinnamon, nutmeg, cloves, and ginger pair beautifully with the pumpkin, and I always add vanilla to my jams for an extra layer of warmth and sweetness.
This fabulous jam is really versatile: smear it on your favorite toast, top a scoop of ice-cream, stir it into a cup of Greek yogurt, or use it as an incredible glaze for your next roast.
Pumpkin Jam 101
Choosing the Right Squash:
Butternut squash is ideal due to its natural sweetness and smooth texture. Ensure the squash is ripe for the best flavor.
Adjusting Sweetness:
Use less sugar if you prefer a less sweet jam. Remember that sugar acts as a preservative, so reducing it too much may affect shelf life.
Consistent Stirring:
Stir the mixture regularly while cooking to prevent the jam from sticking to the bottom of the pot and burning.
Checking Consistency:
To test if the jam has reached the right consistency, place a small amount on a cold plate. If it holds its shape and doesn’t run, it’s ready.
Safe Sealing:
Always sterilize jars and lids thoroughly to prevent contamination.
Spice Variations:
Feel free to experiment with additional spices like cardamom or cloves for a unique flavor profile.
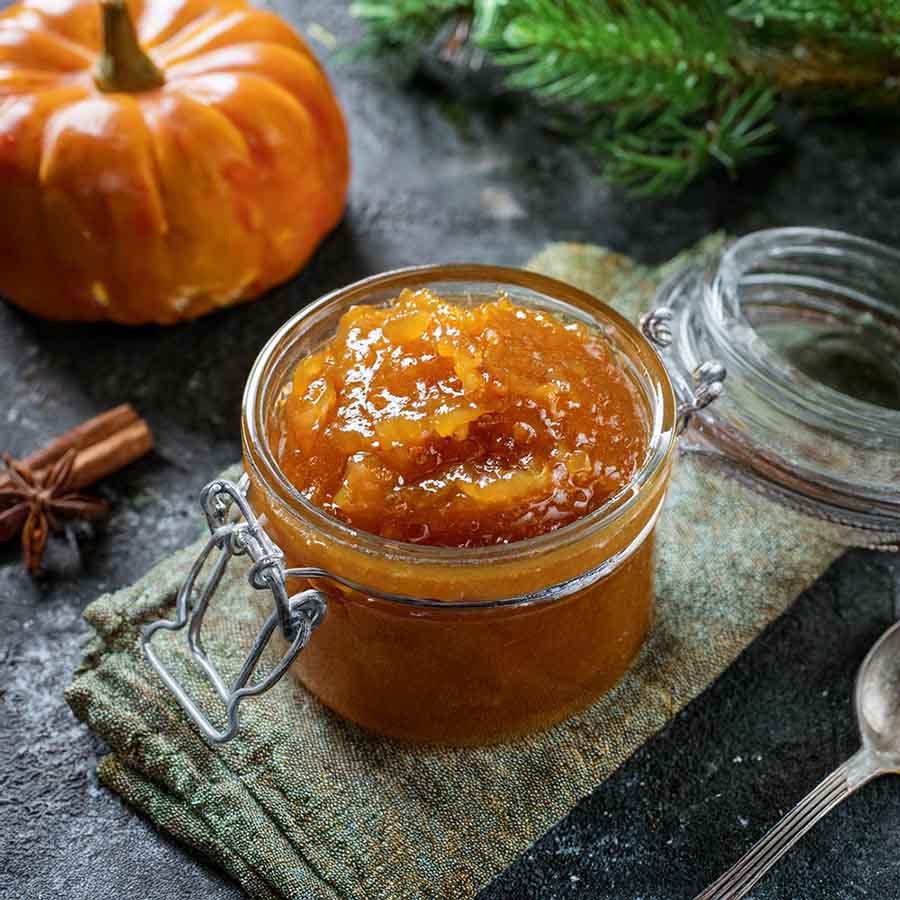
How to Make Pumpkin Jam
Step 1: Prepare the Butternut Squash
- Peel the butternut squash using a vegetable peeler or sharp knife.
- Cut the squash into small cubes, approximately 1-inch pieces, to ensure even cooking.
Step 2: Combine Ingredients in a Pot
- In a large, heavy-bottomed pot, add the cubed butternut squash, sugar, vanilla bean pod and seeds, cinnamon, ginger, and nutmeg.
- Squeeze the juice from two lemons into the pot and add the zest of one lemon.
Step 3: Cook the Jam
- Place the pot over low heat and stir gently to combine the ingredients.
- Cook for approximately 40 minutes, stirring occasionally to prevent sticking, until the squash softens and the mixture thickens to a jelly-like consistency.
Step 4: Sterilize the Jars
- Place jars and lids in a large pot of water, ensuring they are fully submerged.
- Bring the water to a boil and let the jars and lids sterilize for 10 minutes.
- Remove them carefully and arrange on a baking tray. Place in an oven preheated to low heat (around 200°F/95°C) for 10–15 minutes to dry.
Step 5: Jar the Jam
- While the jam is still hot, carefully spoon it into the sterilized jars, leaving a small gap at the top.
- Seal the jars tightly with the lids and immediately turn them upside down. Let them sit upside down for 5 minutes, then return them to an upright position.
Step 6: Cool and Store
- Allow the jars to cool to room temperature. Store the jam in the refrigerator and use within 2–3 weeks.
Recipe Notes
- Storage: Refrigerate the jam in sealed jars and consume within 2–3 weeks. For longer storage, consider water bath canning.
- Serving Ideas: This jam pairs beautifully with toast, scones, yogurt, or as a glaze for roasted meats.
- Consistency Tip: If the jam seems too thick after cooling, gently reheat and stir in a small amount of water.
How to Make Pumpkin Jam
- Total Time: 55 minutes
- Yield: 4-5 jars 1x
Description
Serve on toast, stir into yogurt, or use as a glaze – this homemade jam is an amazing way to preserve pumpkin season.
Ingredients
Instructions
Step 1: Prepare the Butternut Squash
- Peel the butternut squash using a vegetable peeler or sharp knife.
- Cut the squash into small cubes, approximately 1-inch pieces, to ensure even cooking.
Step 2: Combine Ingredients in a Pot
- In a large, heavy-bottomed pot, add the cubed butternut squash, sugar, vanilla bean pod and seeds, cinnamon, ginger, and nutmeg.
- Squeeze the juice from two lemons into the pot and add the zest of one lemon.
Step 3: Cook the Jam
- Place the pot over low heat and stir gently to combine the ingredients.
- Cook for approximately 40 minutes, stirring occasionally to prevent sticking, until the squash softens and the mixture thickens to a jelly-like consistency.
Step 4: Sterilize the Jars
- Place jars and lids in a large pot of water, ensuring they are fully submerged.
- Bring the water to a boil and let the jars and lids sterilize for 10 minutes.
- Remove them carefully and arrange on a baking tray. Place in an oven preheated to low heat (around 200°F/95°C) for 10–15 minutes to dry.
Step 5: Jar the Jam
- While the jam is still hot, carefully spoon it into the sterilized jars, leaving a small gap at the top.
- Seal the jars tightly with the lids and immediately turn them upside down. Let them sit upside down for 5 minutes, then return them to an upright position.
Step 6: Cool and Store
- Allow the jars to cool to room temperature. Store the jam in the refrigerator and use within 2–3 weeks.
Notes
Storage: Refrigerate the jam in sealed jars and consume within 2–3 weeks. For longer storage, consider water bath canning.
Serving Ideas: This jam pairs beautifully with toast, scones, yogurt, or as a glaze for roasted meats.
Consistency Tip: If the jam seems too thick after cooling, gently reheat and stir in a small amount of water.
- Prep Time: 15 mins
- Cook Time: 40 mins
- Category: Condiment
- Method: Simmering
- Cuisine: American
Nutrition
- Serving Size: 2 tbsp
- Calories: 45
- Sugar: 8g
- Sodium: 5mg
- Fat: 1g
- Saturated Fat: 0g
- Unsaturated Fat: 1g
- Trans Fat: 0g
- Carbohydrates: 11g
- Fiber: 1g
- Protein: 0g
- Cholesterol: 0mg





This was so fantastic!
This is definitely going on my thanksgiving table this year!
I concur with previous commenters, this is freaking delicious!
I have TOO MANY pumpkins at home this time of year, so I decided to give this recipe a go, and boy am I happy I did! This is fantastic!! I am totally turning this into my seasonal hostess-gift, so awesome.
Bless you for this recipe, what a treat! I have never had anything like this before, and I am usually not a pumpkin fan. Fabulous!
This reminds me of something my mother used to make when I was a child, and I am so happy I found this recipe. It is a gem.
As a non-fan of pumpkin, I was very reluctant to trying this, but something told me it would be great. Yay, it was!!!