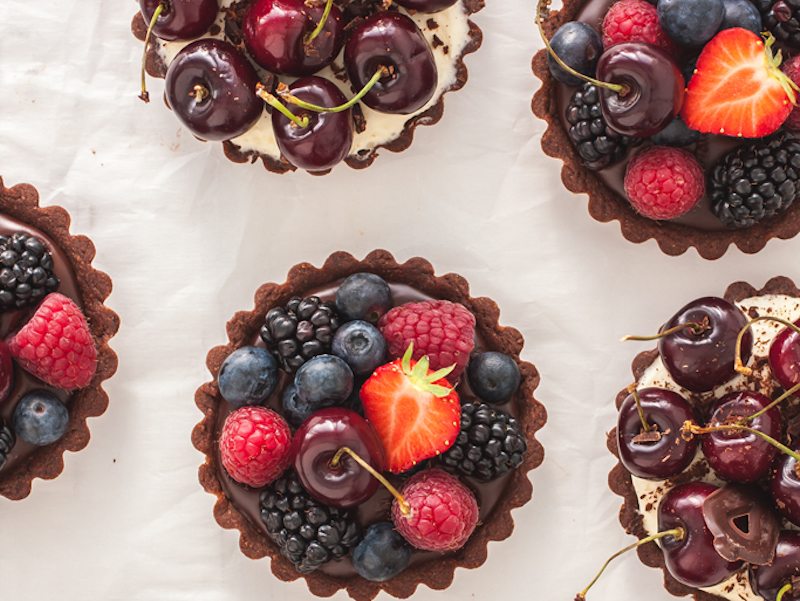
Pick your poison errr, we mean your filling. Choose a vanilla mascarpone or chocolate filling for these stunning summer fruit tarts and celebrate the product of the season while it’s around for the next few weeks.
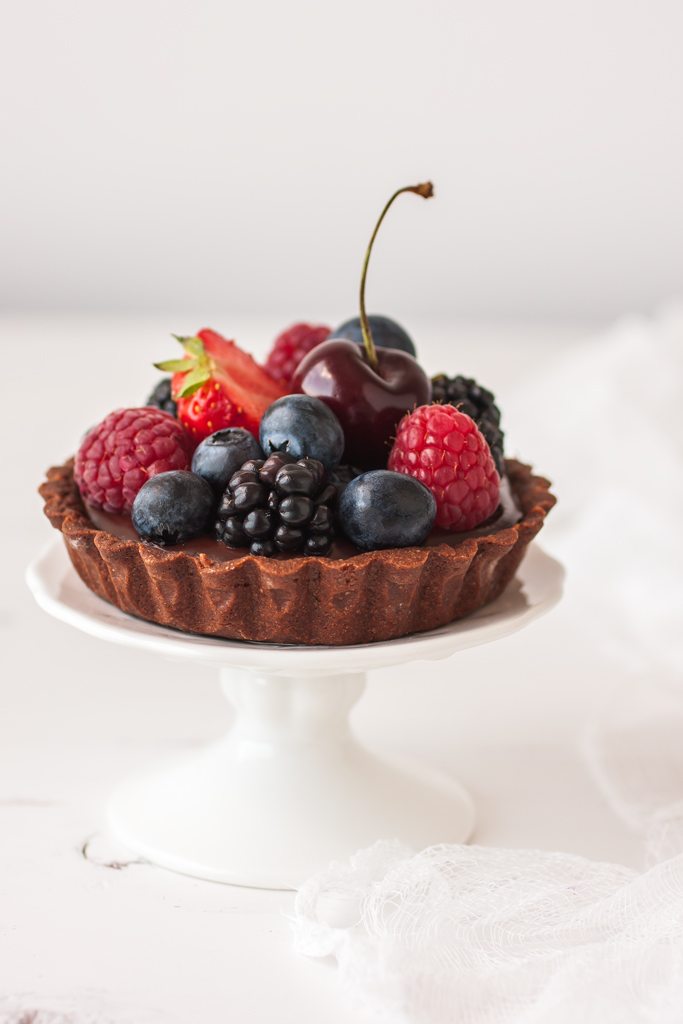
Fruit tartlets are the perfect summer treat. And last week when I was visiting our local market, I saw the first cherries, so the fruit tartlets season has officially started!
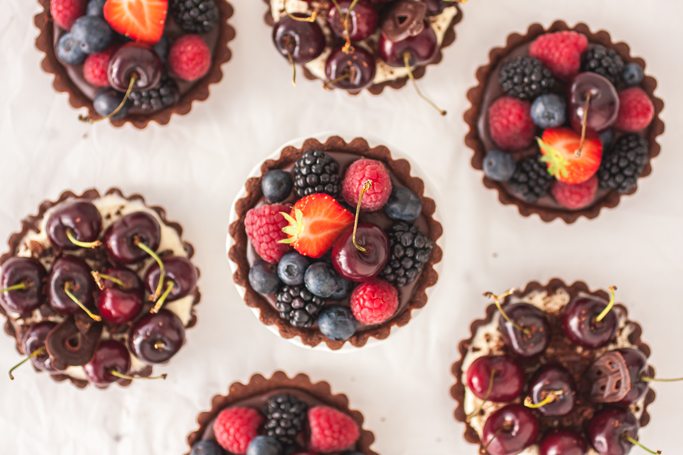
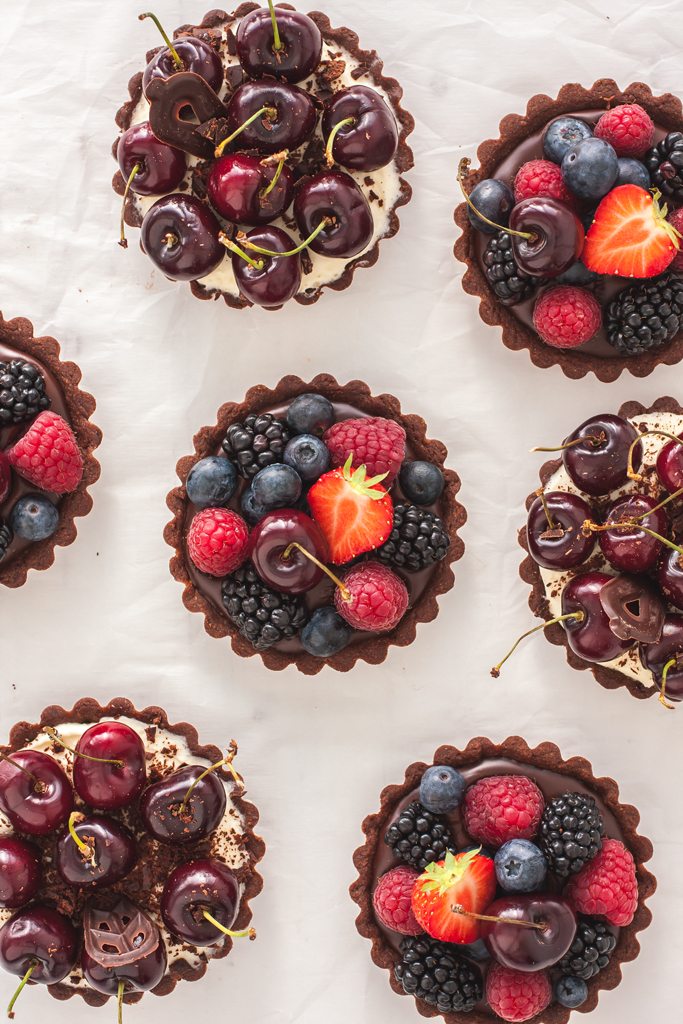
Your guests will be definitely impressed by your baking talents if you serve these beauties at the end of your dinner party. The funny thing that in reality (psst… don’t tell anybody, if you want to be named “a baking queen/king”), fruit tartlets and tarts are not difficult to make and there’s minimal bake time. The crust is baked for about 20-30 minutes and also can be prepared in advance (see make ahead tips). In this post I suggest you two different fillings: mascarpone and chocolate, but you can choose only one (just double the ingredients to get enough filling for 8 tartlets) and it will take maximum 15 minutes of your time to prepare. Assembling is also quite easy & quick, just arrange fruits and berries of your choice on top and you are done! Aren’t they pretty?!
Click here for the chocolate tart crust recipe.
Print
Mascarpone and Chocolate Fruit Tarts
- Yield: 8 tartlets 1x
Description
Pick your poison errr, we mean your filling. Choose a vanilla mascarpone or chocolate filling for these stunning summer fruit tarts and celebrate the product of the season while it’s around for the next few weeks.
Ingredients
For the chocolate shortcrust pastry (pâte sablée):
- Click the link above for the recipe.
For the mascarpone filling (4 fruit tartlets)
- 50 g icing sugar (sifted)
- 200 g whipping cream
- 100 g mascarpone
- 1 tbsp kirsch or other fruit-based liqueur (optional)
- 200 g fresh cherries
- 50 g good quality chocolate for decoration
For the chocolate filling (4 fruit tartlets)
- 100 g good quality dark chocolate (70-73 %, finely chopped)
- 100 ml whipping cream
- 2 tbsp golden syrup (or glucose syrup)
- 1 tbsp kirsch or other fruit-based liqueur (optional)
- 200 g berries/ fruits of your choice (I used strawberries, blackberries, raspberries, blueberries and cherries)
Special equipment:
- 8 tart pans (12 cm/ 4.75 inch in diameter)
Instructions
The shortcrust pastry (pâte sablée)*:
- Click the link above for the recipe.
Crust Assembly**:
- Lightly butter tart pans and chill on a baking tray.
- Roll out the pastry on a lightly floured surface to a round, 3-4 mm (1/8 inch) thick. Cut 8 circles and line greased tart tins.
- Trim off the excess pastry, gently press the pastry edges up the side of the tins to form a nice line. Chill for 20 minutes in a fridge.
- Preheat the oven to 180 C (350 F). Prick the chilled pastry all over with a fork. Line each tart pan with baking paper, fill with beans or peas (it will prevent the dough from rising or “sliding”).
- Blind bake for 10-15 minutes or until the edges just begin to darken. Remove the beans and paper and bake for a further 10-15 minutes.
- Leave to cool in pans completely. Remove the tarts from the pans and place on a serving plate.
Mascarpone filling:
- Combine mascarpone, sugar, kirsch (if using) and cream in a bowl, whip with an electric mixer until thick and smooth. Place the bowl in the fridge for the filling to thicken.
Chocolate filling:
- Melt the chocolate in a bowl set over a pan of barely simmering water and set aside. In another pan heat the cream with kirsch (if using) and syrup until almost boiling, then pour onto the melted chocolate and beat until glossy and smooth.
To assemble:
- Chocolate fruit tartlets: top with the chocolate ganache and garnish with fruits and berries of your choice (I used cherries, strawberries, raspberries, blueberries and blackberries).
- Mascarpone cherry tartlets: top with mascarpone filling, garnish with whole cherries and grate the chocolate on top.
Notes
*Make ahead tips:
If well wrapped , pâte sablée will keep in the fridge for up to 2 days and in the freezer for up to 3 month. Thaw overnight in the fridge and follow the next instruction for the crust.
You can also bake the crusts, then let them cool completely and put in the freezer for about 1 hour to let them firm up, then wrap in plastic or put in an airtight container. In an airtight container or well wrapped, the baked crusts will keep in the freezer for up to a month. When ready to serve your fruit tartlets, take the crusts out the freezer and let them thaw in the fridge before assembling.
P.S. If you will bake these fruit tartlets, please tag @bakingwithanastasia and @toetjeaddicted on Social Media and use the hashtag #bakingwithanastasia! I would love to see your pictures and read your comments!
- Category: Baking, Dessert


