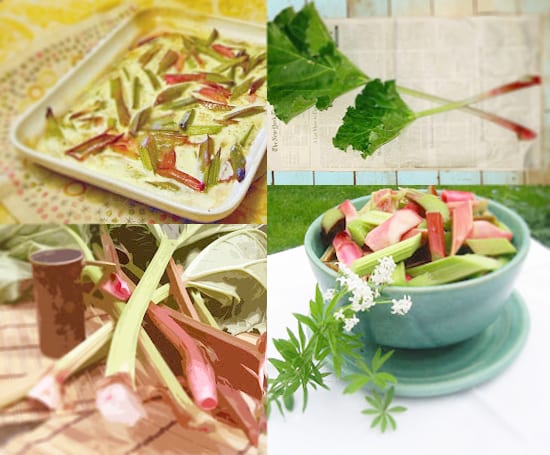
This is a perfect opportunity to experiment and go with whatever you’re craving or what looks good at the market. In the late summer you might serve it topped with grilled garlicky eggplant; in the winter you can tint it deep fuscia with cubed roasted beets and vinegar-soaked shallots, or cook it with dried mushrooms mixed in and top it with leftover roasted pork or beef; in the spring it might be artichoke hearts, herbed goat cheese, and flaked poached or smoked salmon; in the summer it might be lemony, peppery greens and some grilled zucchini.
Print
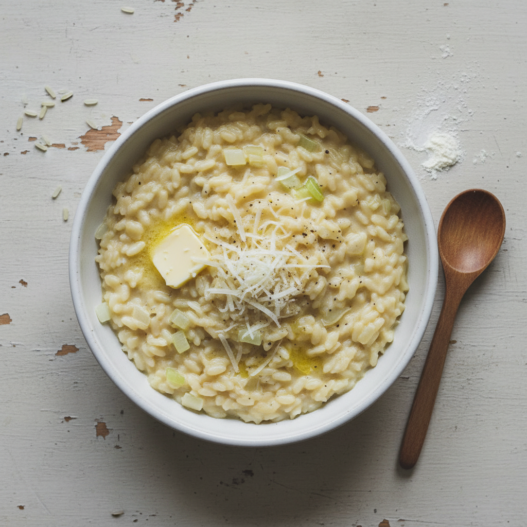
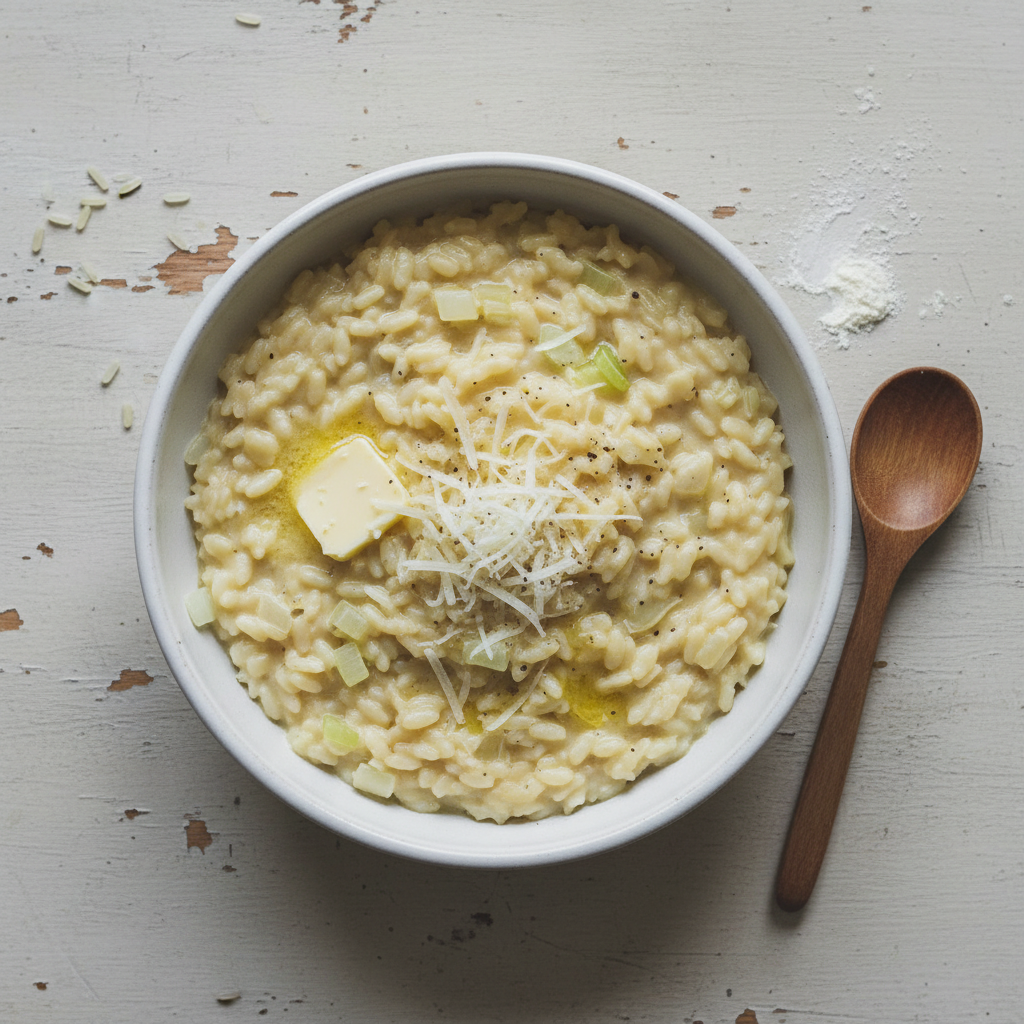
Basic Risotto
- Total Time: 30 minutes
- Yield: Serves 2
- Diet: Vegetarian, Omnivore
Description
Creamy, dreamy risotto. A simple side or satisfying main, easily customized with your favorite ingredients.
Ingredients
- 1/2 onion, diced
- 1 to 2 stalks celery, diced
- 1 to 2 Tbsp. butter and/or olive oil
- 1 cups (237 ml) risotto rice, like arborio or carnaroli
- 1/4 to 1/2 cups (60 to 118 ml) dry white wine or vermouth
- 3 to 4 cups (710 to 946 ml) warmed vegetable or meat stock
- 1/2 cups (118 ml) grated Parmesan
- Salt and pepper
- Optional: another pat of butter and/or a squeeze of lemon
Instructions
- Cook the diced onion and celery in butter and/or olive oil in a medium saute pan or pot until translucent.
- Stir in the rice and cook until it has absorbed the moisture, then cook for another 30 seconds, stirring occasionally to prevent sticking.
- Pour in the wine or vermouth and stir until the alcohol has cooked off and the rice has absorbed most of the liquid.
- Add stock in 1/2 cup increments, keeping the mixture at a low bubble and stirring consistently, scraping the bottom of the pot to prevent sticking. Continue this process for 15-25 minutes, or until the rice is cooked through, adding less stock towards the end to avoid a soupy consistency.
- When the rice is tender, remove from heat. Add more stock if desired, then add grated Parmesan, salt, pepper, additional butter and/or lemon.
- Serve with desired toppings or garnishes.
Notes
- For richer flavor, toast the rice lightly in the butter before adding the wine.
- Don’t rinse the rice; the starch is crucial for creamy texture.
- Leftover risotto can be stored in the refrigerator for up to 3 days and reheated gently on the stovetop with a splash of stock.
- Prep Time: 5 minutes
- Cook Time: 25 minutes
- Category: Main Course
- Method: Simmering
- Cuisine: Italian
Nutrition
- Serving Size: 1 cup
- Calories: 400
- Sugar: 5
- Sodium: 600
- Fat: 20
- Saturated Fat: 10
- Unsaturated Fat: 8
- Carbohydrates: 60
- Fiber: 4
- Protein: 10
- Cholesterol: 20
Frequently Asked Questions
Why do I need to keep the stock warm when making risotto?
Adding cold stock to hot rice drops the temperature and slows cooking, which affects the starch release. Warm stock keeps the process steady and helps create that creamy consistency.
How do I know when the risotto is done?
The rice should be tender but still have a slight bite in the center. The overall texture should be loose and creamy, flowing slowly when you tilt the pan, not stiff like porridge.
Can I make risotto without wine?
You can skip the wine and add a small squeeze of lemon juice near the end instead. The wine adds acidity that brightens the dish, so you want something to fill that role.


You can use a rice cooker for brown rice. You just need to add a lltite more water and it takes a lltite more time.For white rice I use 1.5 cups of water for 1 cup of rice.For brown rice I use 1.75 cups of water for 1 cup of brown rice.I like using a rice cooker because the cooker will automatically switch from cook to warmer mode, but I’ve used a sauce pan and it’s worked too.