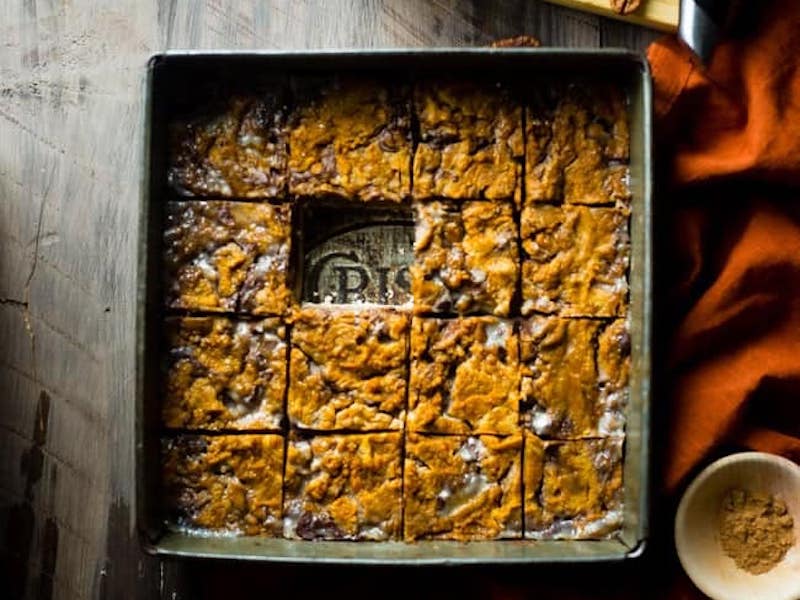
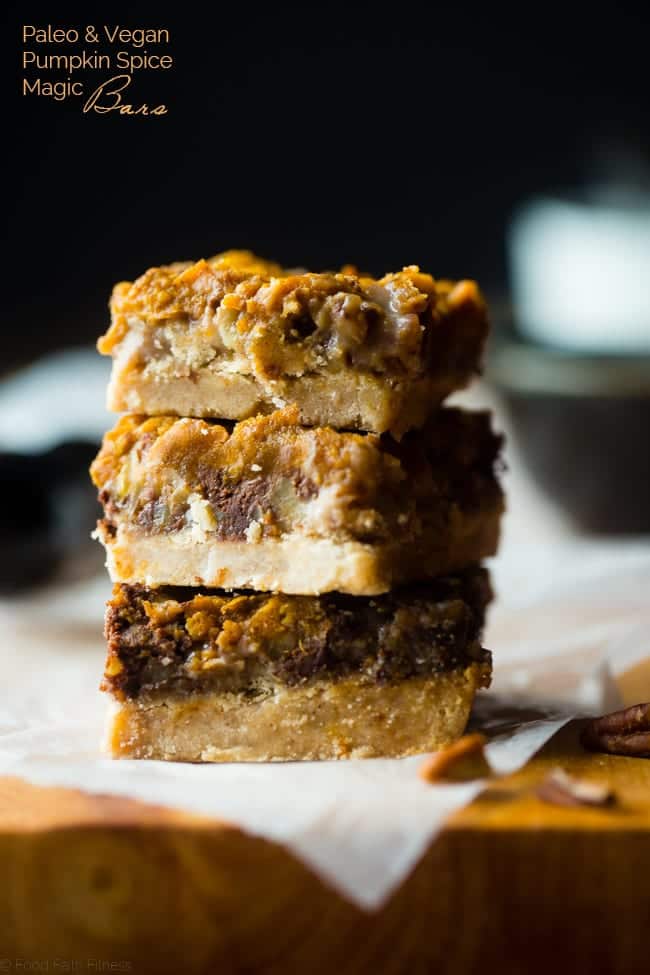
These paleo pumpkin magic bars are a gluten free and vegan-friendly version of the classic dessert, but this time packed with fall spices.
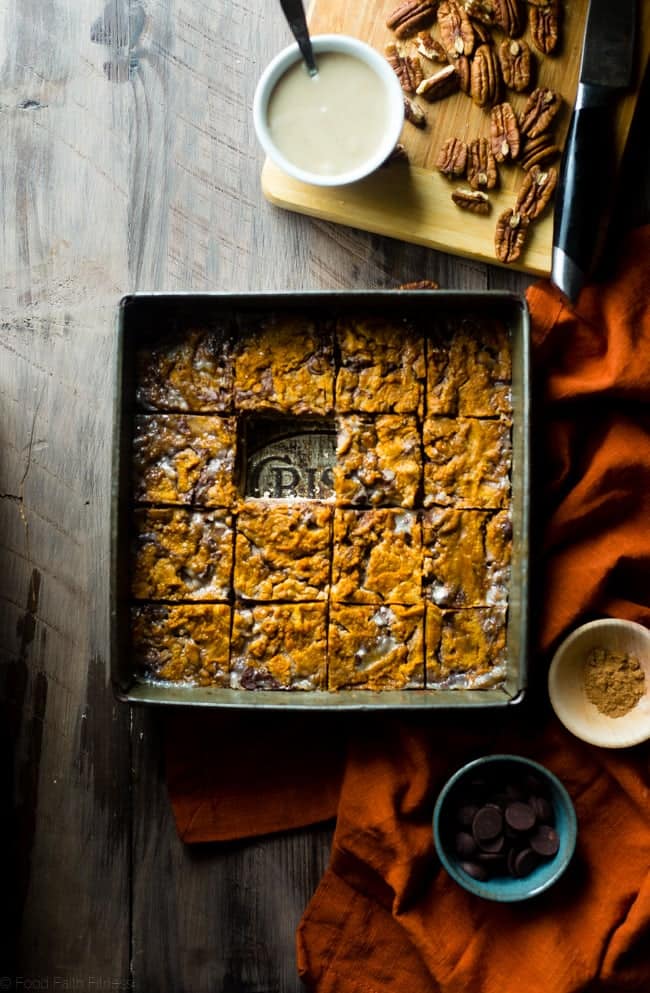
Crunchy, coconut-y crust.
Ooeey goey ribbons of creamy melty chocolate.
A layer of crispy, toasty pecans dancing around with superthick, maple-flavored coconut milk.
AND A SWIRL of spicy-sweet PUMPKIN.
IN EVERY. SINGLE. BITE. Liiiiike, ALL OF THAT YUMMINESS.
In your mouth. At once. In your VRY VRY real, RIGHT NOW life.
I probably don’t even need to tell you where the idea of these crunchy bites of sweet, sweet gooey fall-dessert deliciousness came from. The normal (but still EPIC) paleo magic cookie bars from last year basically BROKE the internet. Ya’ll thought they were pretty rad and you liked the happy good-food-feelings that they gave your healthy-dessert-craving taste buds.
After that we had some chocolate paleo magic cookie bars and carrot cake paleo magic cookie bars. In the summer, your taste buds fell in LOVE with tropical paleo magic cookie bars.
Since it’s the fall, the only logical next step was to PUMPKIN the MAGIC COOKIE BARS.

Paleo Pumpkin Magic Bars
- Total Time: 1 hour
- Yield: 12 large bars 1x
Description
These paleo pumpkin magic bars are a gluten free and vegan-friendly version of the classic dessert, but this time packed with fall spices.
Ingredients
- 3/4 Cup Maple syrup divided
- 1/2 Cup Coconut oil at room temperature (should be the consistency of softened butter)
- 1 Cup Coconut flour Sifted (95g *)
- 1 3/4 tsp Pumpkin pie spice divded
- Pinch of salt
- 1 Can Full-fat Coconut Milk Do NOT use low fat (13.5 oz)
- 1/2 Cup Pecans very finely chopped
- 1/2 Cup Dark chocolate chips dairy-free for vegan option
- 3/4 Cup Pure canned pumpkin puree
Instructions
- Pre-heat your oven to 350 degrees and line an 8×8 inch pan with parchment paper, rubbing the sides generously with coconut oil. Note: It helps to spray the bottom of the pan before putting in the parchment paper, to secure it. Do NOT skip the parchment paper.
- In a large bowl, using an electric hand mixer, beat 1/4 cup of the maple syrup (reserving the rest for later) with the coconut oil until smooth and creamy. Stir in the flour, 1 tsp of the pumpkin pie spice (reserving the rest for later) and pinch of salt until a wet dough forms.
- Press the dough evenly into the bottom of the pan. This may be a little bit tough, just be patient with it. I found it easiest to use the palms of my hands, and rinse them off every so often, until the dough was pressed in, if you’re having troubles.
- Bake the crust just until lightly golden brown, about 8-9 mins. If your crust rises when it bakes, use a small spoon to press it down firmly once it’s out of the oven, making sure not to cut into the crust.
- Once the crust comes out of the oven.** whisk together the can of coconut milk and the remaining 1/2 cup of maple syrup in a large pot, set over high heat. Bring the mixture to a boil and boil for 1 minute, stirring constantly. Coconut milk rises a lot when heated, so make sure you use a large pan! Once you’ve boiled it for 1 minute, turn the heat down to medium and and simmer for 13-16 minutes, stirring frequently, until you have 1 1/4 cups sauce left. ***(read notes here!!)
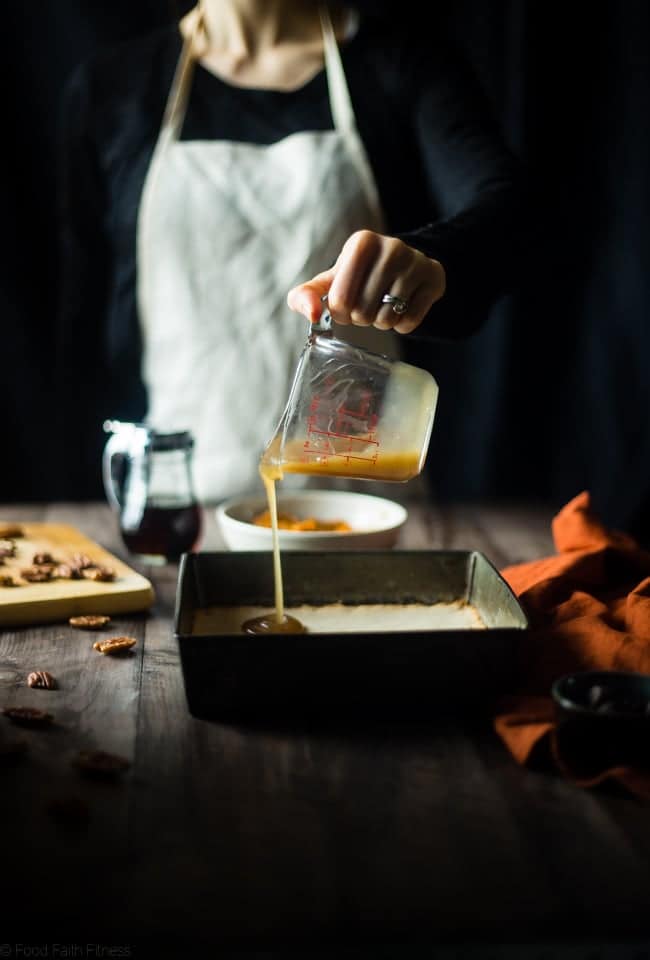
- Immediately pour 1/4 cup of the coconut milk mixture onto the crust and GENTLY spread it out. Sprinkle the pecans on top, followed by the chocolate chips. Finally, drizzle all the remaining coconut milk mixture evenly over top, making sure you get enough down the sides.
- In a small bowl, stir together the pumpkin and remaining 3/4 tsp of pumpkin pie spice.
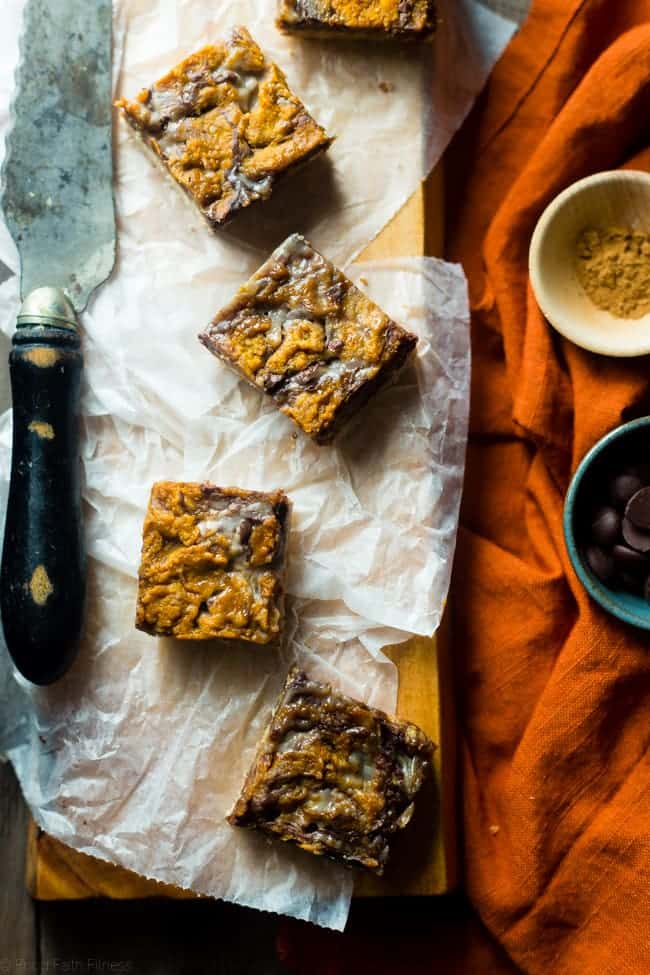
- Drop the pumpkin in small blobs (no other word for it) on top of the coconut milk and use a sharp knife to gently swirl it into the milk, making sure not to cut into the crust. You want to swirl the chocolate chips and pumpkin together a little bit. Gently shake the pan around to make sure the coconut milk goes through all the layers.
- Place into the oven and bake until the sides are golden brown, about 28-30 minutes.
- Remove from the oven and cool to room temperature. Then, cover with tinfoil and refrigerate overnight. ****
- The next day, run a very sharp knife around the edge of the pan, slice into bars and DEVOUR! *****
Notes
* The coconut flour I usually use needed 1 cup, but I also tried it with a different brand and 66g was only less than 1 cup. So, PLEASE weigh your flour first before trying to make the crust. As long as you use 95g you’ll be good. **Don’t start making the condensed milk until the crust comes out of the oven, as I’ve got it all timed so the crust has enough time to set up, before you pour the milk on. *** You need to make sure you end up with 1 1/4 cups milk, no more, no less. This can take varying times, depending in your stove/pot size. I recommend boiling 12 or 13 minutes, measuring and then pouring back into the pot and reducing a few more minutes if need be. It’s annoying, but necessary. **** You NEED to let these sit overnight to make sure the coconut milk really has a chance to chill and thicken. ***** I find an offset spatula to be really helpful to get these out of the pan!
- Prep Time: 30 minutes
- Cook Time: 30 minutes
- Category: Baking


