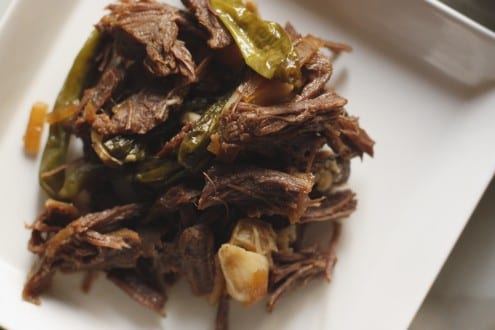
How to make the perfect Jangjorim: First you soak the beef in cold water. Then you strain it, rinse it, and add it to a heavy bottomed pot with more water…
By Jacqui Gabel
The first time I tried jangjorim, it was in a children’s library, and I was sitting in a plastic chair meant for a kindergartner. I ate lunch that way five days a week for a year and a half. As English teachers, we savored the silence of our lunch breaks when the only sounds came from metal chopsticks scraping against metal trays. Still, kids would filter in and out of the room to show us mouthfuls of food chewed to varying degrees before fleeing back to the classroom, their lunchroom, where whoever was in charge for the hour would be waiting with a reprimand. The seconds it took to run up and down the hall were worth it, so it seemed.
Our lunch food was catered daily, much of which was good. Everyone ate it, from the school director to the youngest kids who were still learning how to use scissors. Some side dishes were memorable. Jangjorim was one of them, and it always disappeared before anyone could go back for more.
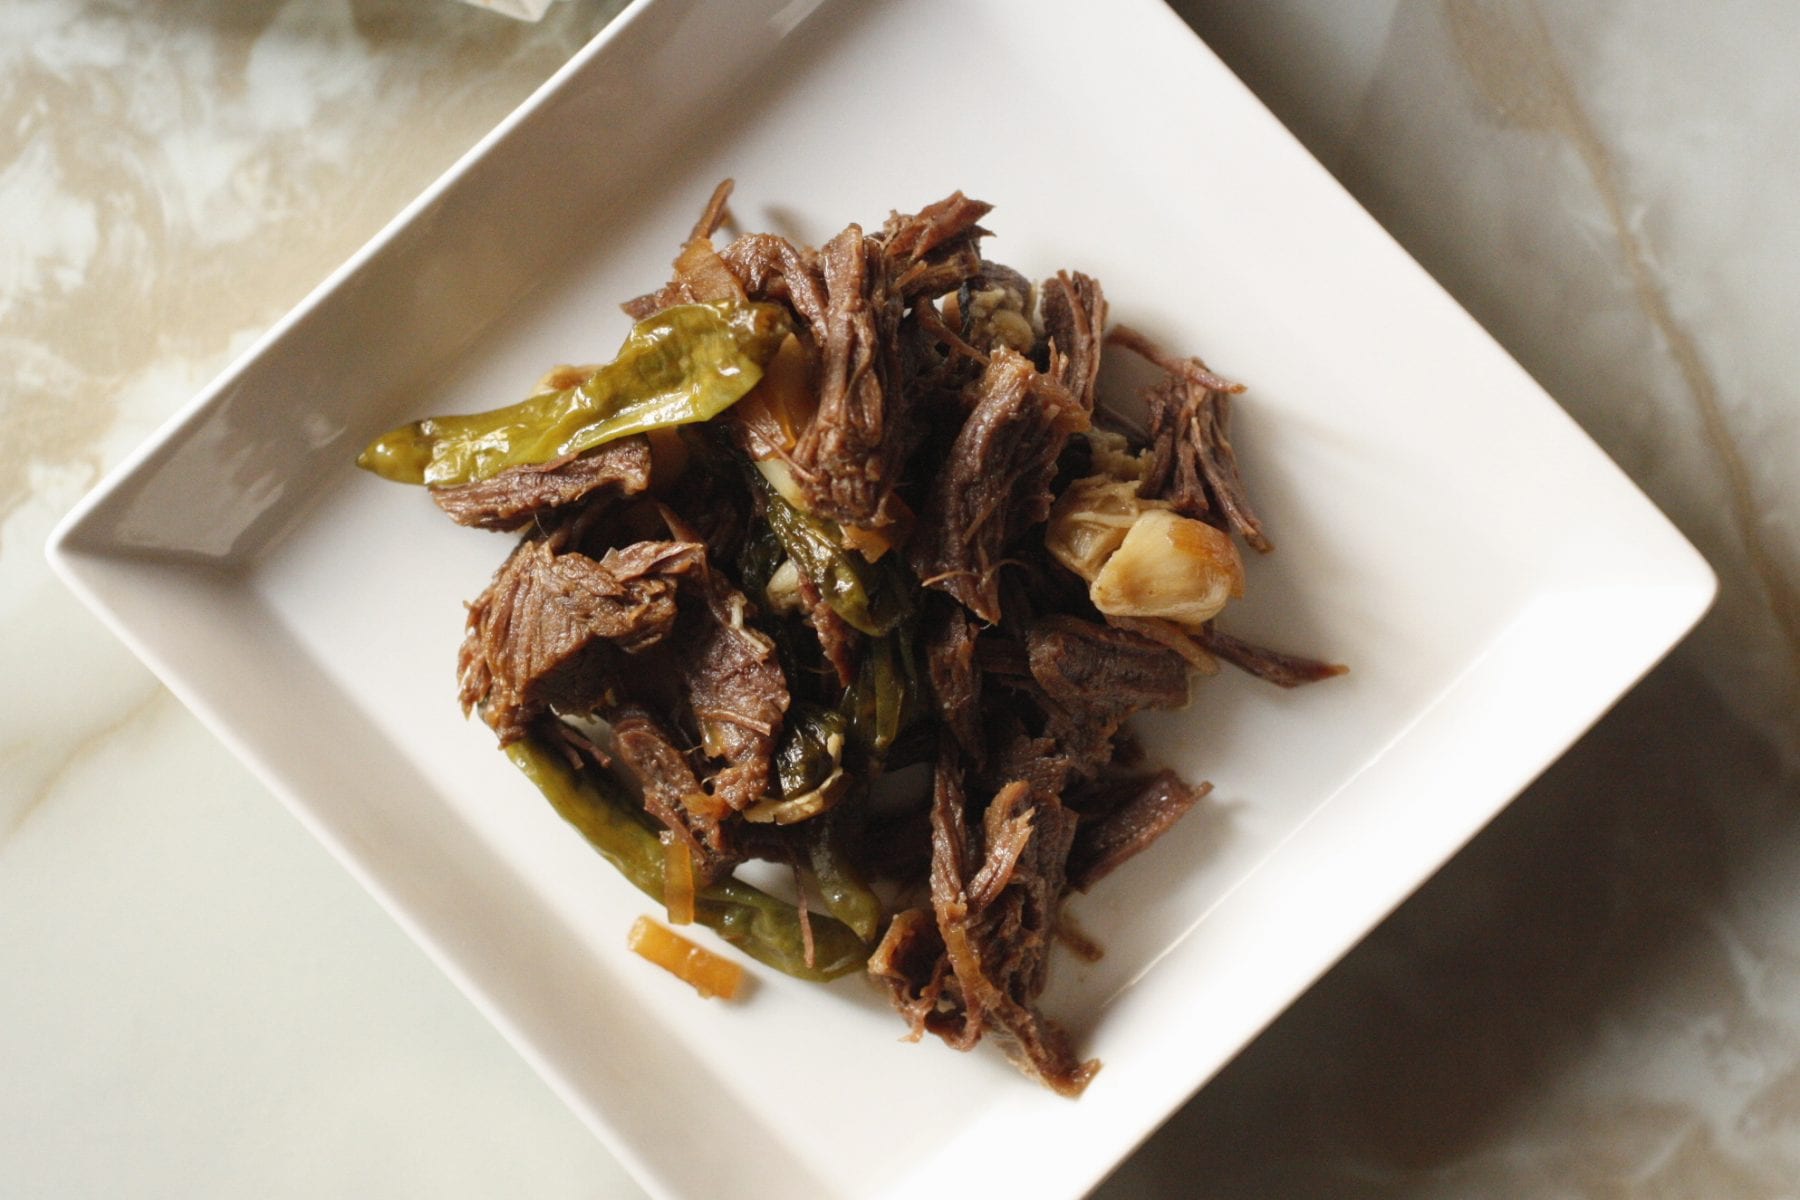
Not all Korean barbecue restaurants serve jangjorim as a side dish, but I’ve yet to find a Korean market that doesn’t sell it in a can. Besides the time it takes to tenderize, it’s a very undemanding thing to make. First you soak the beef in cold water. Then you strain it, rinse it, and add it to a heavy bottomed pot with more water. You boil the dickens out of the beef until it yields to the pierce of a fork, which could take over an hour. Then you strain it again while reserving the stock, and add it back to the pot with more water, soy sauce, honey, garlic, radish, and peppers. Another fifteen minutes of low boiling, some shredding, and it’s ready.
Jangjorim comes out saltier than you might expect. It should, and is meant to be eaten in small amounts. Make a full batch and serve it lukewarm or cold with white rice, kimchi, dried and seasoned seaweed, or as part of a larger meal. You can save whatever’s left over. A final note: garlic cloves turn silky and sweet and something to fight over when cooked down this way, so don’t skimp on the amount. If anything, add more.
Jangjorim
- Yield: 3-6 1x
Description
A side dish of beef, honey, and soy sauce that’s cooked down with garlic and shishito peppers until rich and tender
Ingredients
- 1 lb (about 450 grams) eye of round beef, cut into two-inch chunks
- 2 1/2 cups (20 ounces) water plus more
- 1/4 to 1/2 cup (2 to 4 ounces) soy sauce
- 1 tablespoon honey
- 12 whole garlic cloves, peeled
- 1 fistful kkwarigochu peppers*
- 1 fistful cubed daikon radish
Instructions
- Soak beef in cold water for 30 minutes to an hour.
- Drain and rinse beef, then put into a sturdy pot with 2 1/2 cups water.
- Boil uncovered at medium heat for 50 minutes. Add more water when you need it.
- Check the tenderness of the beef. You should be able to pierce the thickest piece easily with a fork. If not, keep boiling and covering with water until you can. It could take over an hour.
- Strain the beef and save the stock.
- Add cooked beef, strained stock and enough water to make 2 total cups of liquid back to the pot.
- Add 1/4 cup soy sauce, honey, garlic cloves, shishito peppers, and radish to the pot.
- Boil for another 10-15 minutes. Taste. It should be salty, but not overly so. Add more soy sauce if needed and continue boiling for 5-10 minutes.
- Take beef from the pot, let cool, and shred with hands or forks. Then add back to the pot.
- Serve tepid or cold.
Notes
*Kkwarigochu peppers are also known by their Japanese name of shishito, and can be found in Asian marts. Thin and wrinkly, they add a lovely smokey depth. I would omit them–plenty of jangjorim recipes do–before substituting a different pepper.
- Category: Side Dish
- Cuisine: Korean







Thanks, Misun! You still make the best kkakdugi, though. ^^
Humm… Your jangjorim looks great! ^^