If you’ve never had freshly made naan, you’re in for a treat. This soft, pillowy Indian flatbread is traditionally cooked at high temperatures in a tandoor oven, giving it that signature char and irresistible chew. It’s similar to pita, but richer, thanks to the addition of yogurt and milk—which also help keep it incredibly soft and flavorful.
This particular naan recipe has an 85% hydration level, meaning it’s got a high ratio of liquid to flour. The best part? No kneading required! Just mix everything together, let it rest, and let time do the work for you. The result is a dough that’s soft, stretchy, and perfect for creating naan that’s as close to tandoor-baked as you can get at home.
To make it, we mix the ingredients until just combined, then let the dough rest so the gluten can develop naturally. Once it’s risen, we divide it into portions and gently stretch or roll them out. And because we’re going all out, we stuff each one with a generous filling of cheese and garlic before sealing them up. Instead of a tandoor, we cook them on a hot skillet, where they puff up beautifully, forming those gorgeous charred spots and crisp, golden edges. Straight off the pan, brushed with melted butter or ghee, this naan is awesome!
Step by Step Guide to Making Cheese and Garlic Naan:
Step 1: Activate the Yeast
In a bowl, combine warm milk and sugar.
Sprinkle yeast into the mixture, stir gently, and let it sit for about 15 minutes until frothy.
Step 2: Prepare the Dough
Add flour, yogurt, ghee, and salt to the yeast mixture.
Mix thoroughly with a wooden spoon or spatula. The dough will be sticky and wet.
Step 3: First Rise
Coat your hands and the bowl lightly with oil to prevent sticking.
Shape the dough into a ball and cover the bowl with a clean kitchen towel.
Place in a warm, draft-free area and let rise for 1½–2 hours, until doubled in size.
Step 4: Divide and Shape Dough
Transfer dough to a lightly floured surface.
Punch dough gently to release air, then briefly knead and shape it into a log.
Divide dough into 8 equal portions, roll into balls, and place them on a lightly floured baking sheet.
Cover again and rest for another 30 minutes.
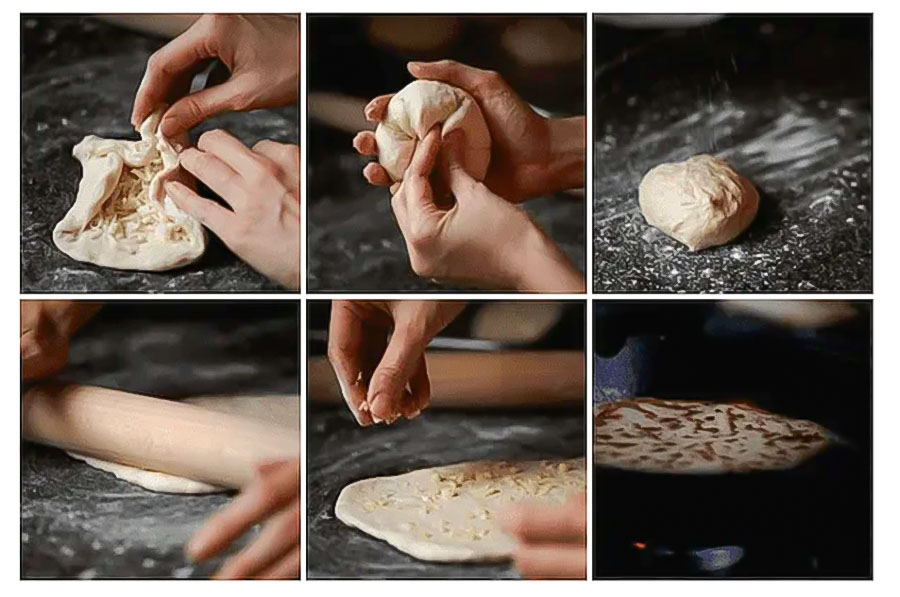
Step 5: Fill and Shape Naan
Flatten each dough ball on a floured surface.
Place 3–4 tablespoons shredded mozzarella cheese in the center.
Seal dough edges tightly around the cheese and gently shape back into a ball.
Using a rolling pin, flatten into a teardrop shape, approximately ¼-inch thick.
Sprinkle minced garlic over each naan and gently press it into the dough with the rolling pin.
Brush the surface lightly with melted butter.
Step 6: Cook the Naan
Preheat a cast iron pan over medium-high heat until very hot.
Carefully transfer naan onto the hot skillet. Cook without oil for 1½–2½ minutes until the bottom side is nicely browned or slightly charred.
Flip and cook the other side for 1–1½ minutes.
Brush with more melted butter and sprinkle chopped cilantro if desired.
Step 7: Serve or Store
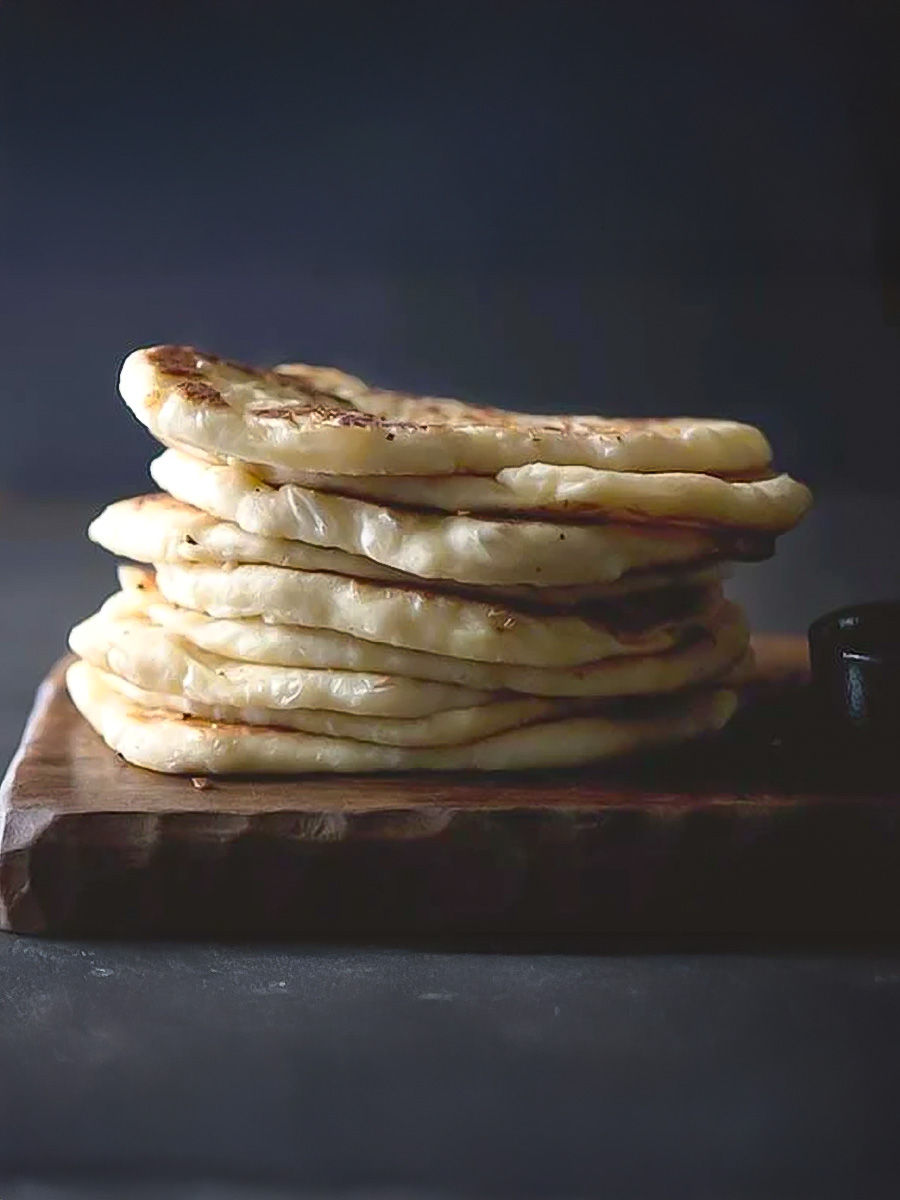
Serve naan warm. Keep them warm by stacking them in a towel-lined basket.
Recipe Notes
Adjust garlic quantity based on preference.
Dough can be refrigerated overnight after first rise; just bring to room temperature before shaping.
Roll thinner naan for crispier texture or thicker naan for softer bread.
Leftover naan can be frozen; sprinkle lightly with water and reheat wrapped in foil in the oven (4–5 mins at 350°F) or gently in a pan on low heat.
Naan – FAQ
Can I make naan without yeast?
Yes, but yeast provides a softer, fluffier texture.
Why is my naan dough sticky?
It should be slightly sticky for soft naan. Use flour lightly when shaping.
Can I use whole wheat flour?
Yes, but the naan will be denser.
How long does naan stay fresh?
Naan is best eaten fresh but can be stored up to 2 days in airtight containers.
Can I bake naan in the oven?
Yes, preheat oven at highest temperature (500°F/260°C) and bake 3–4 minutes, but the texture might differ.

How to Cheesy Garlic Naan: The Perfect Soft Indian Flatbread
- Total Time: 2 hours 40 minutes
- Yield: 8 Naan 1x
Description
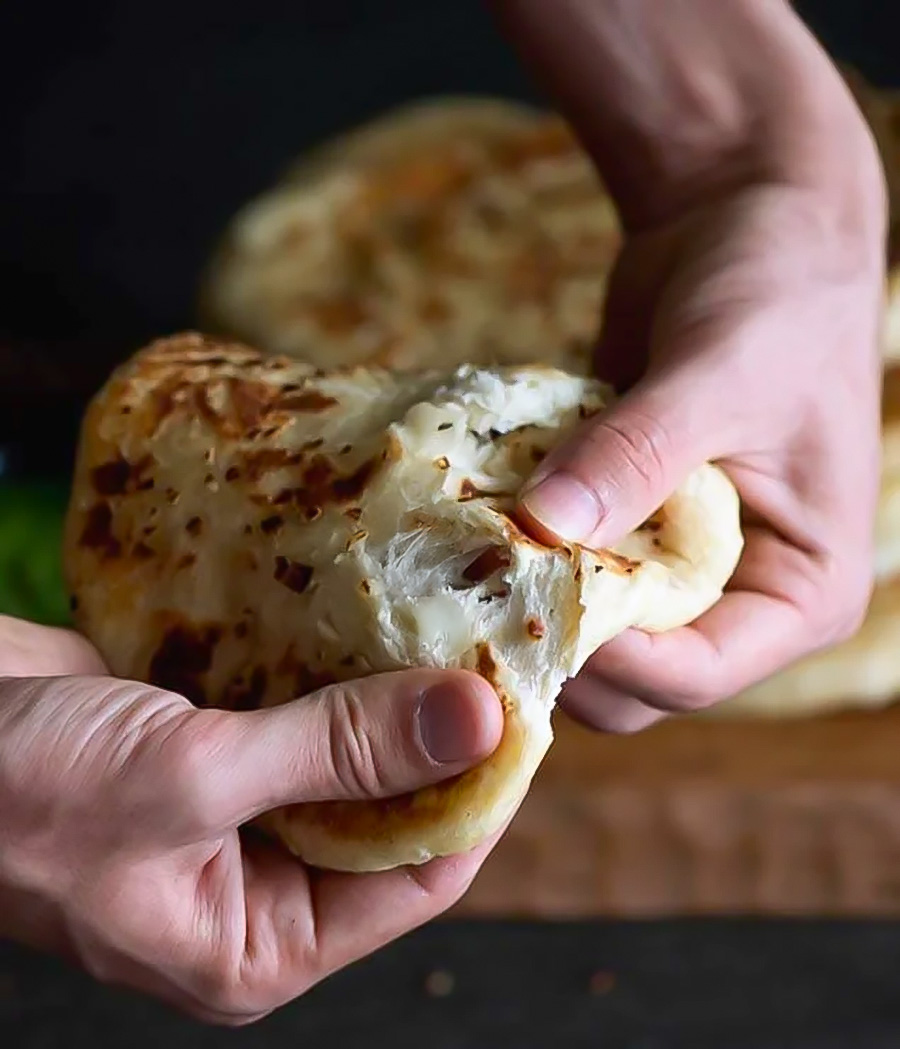
This naan is flavored with garlic and butter, beautifully charred and crisp on the outside, yet soft, chewy with melting cheese waiting for you on the inside.
Ingredients
Instructions
Step 1: Activate the Yeast
- In a bowl, combine warm milk and sugar.
- Sprinkle yeast into the mixture, stir gently, and let it sit for about 15 minutes until frothy.
Step 2: Prepare the Dough
- Add flour, yogurt, ghee, and salt to the yeast mixture.
- Mix thoroughly with a wooden spoon or spatula. The dough will be sticky and wet.
Step 3: First Rise
- Coat your hands and the bowl lightly with oil to prevent sticking.
- Shape the dough into a ball and cover the bowl with a clean kitchen towel.
- Place in a warm, draft-free area and let rise for 1½–2 hours, until doubled in size.
Step 4: Divide and Shape Dough
- Transfer dough to a lightly floured surface.
- Punch dough gently to release air, then briefly knead and shape it into a log.
- Divide dough into 8 equal portions, roll into balls, and place them on a lightly floured baking sheet.
- Cover again and rest for another 30 minutes.
Step 5: Fill and Shape Naan
- Flatten each dough ball on a floured surface.
- Place 3–4 tablespoons shredded mozzarella cheese in the center.
- Seal dough edges tightly around the cheese and gently shape back into a ball.
- Using a rolling pin, flatten into a teardrop shape, approximately ¼-inch thick.
- Sprinkle minced garlic over each naan and gently press it into the dough with the rolling pin.
- Brush the surface lightly with melted butter.
Step 6: Cook the Naan
- Preheat a cast iron pan over medium-high heat until very hot.
- Carefully transfer naan onto the hot skillet. Cook without oil for 1½–2½ minutes until the bottom side is nicely browned or slightly charred.
- Flip and cook the other side for 1–1½ minutes.
- Brush with more melted butter and sprinkle chopped cilantro if desired.
Step 7: Serve or Store
- Serve naan warm. Keep them warm by stacking them in a towel-lined basket.
- Leftover naan can be frozen; sprinkle lightly with water and reheat wrapped in foil in the oven (4–5 mins at 350°F) or gently in a pan on low heat.
Notes
Adjust garlic quantity based on preference.
Dough can be refrigerated overnight after first rise; just bring to room temperature before shaping.
Roll thinner naan for crispier texture or thicker naan for softer bread.
- Prep Time: 140 mins
- Cook Time: 20 mins
- Category: Bread
- Method: Baking
- Cuisine: Indian
Nutrition
- Serving Size: 1 naan
- Calories: 320
- Sugar: 2g
- Sodium: 400mg
- Fat: 10g
- Saturated Fat: 6g
- Unsaturated Fat: 4g
- Trans Fat: 0g
- Carbohydrates: 45g
- Fiber: 12g
- Protein: 2g
- Cholesterol: 30mg
If you like this recipe, check out some of our other favorite Indian recipes:
Punjabi Paneer Masala – A Classic Vegetarian Indian Dish
How to Make Indian Curry Paste
Bhindi Fry – Indian Okra Stir Fry








Incredibly good, so soft and perfect!
Thank you for this excellent and relatively easy recipe. I omitted the garlic but the cheese naan were a hit at my dinner party. I made them in the morning and refrigerated so I could cook immediately before serving, they were still lovely and with two pans on the go, were cooked in a matter of minutes once my guests had arrived.
it tastes delice xx
They tasted amazing, thanks for the recipe. It worked so well. I used sour cream and a bit of water instead of yoghurt because that’s what I had to hand, also I used mozzarella and cheddar instead of just mozzarella because I like a sharp cheese. It worked fantastically – I recommend the 2 cheese approach.
Love it! The naan was super soft. And dough was easy to manage. One portion is super filling. Thank you for the amazing recipe.
Today I made these for the third time, and they tasted just as good as the first. It’s a recipe I keep coming back to, and if you’re thinking about making them, yes, they do take a while, but it’s soooo worth it!
I’m a total newbie to making naan and tried your recipe today. It was absolutely perfect! I used Greek yogurt and butter since I didn’t have regular yogurt or ghee. I also completely ran out of flour so couldn’t flour my surface for rolling. I ended up greasing a large sheet of parchment paper and doing all the rolling and shaping on that. Worked like a charm. I just added a bit of salt with the mozzarella since hubby and I prefer salty cheese. It turned out absolutely perfect and I’m so proud of myself but first, props to the recipe writer! Thank you!
EXCELLENT result from first-ever attempt. Family well pleased and satisfied. Thanks.
TASTES YUMMY
By putting garlic on before cooking don’t you just end up with unpleasant and bitter burned garlic?
Great recipe! This naan was so good. Thanks for sharing. I will definitely make this again.
Thanks for such an in depth, but easy recipe, my first attempt and they are a little bit thick, so will roll out more next time, but, other than that they were a great success. Thanks ????