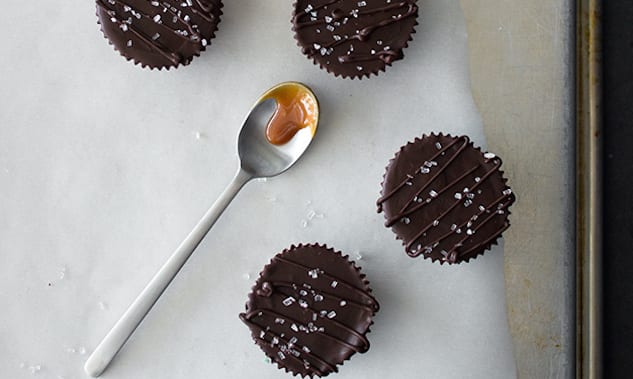
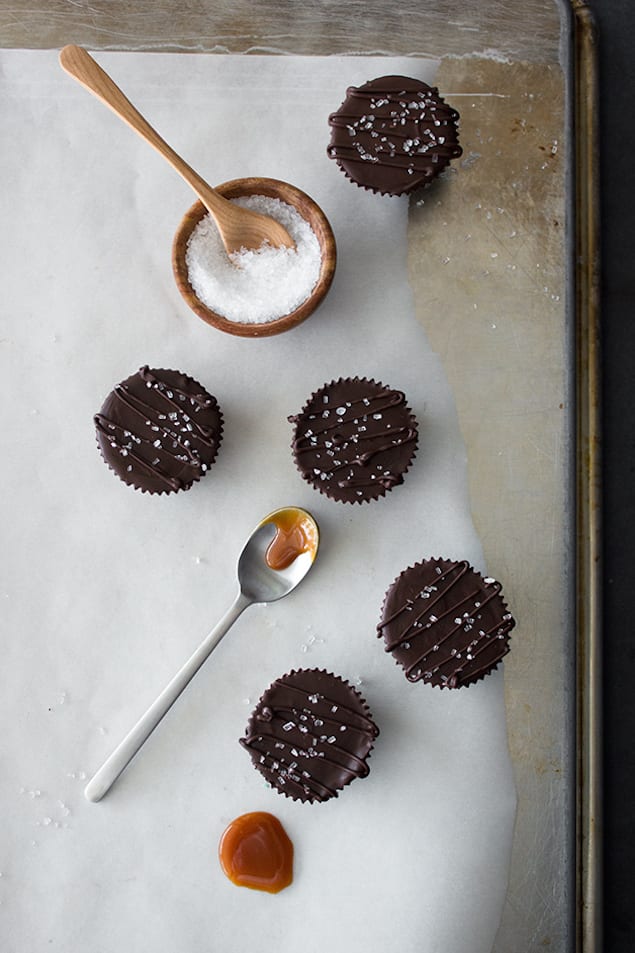
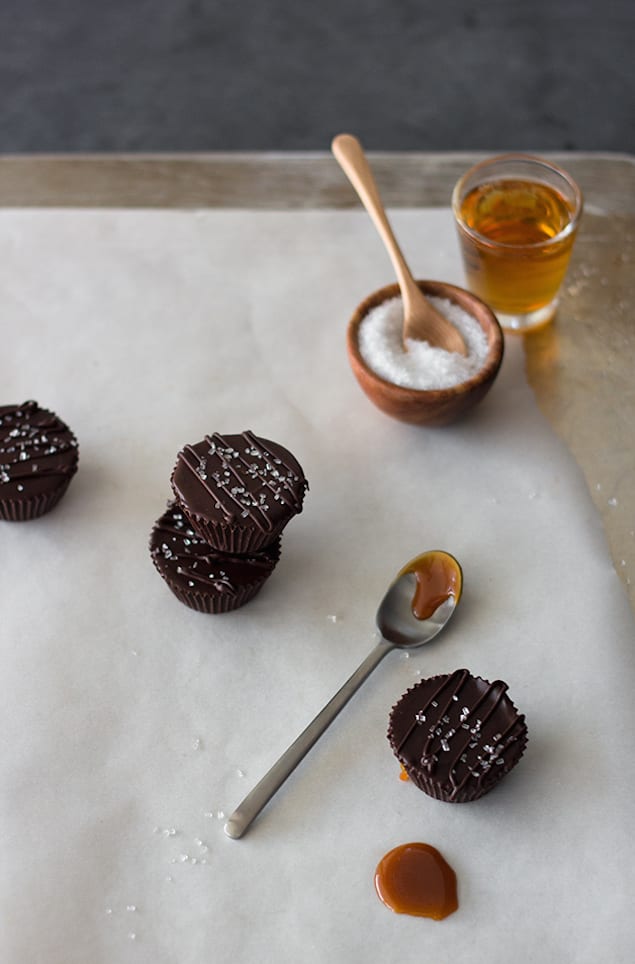
If chocolate can make your day happier, then chocolate with rum and caramel is bound to make your day amazing. When you bite into one of these, and that deep dark chocolate snaps and lets a pool of rich rum caramel loose, life is good.
By Alexandra Azary
Dark chocolate plus boozy spiced rum caramel plus a sprinkle of sea salt and sparkling sugar. This basically must be what heaven looks like, right?
Can we just talk about the fact that there cannot POSSIBLY be anything less than perfect about these? It’s literally a combination of two of the best things in the world – chocolate and salted caramel, PLUS just a little bit of spiced rum to make things more fun. And honestly, if chocolate can make your day happier (it totally can), then chocolate with rum and caramel is bound to make your day amazing, at least by my logic. When you bite into one of these, and that deep dark chocolate snaps and lets a pool of rich rum caramel loose, life is goooood.
P.S. I tempered my chocolate when I made these. You don’t HAVE TO have to do it, but if you do, you can read this post for the down-low on tempering. Also, I decided to go with a version of all-milk caramel sauce for this recipe – just to make the whole thing a little less of a guilty treat – so I’d highly recommend that you check out my original post on DIY Caramel Sauce for tips on making it work out perfectly since it can be a littttle bit trickier than a cream caramel.
Print
Caramel Filled Chocolate Cups with Spiced Rum
- Yield: 12 cups 1x
Description
Mini chocolate cups filled with a pool of luscious homemade caramel, spiked with a bit of spiced rum for a boozy finishing touch.
Ingredients
- 11–12 ounces chocolate, finely chopped, divided
- 10 1/2 ounces (1 1/2 cups) granulated sugar
- 6 3/8 ounces (3/4 cup) milk
- 1 ounce (2 tablespoons) unsalted butter, cut into small pieces
- 2 ounces (1/4 cup) spiced rum
- 1/4 teaspoon sea salt, plus extra for sprinkling
- sparkling sugar, for sprinkling
Instructions
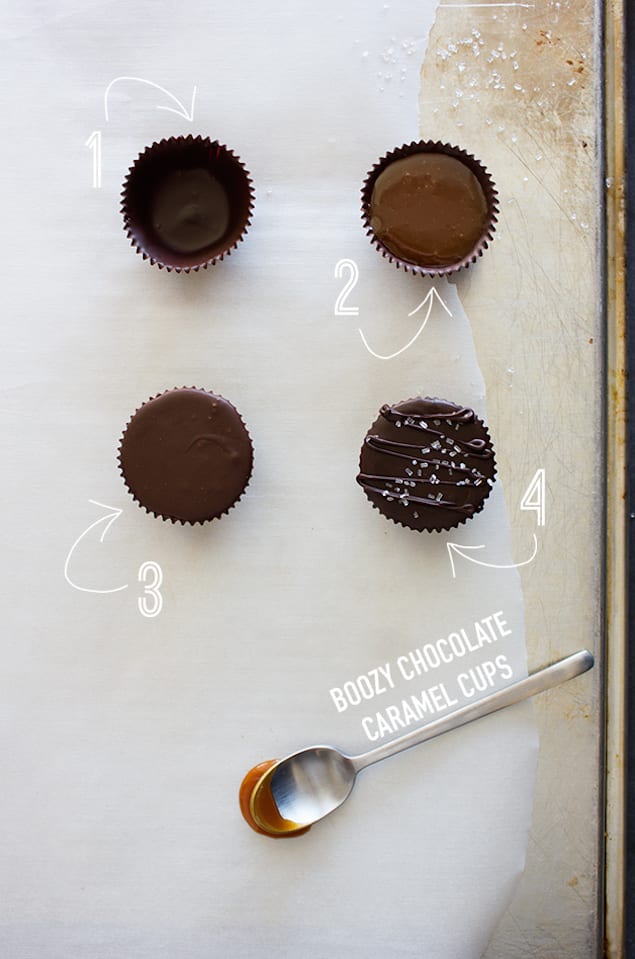
- Place 12 mini muffin liners on a plate or tray.
- Melt, preferably temper, 5-6 ounces of chocolate. Spoon a small amount into bottom of mini muffin liner and use the back of a small spoon to brush around bottom and up sides, making sure to coat entire liner. Repeat with remaining liners. Set aside to allow chocolate to set, either at room temperature if chocolate has been tempered, or in the refrigerator if not tempered.
- Place sugar in a large pot set over medium-low heat. Heat until sugar begins to liquify (this may take some time), checking frequently to prevent burning. Once the majority of the sugar has liquified, begin to gently scoop melted sugar over unmelted with a heat-safe spatula to encourage remainder to melt. Once all has melted, continue to heat, stirring lightly, until the color is a rich golden-rust color. Meanwhile, microwave milk and butter for about 1 minute 30 seconds, until mixture is very warm and butter has melted.
- Remove sugar from heat and immediately pour in milk mixture slowly, while stirring. Mixture will bubble violently. Once all has been added, continue to stir until bubbling subsides. Return to heat and cook until any seized bits of sugar have melted once again and the mixture registers 240ºF on a candy or instant-read thermometer , stirring very frequently to prevent the caramel from boiling at all. Once the caramel begins to thicken noticably, you can allow it to come to a sluggish simmer before stirring again.
- Remove from heat when caramel reaches 240ºF. While stirring, pour in rum. Mixture will bubble again; stir until bubbling subsides. Stir in salt.
- Set pot on a cool surface and allow to cool until no longer hot, preferably no warmer than 90ºF. Once cooled, spoon caramel by small amounts into set chocolate cups, up to about 1/8”-3/16” from the top of each cup. (There will be extra caramel left over.)
- Melt/temper the remaining 6 ounces of chocolate and spoon small amounts over the caramel in each cup, using the back of a spoon or a small offset spatula to gently push chocolate across top of cup towards edges. Make sure there are no gaps in chocolate. Tap each cup on a soft surface (like a potholder) to settle the chocolate in a smooth layer.
- Place remaining chocolate in a pastry bag fitted with a very small round tip (such as Wilton #2) and drizzle over tops of cups. Sprinkle immediately with sparkling sugar and a bit of sea salt after each drizzle. Leave to set at room temperature if chocolate has been tempered, or in the refrigerator if not tempered, before serving.
- Category: Dessert, Chocolate


