When it’s too cold to roast marshmallows over a fire, make these brownie s’mores bars with a graham cracker crust and marshmallow topping.
By Maya Dutta-Linn
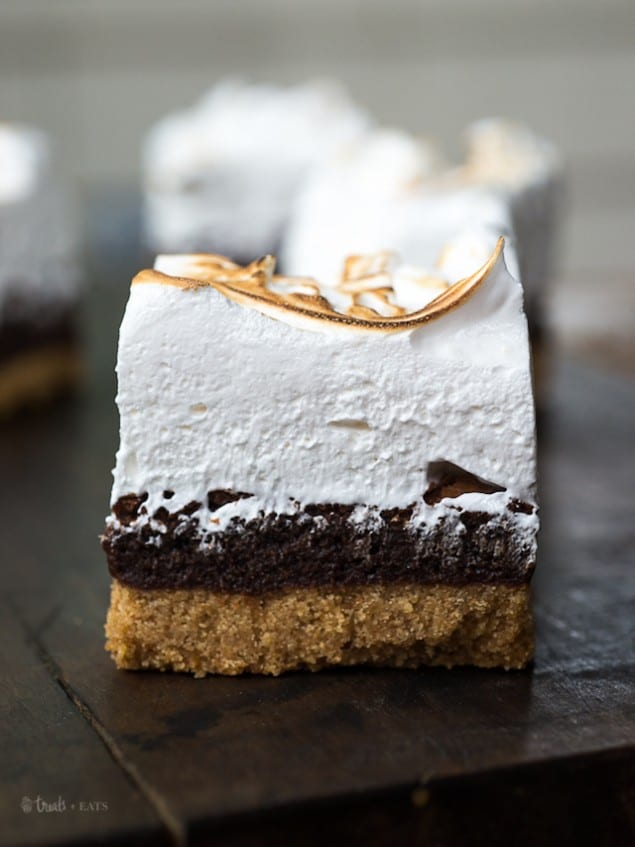
It’s possible that I have a slight addiction to s’mores. There’s just something about that hearty graham cracker flavor, intense chocolate, and gooey marshmallow that just makes me and my tastebuds so happy. Correction, insanely happy.
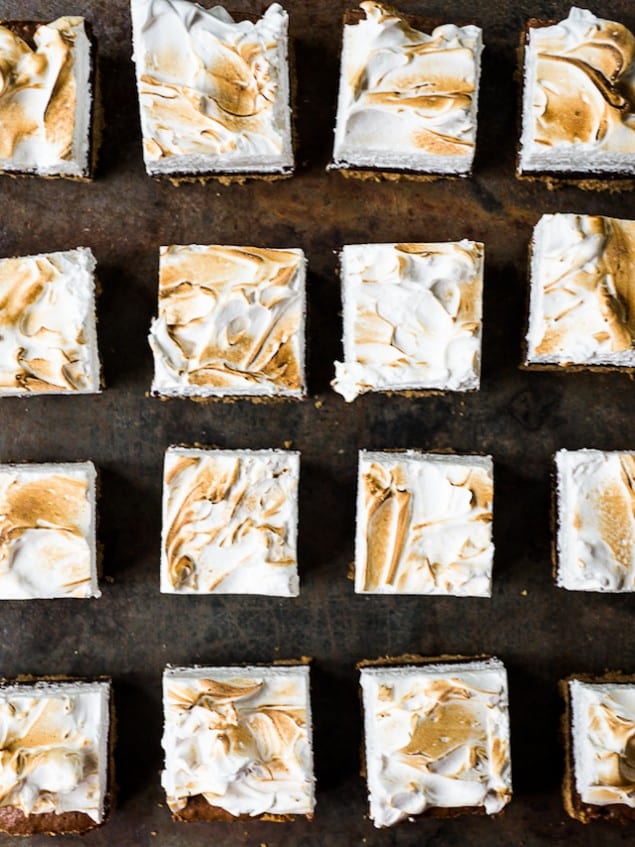
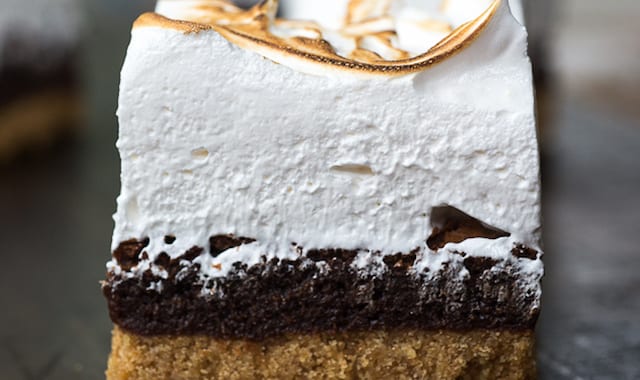
With a pure graham cracker base, a brownie-like filling, and a homemade marshmallow meringue topping, these s’mores brownie bars are like a dream come true to the s’mores lover that I am. I brought these into work on Monday and a coworker told me today that the rest of the week has just been downhill since Monday morning treat time, so I think they were enjoyed.
The meringue topping looks impressive, but these were actually really easy to make. I ended up making the graham cracker base and the brownie filling on the same day, but decided to make the marshmallow topping the next day because I was on a desperate hunt for my kitchen torch (which you don’t need, you can use the broiler). Once you make the topping you should keep these in the fridge and they’ll stay fresh for at least a few days.
Looking for other S’mores recipes? Try these:
S’mores Milkshake with Bourbon Vanilla Marshmallows
S’mores Hot Chocolate
S’Mores Bars
Ingredients
For the base
- 2¾ cups graham cracker crumbs
- 11 TBSP unsalted butter (melted)
- 1½ TBSP light brown sugar
- ¼ teaspoon fine sea salt (or pinch of table salt)
For the brownie filling
- 8 TBSP unsalted butter (cubed)
- 4 ounces bittersweet chocolate (chopped)
- 1 cup granulated sugar
- 2 teaspoons vanilla extract
- ¼ teaspoon fine sea salt (or pinch of table salt)
- 2 large eggs (at room temperature)
- ½ cup all-purpose flour
For the marshmallow meringue topping
- 3 large egg whites
- ¾ cup granulated sugar
- 1 teaspoon vanilla extract
- ¼ teaspoon cream of tartar
Instructions
To make the graham cracker base
- Preheat oven or toaster oven to 350 F. Line an 8 inch square pan with foil so there is at least 2 inches of overhang on each side.
- In a medium bowl, stir together the graham cracker crumbs, melted butter, brown sugar, and sea salt with a fork until well moistened. Pour into the lined pan and press into the pan to make a firm crust. I use my measuring cup to really press it in. Bake for 8-10 minutes or until the crust is set and has browned just slightly. Set aside and let cool. Leave the oven on 350 F.
To make the brownie filling
- Melt the cubed butter and chopped chocolate in a medium bowl set over a pan of simmering water like a double boiler. Don’t let the bottom of the bowl touch the water (you may melt in the microwave if you prefer, just be very careful to melt slowly, stirring frequently). Stir until chocolate mixture is fully melted and smooth. Remove from stove and add the sugar, vanilla, and salt. Whisk until well mixed and then add the eggs and whisk until smooth. Add the flour and stir just until incorporated. Pour on top of the cooled graham cracker crust, smooth top and then bake for about 20-25 minutes. The edges should be set but the middle will still seem a bit jiggly. A toothpick inserted in the center should come out with a few crumbs. Let cool.
To make the meringue
- Add the egg whites and sugar to the bowl of a standing mixer and whisk well. Place the standing mixer bowl over a saucepan of simmering water, being careful not to let the bottom touch the water, and whisk for 3 minutes. You will want the sugar to be dissolved and the white should be warm. Remove from heat and add the cream of tartar and vanilla. Mix on medium speed using the whisk attachment for 1 minute. Turn the speed up to high and mix for 6-7 minutes. The mixture should now be thick, glossy, and very marshmallow like.
To assemble
- Use foil edges to lift the brownie filling and graham cracker crust out of the pan. Fold the edges down and then pour the marshmallow meringue on top of the cooled brownie bar. Spread to the edges and mound decoratively. Use a cooking torch to brown the topping. Cut into 16 pieces and enjoy!
- Category: Baking, Dessert


