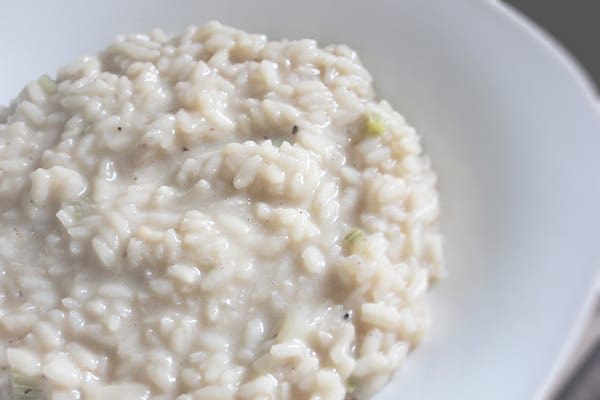
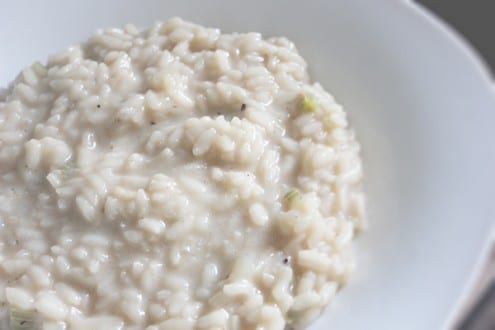
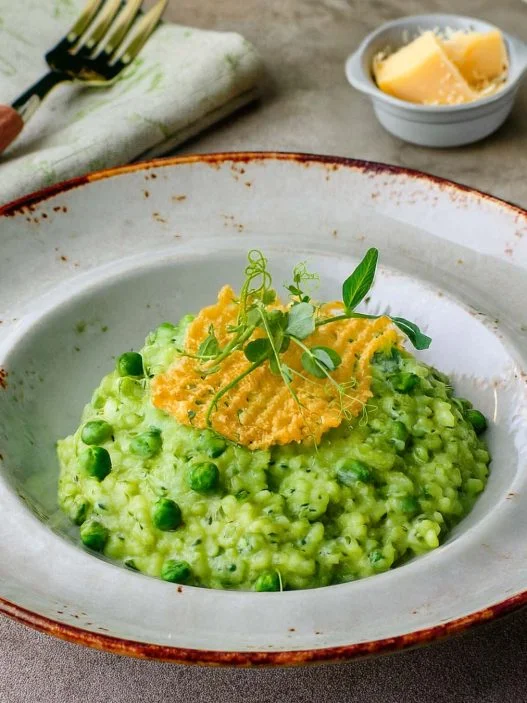
You can serve it for its silky, stripped-down self as a side dish, or as a main dish mixed or topped with almost any combination of cooked vegetables, meats, eggs, and sauces.
By Bowen Close
This is a perfect opportunity to experiment and go with whatever you’re craving or what looks good at the market. In the late summer you might serve it topped with grilled garlicky eggplant; in the winter you can tint it deep fuscia with cubed roasted beets and vinegar-soaked shallots, or cook it with dried mushrooms mixed in and top it with leftover roasted pork or beef; in the spring it might be artichoke hearts, herbed goat cheese, and flaked poached or smoked salmon; in the summer it might be lemony, peppery greens and some grilled zucchini.
Print
Basic Risotto
- Total Time: 45 mins
- Yield: 2 1x
Description
You can serve it for its silky, stripped-down self as a side dish, or as a main dish mixed or topped with almost any combination of cooked vegetables, meats, eggs, and sauces.
Ingredients
- 1/2 onion, diced
- 1 to 2 stalks celery, diced
- 1 to 2 Tbsp. butter and/or olive oil
- 1 cup (125 g) risotto rice, like arborio or carnaroli (don’t rinse the rice ahead of time)
- Around 1/4 to 1/2 cup dry white wine or vermouth
- 3 to 4 cups warmed vegetable or meat stock (warm water would work too, but would give far less flavor)
- Around 1/2 cup grated Parmesan
- Salt and pepper
- Optional: another pat of butter and/or a squeeze of lemon to add at the end
Instructions
- Cook vegetables: In a medium saute pan or pot (the heavier the better – it will disperse heat more evenly), cook the diced onion and celery in the butter and/or olive oil until translucent.
- Toast the rice: Stir in the rice and cook until it has soaked up the moisture in the pot, then for another bit (30 seconds or so). Stir occasionally during this process, just to make sure things aren’t sticking to the bottom of the pot and burning. The rice will start to smell a bit toasty and get translucent around the edges.
- Add the wine: Pour in your wine or vermouth and stir. It will steam and make a racket since the pan will be pretty dry, but that’s okay. Cook, stirring every so often, until the alcohol has cooked off (when you can’t smell alcohol anymore, just wine) and the rice has soaked up most of the liquid.
- Add stock in increments and stir: Start adding stock in increments, somewhere around a 1/2 cup at a time, keeping the mixture at a low bubble. Stir fairly consistently through the cooking process, scraping along the bottom of the pot to make sure the rice isn’t sticking to the bottom of the pan – because that rice is releasing all that lovely starchy sauce, it can start to stick fairly easily. Your first few times, it’s best to stir almost the entire time, to get used to how the process progresses. After a while you’ll be able to do other things in your kitchen between stirrings, but even experienced risotto makers have somewhat of a tether to the pot while it’s going. Whenever liquid doesn’t pool at the bottom of the pan while you’re stirring, add another batch of stock. Do this process for somewhere between 15-25 minutes (or maybe more, even), stirring and adding stock until the rice is cooked through. Start tasting around minute 12 so you know how progress is going, and as it gets close start adding less stock each time so you don’t end up with soupy risotto. When done, risotto rice will taste a bit al dente and chewy, but it should be enjoyable to eat – not crunchy or unpleasantly undercooked.
- Remove from heat and flavor: When the rice is tender, remove it from the heat or turn off the burner. Add a bit more stock if you’d like it to have a looser texture, then add in the grated Parmesan. Add salt and pepper to taste, then the additional butter and/or lemon if you’d like. Serve with desired toppings or garnishes.
- Prep Time: 15 mins
- Cook Time: 30 mins
- Category: Main










You can use a rice cooker for brown rice. You just need to add a lltite more water and it takes a lltite more time.For white rice I use 1.5 cups of water for 1 cup of rice.For brown rice I use 1.75 cups of water for 1 cup of brown rice.I like using a rice cooker because the cooker will automatically switch from cook to warmer mode, but I’ve used a sauce pan and it’s worked too.