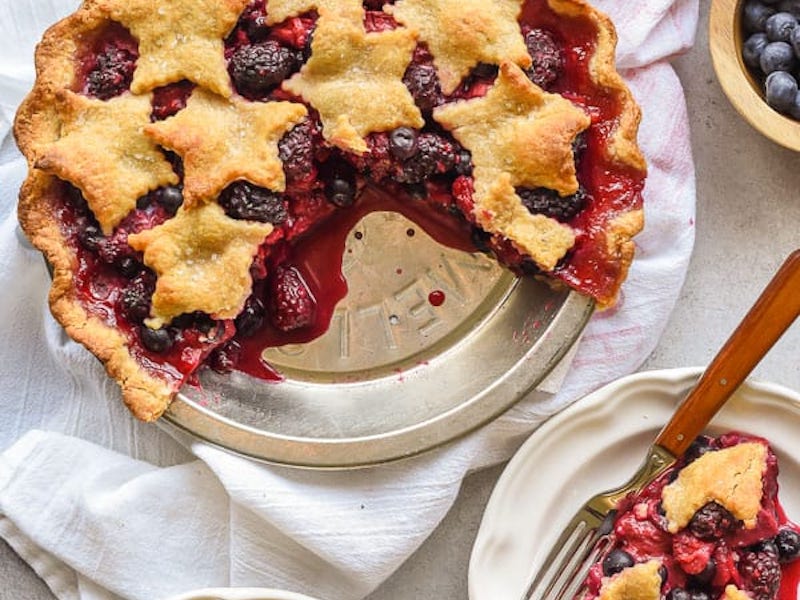
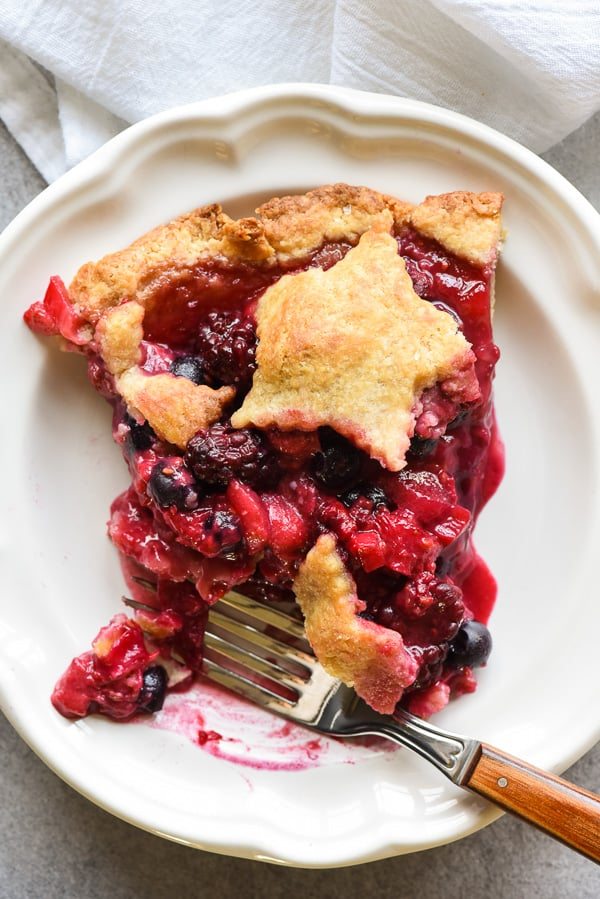
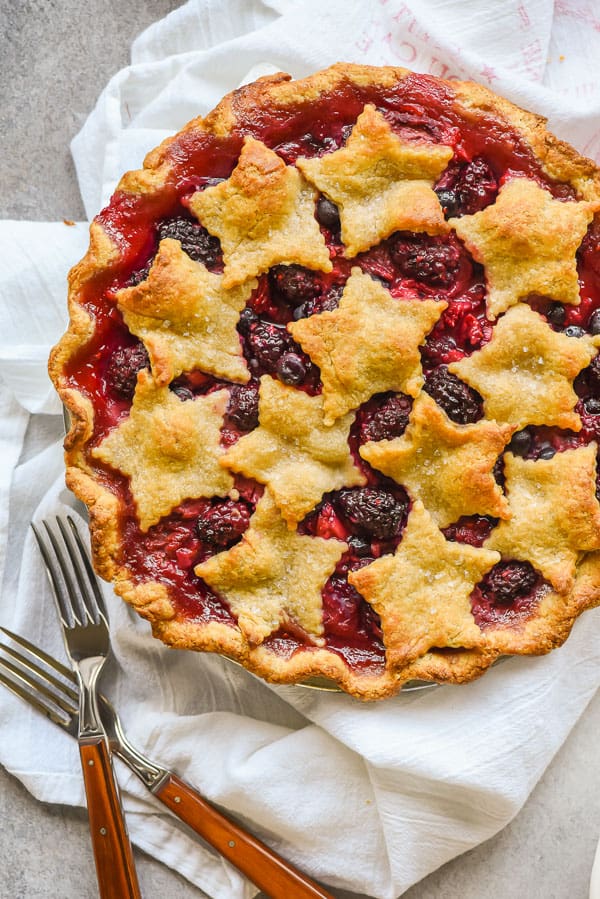
This gorgeous summer Bumbleberry Pie gets its sweet tart flavor from four kinds of berries plus a hint of rhubarb. Decorate the sweet with a simple star crust for a festive dessert.
I owe much of my love for baking and my interest in blogging to a brief tenure I had at a bakery. It was there that I really began to appreciate the power of food and the connections it creates between us. I loved learning customer’s names and favorite orders. I loved boxing up a special birthday cake and wondering what joy it might bring to the party or workplace where it was headed.
It was there I discovered the wonders of the Morning Glory Muffin, how to make a killer panini, and perhaps best of all, the absolute bliss of a Bumbleberry Pie.
The bakery I worked for was known for their Bumbleberry Pie, and it remains one of my most favorite things on their menu. Bumbleberries aren’t actually a thing (though you wouldn’t be the first person to think so…ahem). Instead, bumbleberries represent a mixture of berries, often tossed with either apples or rhubarb.
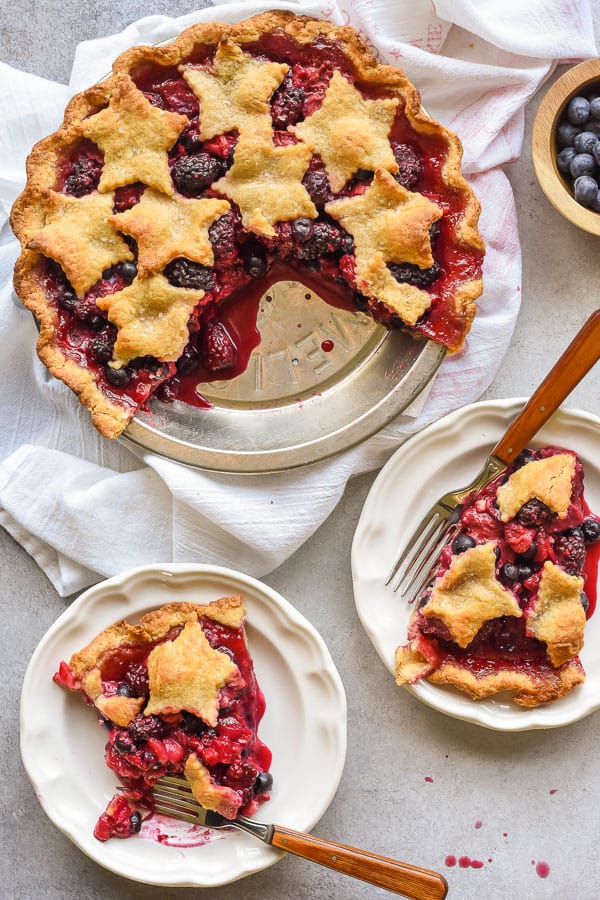
If raspberry pie is good, and blackberry pie is great, and strawberry rhubarb pie is wonderful, it stands to reason a bumbleberry pie would be pretty darn fantastic. And indeed, it is. I am absolutely smitten with this bright, jewel toned pie bursting with the flavors of spring. It’s sweet, it’s just a tad tart, and it’s begging you to make it and serve it warm with a big ol’ scoop of vanilla ice cream.
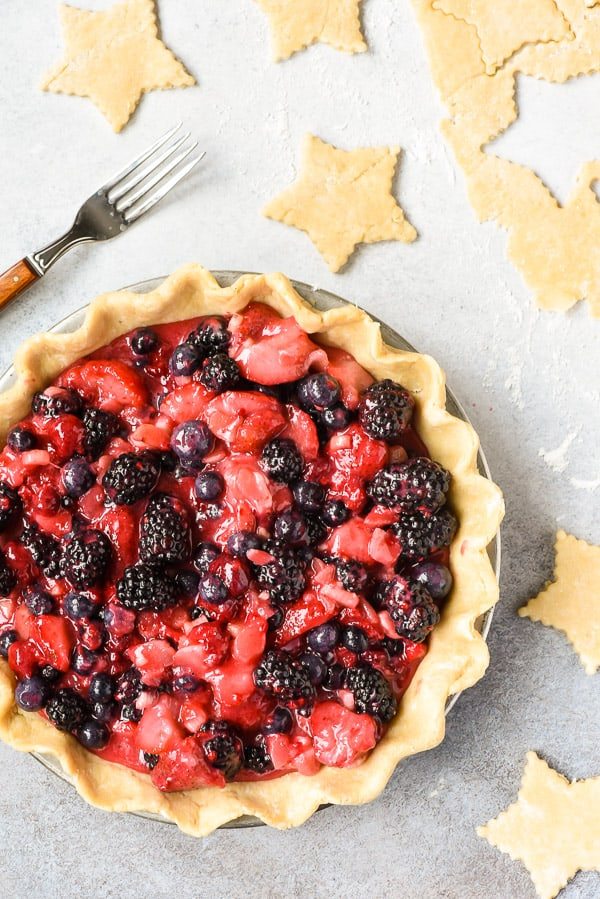
You can get away with nearly any combination of berries in this, but my recipe includes blueberries, blackberries, raspberries, strawberries, AND rhubarb, because I can’t bear to leave anyone out. However, if you’ve only got a couple kinds of berries on hand, don’t let that stop you from making this pie! It’ll be fantastic with whatever combination you scrounge up.
A few notes on the pie crust.
-I finally got a food processor , and now I actually might make pie more than three times a year. It made cutting the butter into the flour an absolute breeze. Never fear though–I’ve still included instructions for making the crust by hand, and this pie is undoubtedly worth the work.
-I branched out from my usual All Butter Pie Crust and tried Joy the Baker’s Buttermilk Pie Crust for this recipe, and I have to say, I LOVE IT. Flaky, flavorful, easy to prepare–this will likely be my go-to from here on out.
-Give yourself some time to make the pie crust in advance. Butter pie crusts have to chill before rolling (if you want to avoid tears and cursing, that is).
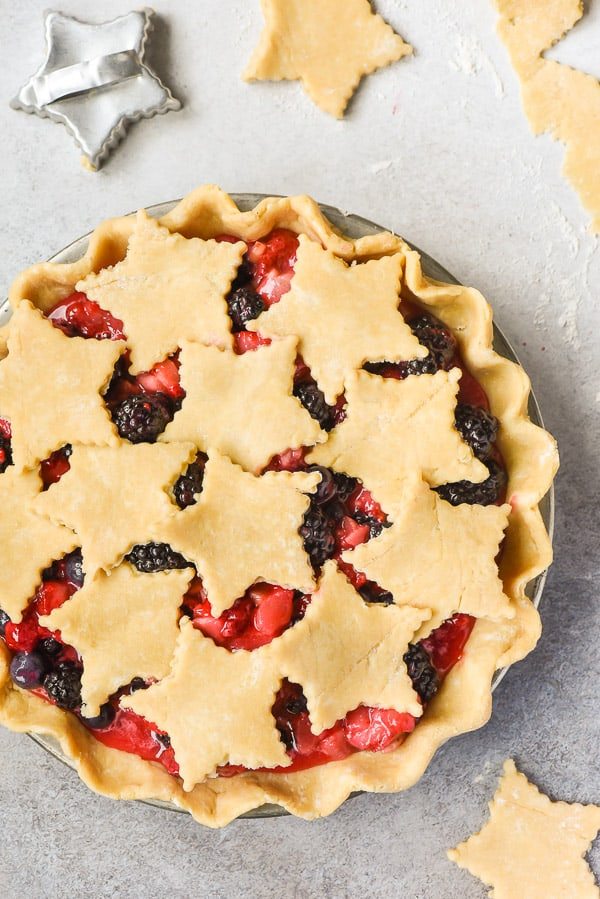
-Instead of making a top crust or dealing with a lattice crust, I cut my second crust into star shapes.
-This makes the top crust REALLY simple, and I also love the way it looks! The stars are perfect for Memorial Day and Fourth of July, but you could easily swap out the shape for other occasions as well!
If you decide to go the cookie cutter route, you’ll have leftover pie crust. THIS IS NOT A BAD THING. It just means you get to make pie crust cookies! My super easy recipe for the scraps will be coming next week.
Click here for the buttermilk pie crust recipe.
Print
Summer Bumbleberry Pie
- Total Time: 1 hour 35 minutes
- Yield: 8 servings 1x
Ingredients
For the crust
- Click the link above for the recipe.
For the filling
- 1 1/2 cup blueberries
- 1 1/2 cups blackberries
- 1 1/2 cup raspberries
- 1 1/2 cup strawberries (halved)
- 1 cup rhubarb (chopped)
- 3/4 cup sugar *see note
- 1 1/2 Tablespoons lemon juice
- 1/3 cup flour
- Milk and coarse sanding sugar (for finishing)
Instructions
For the crust
- Click the link above for the recipe.
To make the pie:
- Preheat the oven to 425 degrees.
- Remove the crusts from the fridge and place them on a lightly floured surface or in between two pieces of waxed paper (my preferred method). Roll out each pie crust to about a 12 inch round circle. Place one of the rounds in a 9 inch pie dish and prick the bottom with a fork. Here you can either trim the edges so they’re smooth, use a fork to make a pinprick design on the edges, or use a thumb pressed between two fingers to scallop the edges. Place the crust in the fridge while you continue with the other steps.
- Use a cookie cutter to cut out your desired shapes from the other pie crust. Place them on a baking sheet and put in the fridge to chill while you prepare the filling. You won’t need the entire second crust to top the pie. Roll up and cut out any scraps and use them to make pie crust cookies.
- To make the filling, combine all the fruits, sugar, lemon juice, and flour in a bowl.
- Pour the filling into the chilled pie crust. Top the fruit with the cut outs, overlapping them slightly but leaving plenty of pockets for steam to escape. Brush the top and edges with milk then sprinkle with coarse sanding sugar.
- Place the pie on a baking sheet lined with parchment paper for easy clean up (there WILL likely be leakage!). Bake at 425 degrees for 15 minutes then lower the heat to 375 and bake another 30-35 minutes or until golden brown. If you notice any spots getting too browned (this is common for shapes like stars with pointy edges), cover them with a little aluminum foil.
- If you want perfect slices, you’ll need to let the pie cool completely before slicing and serving it, but I absolutely love warm pie, so I’m inclined to deal with messy, sloppy slices and serve it while it’s still warm (but not piping hot).
Notes
The sugar you add is really up to your judgment. I made this before peak berry season, so my berries weren’t as sweet as they can be. Test out the mixture yourself and feel free to reduce the sugar to 1/2 cup or increase up to 1 cup as needed.
- Prep Time: 45 minutes
- Cook Time: 50 minutes
- Category: Dessert, Pie


