With a few basic home brewing tools, make a delicious hard cider to last to the holidays.
By Debra Smith
Cider has a colorful history here in America. In the colonial times, cider was even more popular than beer, wine, or whiskey. Try your hand at a delicious pear cider that is wonderful all year round.
Smith Bites Pear Cider from Smith Bites on Vimeo.
Print

How to Make Refreshing Pear Cider
- Yield: 10, 12-ounce bottles 1x
Description
With a few basic home brewing tools, make a delicious hard cider to last to the holidays. And it is a great gluten free option instead of beer!
Ingredients
Scale
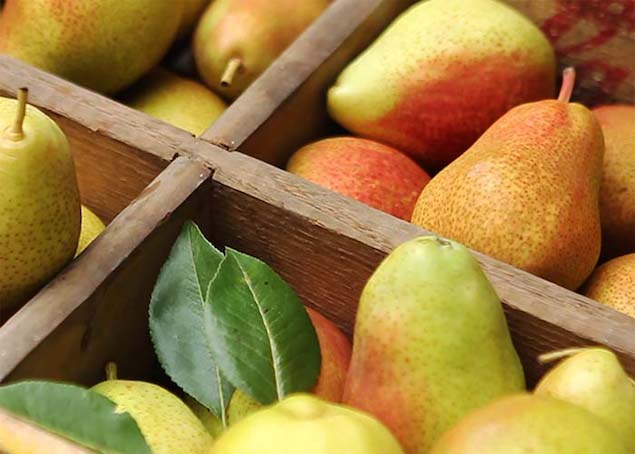
- 18–20 pounds fresh pears (our tree produces Forelle pears)
- 1 Camden tablet (for sterilizing)
- 1 teaspoon Cuvee Active Dry Wine Yeast
- ½ cup simple syrup (equal parts sugar and water)
SPECIAL EQUIPMENT NEEDED:
- Two 1-gallon carboy
- Siphon hose
- Bung
- Airlock
- Bottles
- Funnel
Instructions
- Juice approximately 18-20 pounds of pears to fill a one gallon carboy (glass bottle); we used an electric home juicer
- Be sure to sterilize all the tools and carboy. We used a product called Star San, that is available online and in local homebrew shops
- The juice can either be pasteurized (slowly heating it to 170 degrees and then cooled back to room temperature) or sterilized using a Campden tablet to it and letting it set for 24 hours; both methods kill any bad bacteria that might be present
- Funnel the treated juice into a one-gallon carboy and add a teaspoon of yeast (known as ‘pitching’). We used Cuvee Active Dry Wine Yeast, but you could substitute Champagne yeast or other recommendations from a local homebrew shop. Some brewers choose to add the active dry yeast directly to the carboy like we did, but most will recommend you rehydrate the yeast according to the instructions on the packet
- After pitching the yeast, cap the carboy with a “bung” (stopper) and an “airlock”; the airlock lets the gases escape without outside air getting inside the carboy
- As the juice ferments, tiny bubbles will rise to the top; once you stop seeing bubbles, fermentation is complete. (approximately two weeks)
- At this point, it’s time to carefully siphon the fermented juice into another one gallon carboy – try not to siphon any of the sediment at the bottom. Add ½ cup of simple syrup which is used to create a secondary fermentation in the bottle
- Siphon this mixture into individual bottles. We have used both bottles with caps and bottles with swing-top rubber stoppers. (We prefer the swing-top rubber stoppers because the seal seems more secure.) One gallon of cider will fill approximately ten 12-oz. bottles OR four 32-oz. bottles.
- Put the sealed bottles in the refrigerator immediately. After about a week (or up to six months) your sparkling pear cider is ready to enjoy!
- Category: Beverage