Flaky crust stuffed with sweet, complex, seasonal filling make these hand pies as delicious as they are beautiful.
By Faith Gorsky
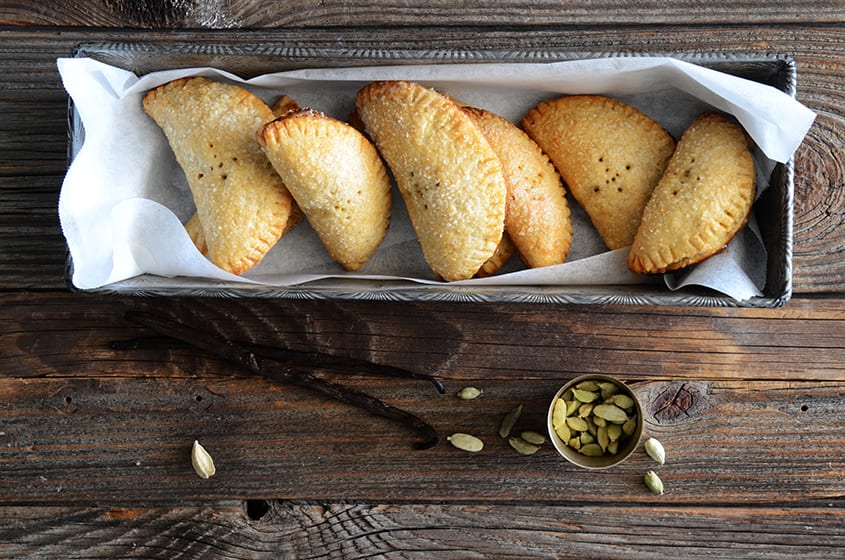
Vanilla-Cardamom Pear Hand Pies
- Total Time: 1 hour 10 mins
- Yield: 8-10 1x
Description
Flaky crust stuffed with sweet, complex, seasonal filling make these hand pies as delicious as they are beautiful.
Ingredients
Scale
Filling:
- 1 lb (450 g) pears (about 4 small-medium), washed, cored, and chopped small
- 1/2 cup (100 g) sugar
- 1 tablespoon fresh lemon juice
- 1/4 teaspoon sea salt
- 1/4 teaspoon ground cardamom
- 1/2 teaspoon vanilla bean paste
Crust:
- 1 1/4 cups (160 g) whole wheat pastry flour or all-purpose flour
- 1/4 + 1/8 teaspoon fine salt
- 1/2 cup (115 g) unsalted butter
- 2–3 tablespoons cold water
Other:
- 1 egg beaten with 1 tablespoon cold water, for eggwash
- 1 1/2 teaspoons sugar, for sanding the pastry tops
Instructions
- Add the pears, sugar, lemon juice, salt, and cardamom to a medium saucepan over medium-high heat; cook until the sugar is dissolved and the pears are starting to soften, about 8 minutes, stirring occasionally. Turn the heat off and stir in the vanilla bean paste. Cool to room temperature, then refrigerate until fully chilled, about 1 hour (up to 3 days is fine).
- When you want to make the pies, strain the pears, reserving the syrupy liquid for another use (such as a sweetener for tea, oatmeal, yogurt, etc.).
- For the crust, whisk together the flour and salt in a large bowl and then cut in the butter with a pastry cutter or a fork until it looks like coarse meal. Add water 1 tablespoon at a time, working the dough together with your fingertips just until it comes together, and only adding enough water so the dough comes together when you squeeze it. Gather the dough together into a ball and then flatted it into a disk; wrap it in plastic wrap and refrigerate until chilled, about 30 minutes.
- Once chilled, remove the dough from the fridge. Lay a piece of parchment paper out on your work surface, place the dough on the prepared parchment paper, and top with another piece of parchment (or if you have it, freezer paper works even better because it’s thicker). (Done this way, there is no need for flour to roll the dough out.) Working from the center out, roll the dough out to a circle about 12 inches in diameter. Use a 4-inch cookie cutter (or a glass with that diameter) to stamp out circles in the dough.
- Place a slightly heaping 1 tablespoon of pear filling in the center of each circle of dough. Use a thin metal spatula to lift up one circle of dough, then fold the dough over onto itself to form a half-moon, pressing the pastry closed along the outside. Set the pastry down on a flat surface and crimp the edges with a fork. Gather the scraps of dough, re-roll them, and repeat until the dough and filling are gone (you should get about 8 to 10 pastries). You can chill the dough scraps at any point if it becomes too difficult to re-roll them out.
- Chill the pastries in the fridge for 30 minutes; during this time, preheat the oven to 375F.
- Line a large baking sheet with parchment paper or a silpat liner; arrange the pastries on the tray and use a paring knife or fork to prick the top of each. Brush the tops with the eggwash (you will have extra eggwash, don’t try to use it all) and sprinkle the 1 1/2 teaspoons of sugar on top (this amount is enough for all the pastries; you just need a little bit on each).
- Bake until the pastries are golden and flaky, about 25 to 30 minutes.
- Prep Time: 40 mins
- Cook Time: 30 mins
- Category: Dessert