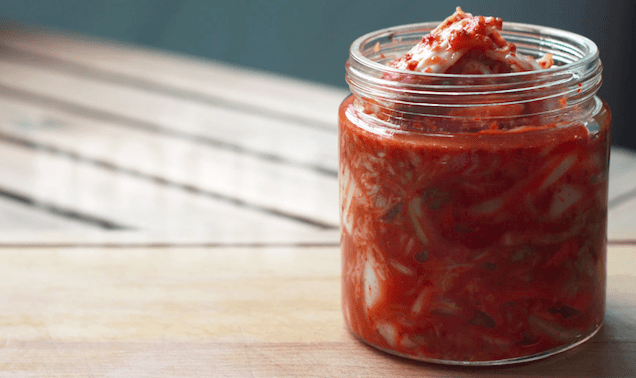
A basic recipe for kimchi that can be adjusted and fermented as much as you’d like. Try adding green apple, cucumber, or carrots for more crunch.
By Ariel Rebel
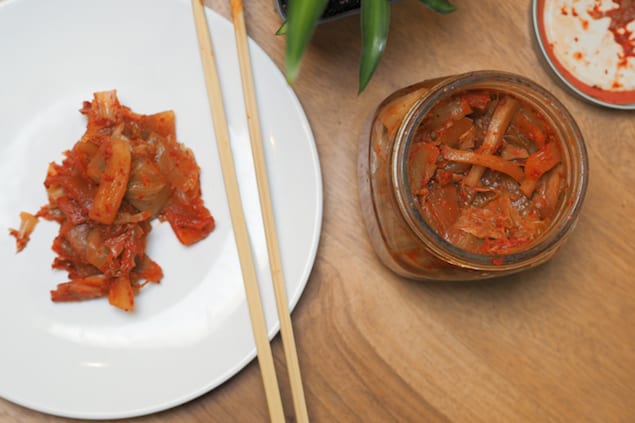
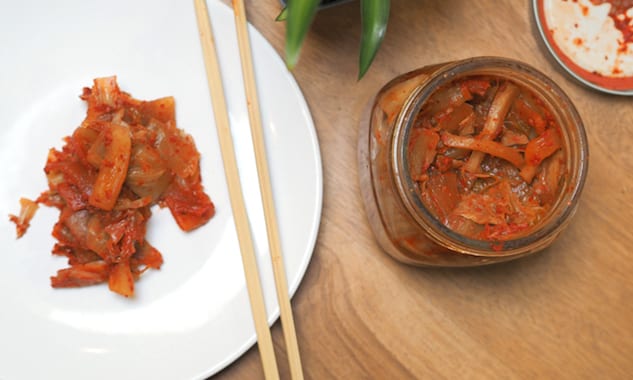
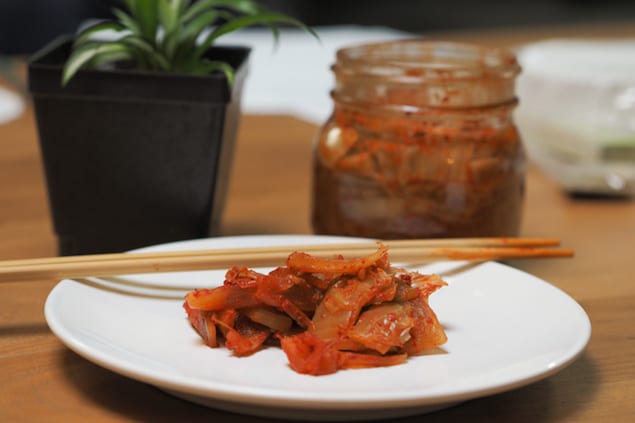
There aren’t enough words in the dictionary to describe my love for kimchi… What’s so awesome about it? you can basically use it on/with everything! Eat it just as is as an appetizer, use it in all your stir fries, sandwiches, make a soup or a sauce with it, be creative and enjoy experimenting with kimchi because it will jazz up any dishes you create and feed your tummy a ton of probiotic bacterias that are extremely good for your digestive system and overall health. Like all ferments, it shouldn’t be heated too much (think miso) to make sure not to kill the beneficial bacterias. Eating it straight up is officially the best way to appreciate and absorb all the benefits and flavours of the kimchi but it is totally ok to warm it up and add it to your favourite recipe
HOW LONG CAN YOU KEEP YOUR KIMCHI?
At this point, it’s a question of personal taste. Some people will tell you to trash it after a few months and others will tell you that it never really goes bad. I’m on the “never goes bad” team. As the fermentation continues, the colour and taste of your kimchi will evolve. My favourite kimchi is when it has been fermenting for a good month or two. You start it off by leaving it on the counter for a good week, making sure to press on it’s head every day to drown all the ingredients under the brine (tart temper wrapped in plastic wrap is the best tool for the job), then transfer your jars in the fridge and wait for a month. It’s obviously ready before and every day you can taste your kimchi to discover what level of fermentation you prefer.
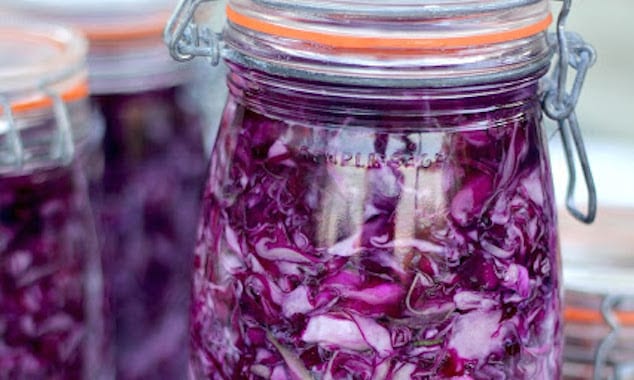
This is my twist on the basic Napa cabbage and daikon kimchi but you can be more creative and add green apple sliced, carrots for example.
PrintHomemade Napa Cabbage and Daikon Kimchi
Description
A basic recipe for kimchi that can be adjusted and fermented as much as you’d like. Try adding green apple, cucumber, or carrots for more crunch.
Ingredients
- 1.884kg (4.15 pounds) Napa cabbage
- 1/3 cup of solar salt (or pickling salt / sea salt)
- 5 fresh garlic cloves, minced (1 tightly packed tablespoon)
- 2 tightly packed, hooping teaspoon of freshly grated ginger
- 1 1/2 teaspoon of cane sugar
- 3 teaspoons of fish sauce
- 4 tablespoons of kochukaru (korean red pepper flakes)
- 8 green onions, chopped in tubes, then each cubes in 4-6 slices – white and green makes about 1 tightly packed cup
- 300g (10.5 ounces) of chopped in thin slices rectangles, makes about 3 tightly packed cup of chopped daikon, almost 1 big one
Instructions
- Clean and cut your veggies in the desired shapes. Personally, I like my cabbage to be in small squares or rectangles and the rest in thin, long strips because it looks visually appealing and it’s easy to eat with chopsticks.
- In a big mixing bowl, add your previously cut cabbage with the solar salt. Make sure to rub all the cabbage with the salt with your hands, add a plastic wrap on top and let sit on the counter for 1h.
- Prepare your “sauce” by mixing all the other ingredients together except the cut daikon and the cut green onions. Reserve
- Once your cabbage is ready, rinse it well under cold water, making sure to squeeze all the water and a big part of the salt out. Then, let it sit for 20 minutes, over the sink, in a strainer.
- Place the cabbage in a mixing bowl, add the sliced daikon and green onions to the bowl.
- Put on plastic gloves (I usually use 2 small sandwich bags over my hands) and mix in the “sauce” mixture with the cabbage. With your plastic covered hands, rub each pieces of cabbage and daikon with the mixture till everything looks as uniform as possible. Take your time, this take a minute or two.
- Clean some wide mouth jars with a lot of soap and very hot water before packing your kimchi in to the jars. Press on the kimchi as you pack it with a tart temper covered in plastic wrap or with your hands. Leave about ½ inches of head space on top and press again once last time to drown the kimchi under the brine. Seal the jars loosely to let some air pass through. If you seal the jars too tight, they can explore as the fermentation happen.
- Leave in a dark place (OUTSIDE THE FRIDGE) for a minimum of 5-7 days before transferring it in the fridge. Every day, open the jars and press on the kimchi’s head to drown everything under the brine. Taste after the fifth day to check the taste and place it in he fridge when you like the taste.
- Category: Side, Condiment
- Cuisine: Korean