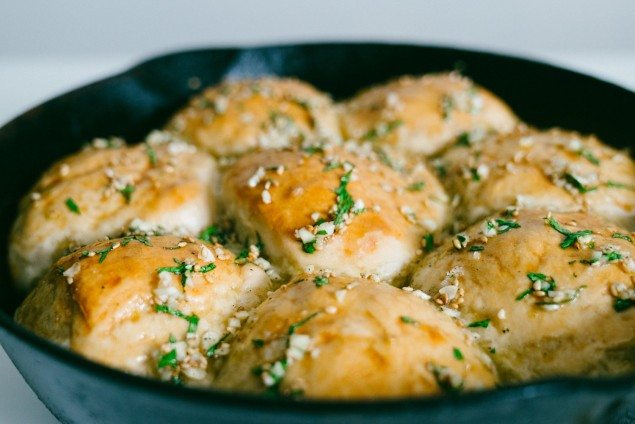
These soft, flavorful skillet rolls come from a traditional Ukrainian recipe that is loaded with garlic.
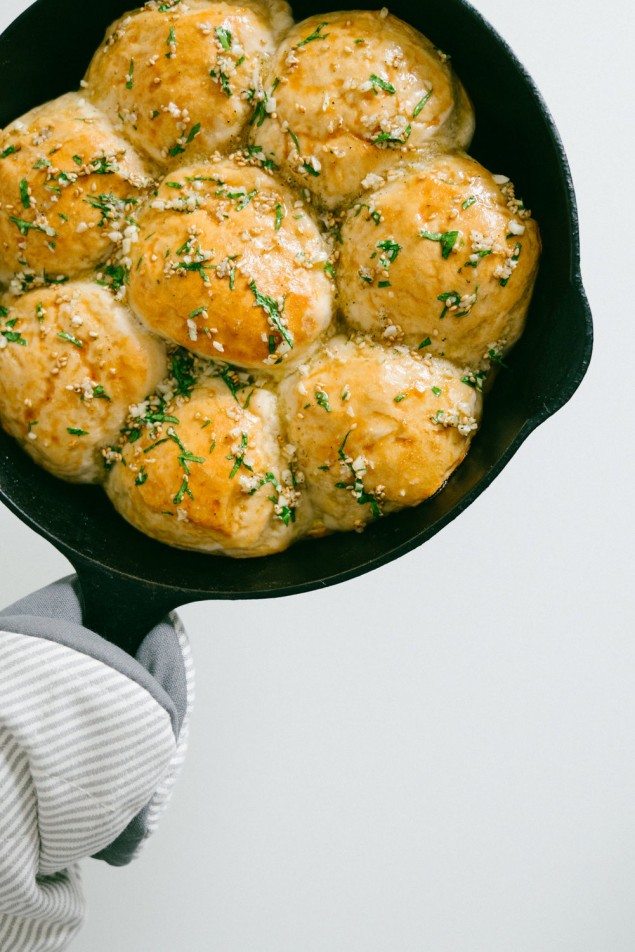
We’d like to introduce you to these simple and delicious rolls. They’re based on a Ukrainian recipe and they make an excellent base for a variety of flavors, whether you go for garlic or not. We’ve done menu series is all about heartiness. You can see it here. From today’s recipe for rolls to a fermented drink and finishing off with stuffed pork and a new look at a classic beet dish, we hope this meal planning series is something different for you in a current sea of chocolate and cheese.
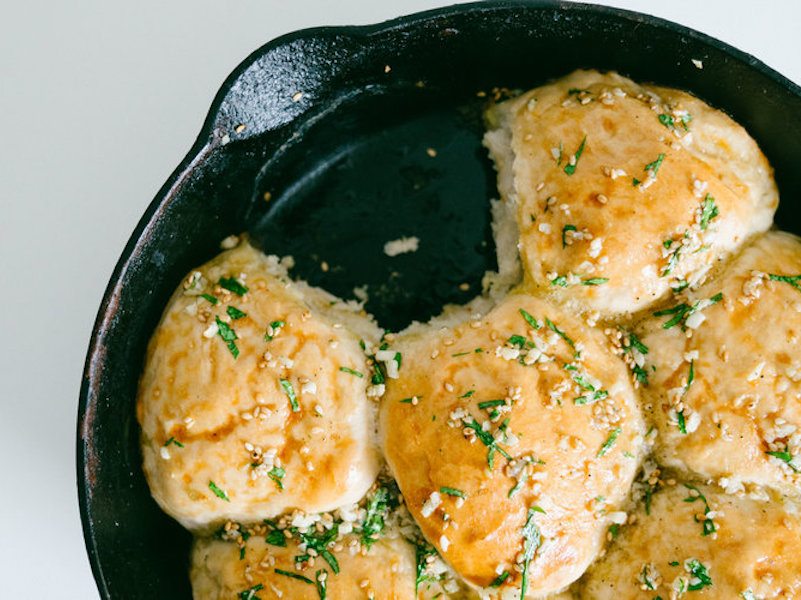
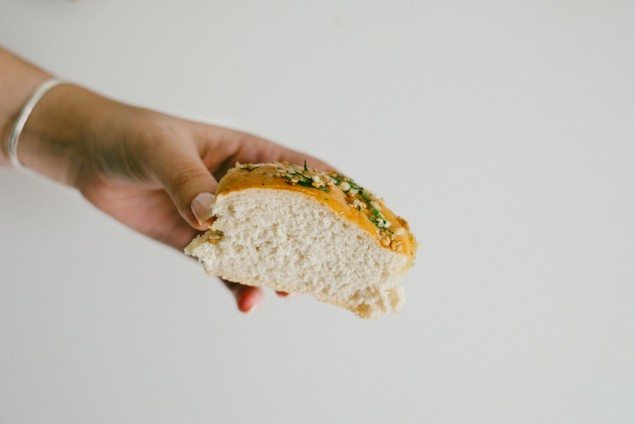
What really makes me excited about these rolls is, number one, how perfectly they fit and remove themselves from my Grandma’s cast iron skillet. Man I love an easy clean up. Number two is the beautiful soft crumb when you rip into the rolls. I get suspicious of recipes that don’t show the inside of the bread at some point. Like…I really, need to know if it’s going to be worth my time to double proof bread and have this basically take a day’s worth of delayed gratification.
You might be thinking: “Hey Carlene- how did you end up diving into a Ukrainian recipe?” and I’m going to say that’s a fantastic question because I am definitely not consuming Ukrainian food on the regular. It’s actually because of a cookbook (Mamushka) that we saw on top of the fridge at The Shack when we were eating there. There was a massive pile of cookbooks right there and so of course, Chris wrote them down. Because The Shack was pretty delicious and we kind of trust them.
If you’re intimidated by making bread, don’t be. To set yourself up for success all you really need to remember is:
1. don’t kill the yeast
2. don’t add too much flour

Without yeast you’re going to have dense, frustrating fail bread. Yeast hates too much salt, liquid that’s too hot and being old. So if you have moved six times and you still have the same bag of yeast, please just go buy new yeast. And if you have tap water that has a ton of chlorine, please use filtered water. And when you microwave or heat that water, if there’s steam, it’s too hot (way, way too hot). That’s it! With the flour remember you can also always add more, but it’s pretty difficult to take it out of the dough…The bottom line is yeast is living. Keep it happy.
One last note before we get to the recipe: cranberry oil. This recipe uses some cranberry oil as part of the mixture on top of the rolls. Before last week I had literally never heard of cranberry oil but right now we’re playing with it in the kitchen (think of it as a truffle oil usage…a finishing oil with a neutral smell and a nutty taste ). There are some really cool health benefits (it’s 85% fatty acids and a unique balance of omega 3-6-9) that are being looked into and if you’re interested we’ll do a deep dive on that sometime. So all this said, at this point in 2017 it’s likely nearly impossible for you to personally get your hands on cranberry oil at the grocery store. That’s okay. You can skip it. But I wanted to start introducing it to you because I think it’s going to be a big thing soon.
Print
Ukrainian Skillet Rolls with Garlic
- Yield: 8 rolls 1x
Description
These soft, flavorful skillet rolls come from a traditional Ukrainian recipe that is loaded with garlic.
Ingredients
- 2 1/4 teaspoon active dry yeast
- 1 teaspoon granulated sugar
- 1 cup warm water (70 degrees F)
- 2 1/2 cups white bread flour plus extra for dusting if needed
- 1 1/2 teaspoons fine sea salt
- 3 tablespoons olive oil
- 2 teaspoons cranberry oil (optional)
- 1 teaspoon vegetable oil to oil pan
- 1 1/2 tablespoons garlic (minced)
- 1 handful fresh (flat leaf parsley)
- 2 tablespoons sesame seeds
- 1 egg (beaten)
Instructions
- In a medium bowl, dissolve yeast and sugar in water. Do NOT over heat the water. Use a thermometer to get to about 70 degrees F.
- Add half the flour and mix. Cover bowl with plastic wrap and proof in the refrigerator over night. Place the bowl on top of a plate in case of spillage (this definitely happened).
- The next morning, add the rest of the flour, fine sea salt (take regular sea salt and grind in a mortar and pestle if necessary) and knead in a stand mixer until dough is smooth and slightly sticky. Use additional flour if needed.
- Divide dough into 8 pieces. Use a knife or dough scraper to divide dough in half and half again and then one more time to get the 8 even pieces. This is much easier than randomly grabbing from one dough ball. Shape into round buns, tuck seams to the underside to get a smooth surface.
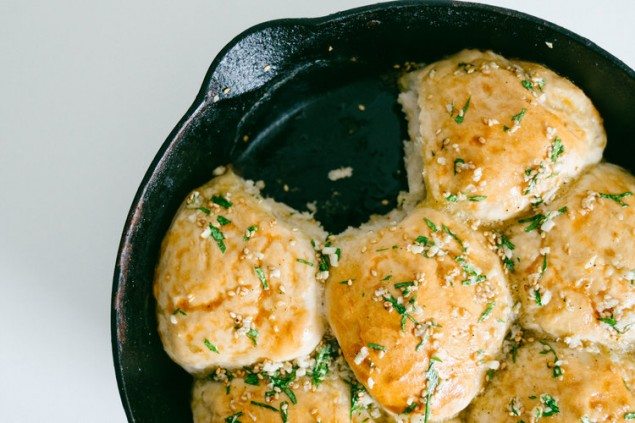
- Arrange the rolls side by side in an oiled round oven proof container. We used a cast iron skillet. Cover the rolls with a tea towel and let them proof again in a warm place until doubled in size (for it was a little over an hour). They will join together and become connected.
- As the rolls rise, preheat the oven to 425 F. Mince garlic and oils with a little sea salt, sesame seeds and parsley and set aside in a small bowl. When the rolls have doubled in size and look plump, brush tops with beaten egg. Bake until the tops have a shiny gold crust for 20-25 minutes. Baste with garlic oil. Serve immediately.
- Category: Bread
You are brushing the tops after baking with almost 4 tablespoons of oil?