What’s the key to avoiding lumpy, crumby frosting? Icing your cake with an expert crumb coat before you go all Ace-of-Cakes on your creation. Staying true to its namesake, the crumb coat is a thin base layer of frosting that’s designed to catch cake crumbs and even out your frosting surface. Think of it as the sanding and priming steps before a paint job.
By Emily Arno for Relish
Danielle Atkins
To show us how to stack a layer cake and create that pristine crumb coat, we tapped Cake Artist Laura Grizzel from The Frosted Affair, a première wedding and events bakery in Nashville, TN. In the step-by-step below, Grizzel demonstrates how it’s done and then shares five beautiful cake-décor DIYs to complete your cake transformation.
How to Stack and Crumb Coat a Layered Cake
Tools needed:
- Cake layers
- Cake leveler (available at Michaels)
- Favorite buttercream frosting
- Optional filling (strawberry slices, berries, etc.)
- Cake board cut to match the size of your cake
- Rotating cake stand
- Bench scraper
- Large pastry bag
- Angled spatula
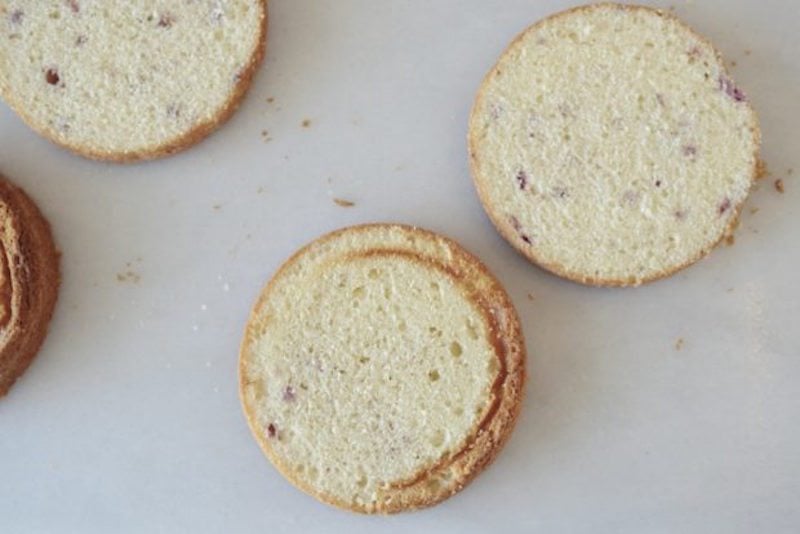
1. Prepare cooled or chilled cake layers by slicing off domed tops with cake leveler.
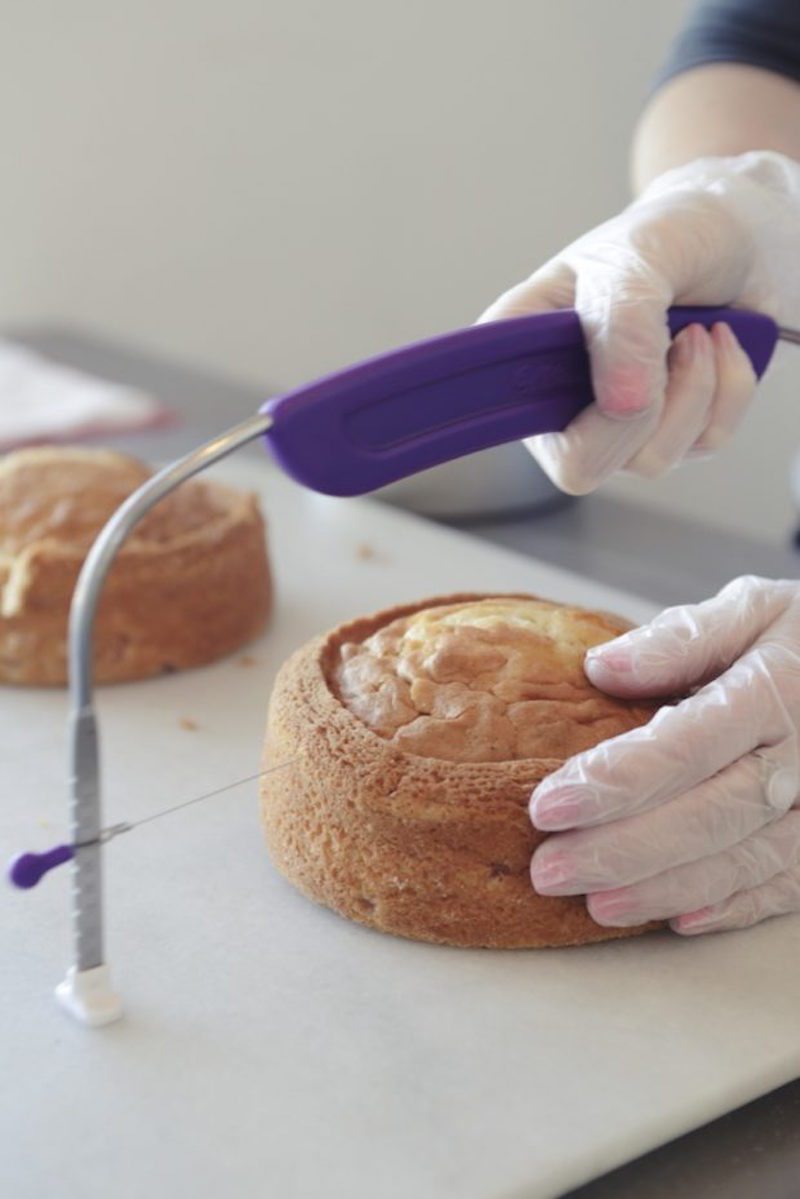
This can be done with a large knife, but for accuracy, we highly recommend investing in an adjustable leveler. Leveling your layers will make both stacking and icing easier. It also allows you to easily create more layers in the cake. Here, Grizzel took two layers of her fresh strawberry cake and sliced them into four.
2. Place cake board on top of the rotating cake stand. Fill your piping bag with room temperature icing—it can be white even if you intend on icing the cake with decorative colors. Remember, we are just working on the crumb coat and hidden areas.
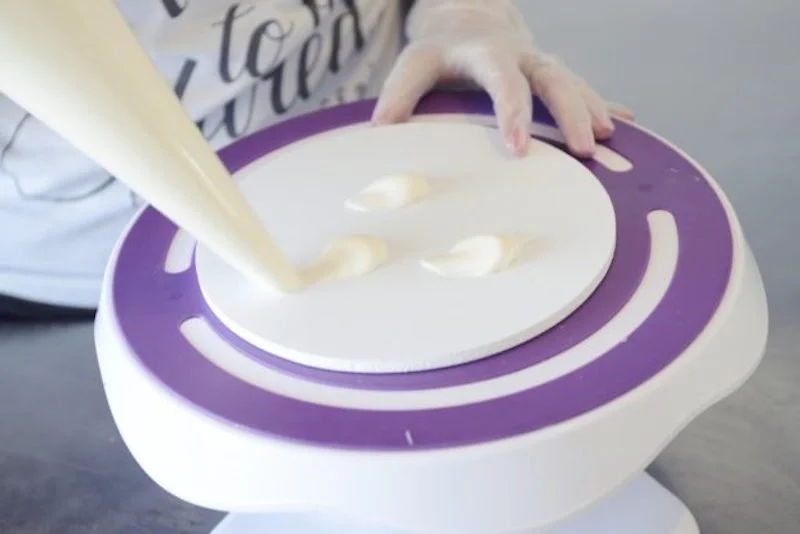
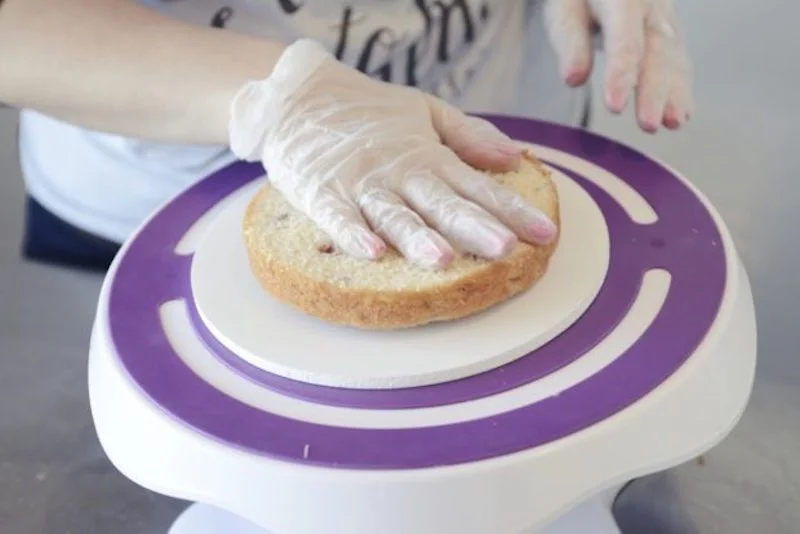
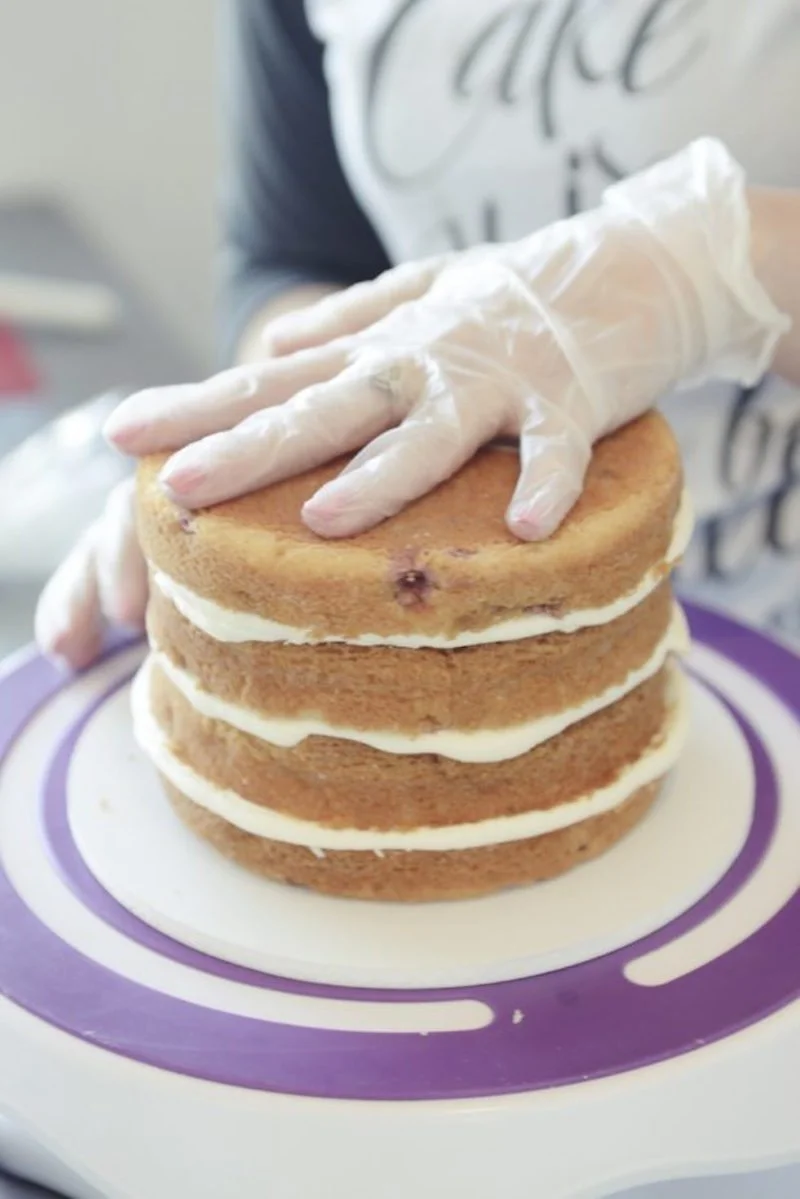
Pipe three spots of icing onto the board and place the first layer on top and press down to secure.
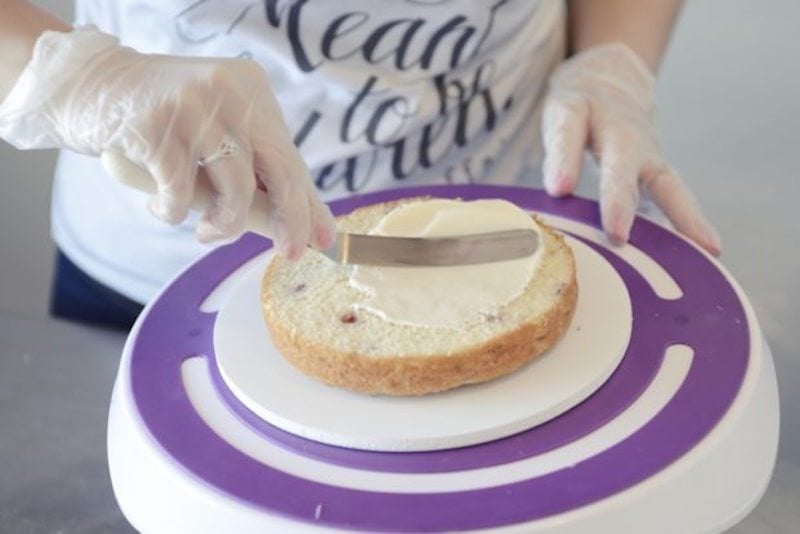
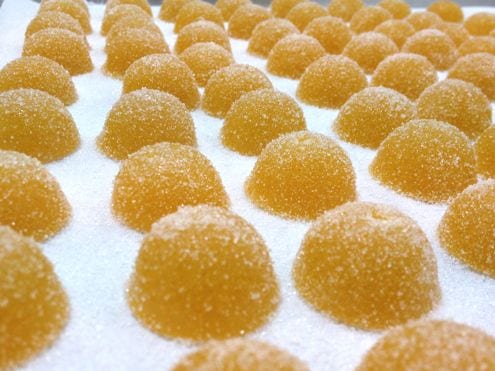
3. If adding a center filling, such as fresh strawberry slices, add a small amount of icing to the center of the first layer. Using the angled spatula, spread icing outwards from the center towards the cake’s edge, creating a thin layer.
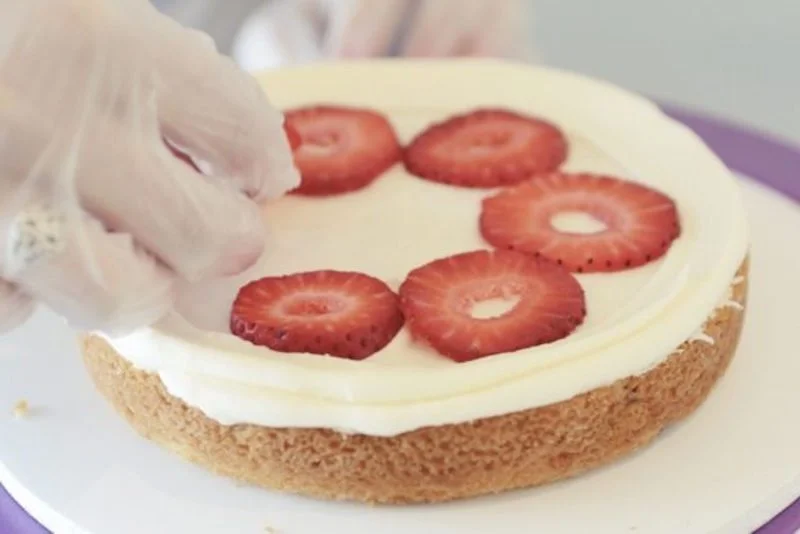
Outline the layer with a thick circle of frosting. Place the strawberry slices in the interior and cover with next layer.
4. For a layer with no filling, take your pastry bag and create a frosting swirl from the outside in. Use the rotating stand to your advantage and spin the cake while your hand stays steady. Use the angled spatula to smooth.
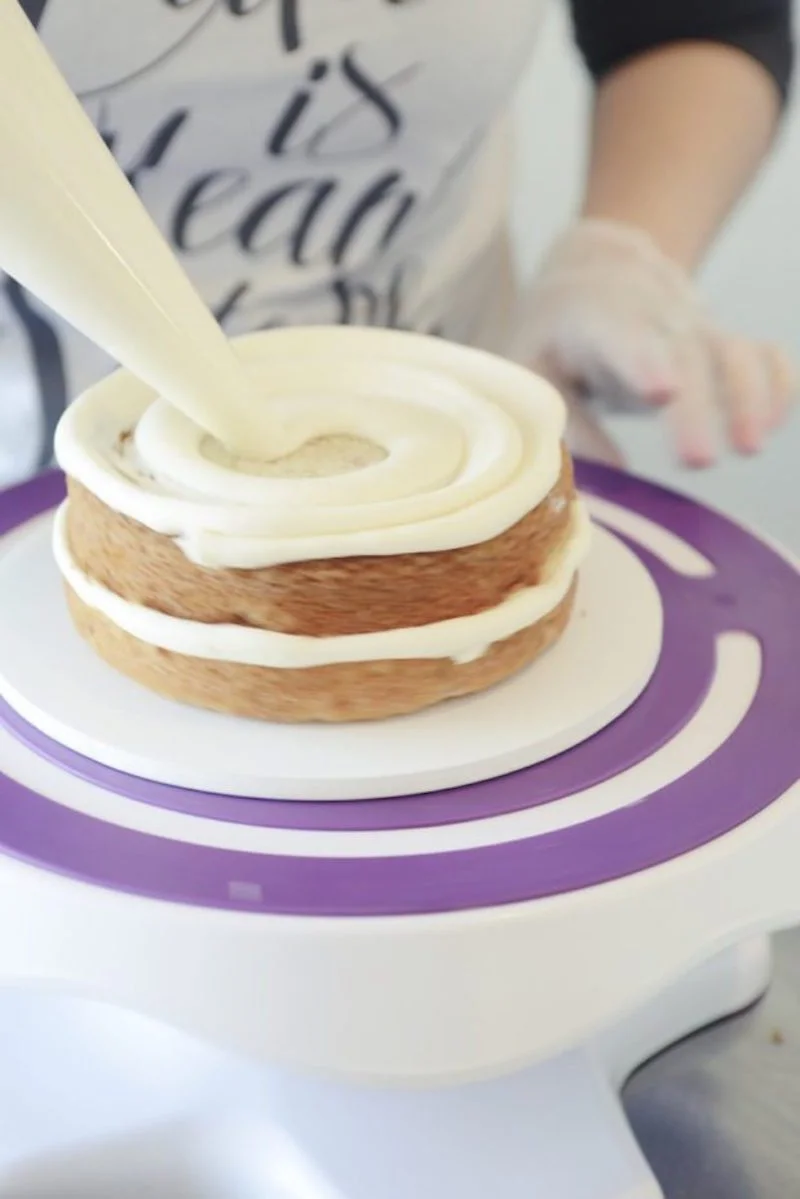
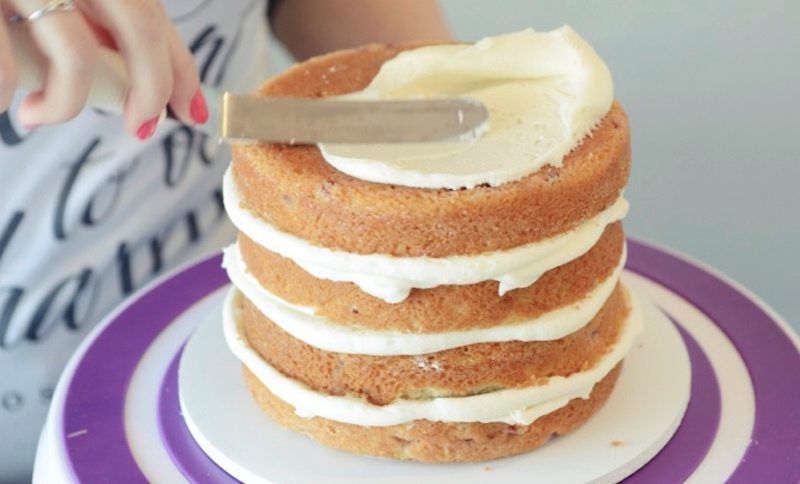
5. Continue with this process until all layers have been added.
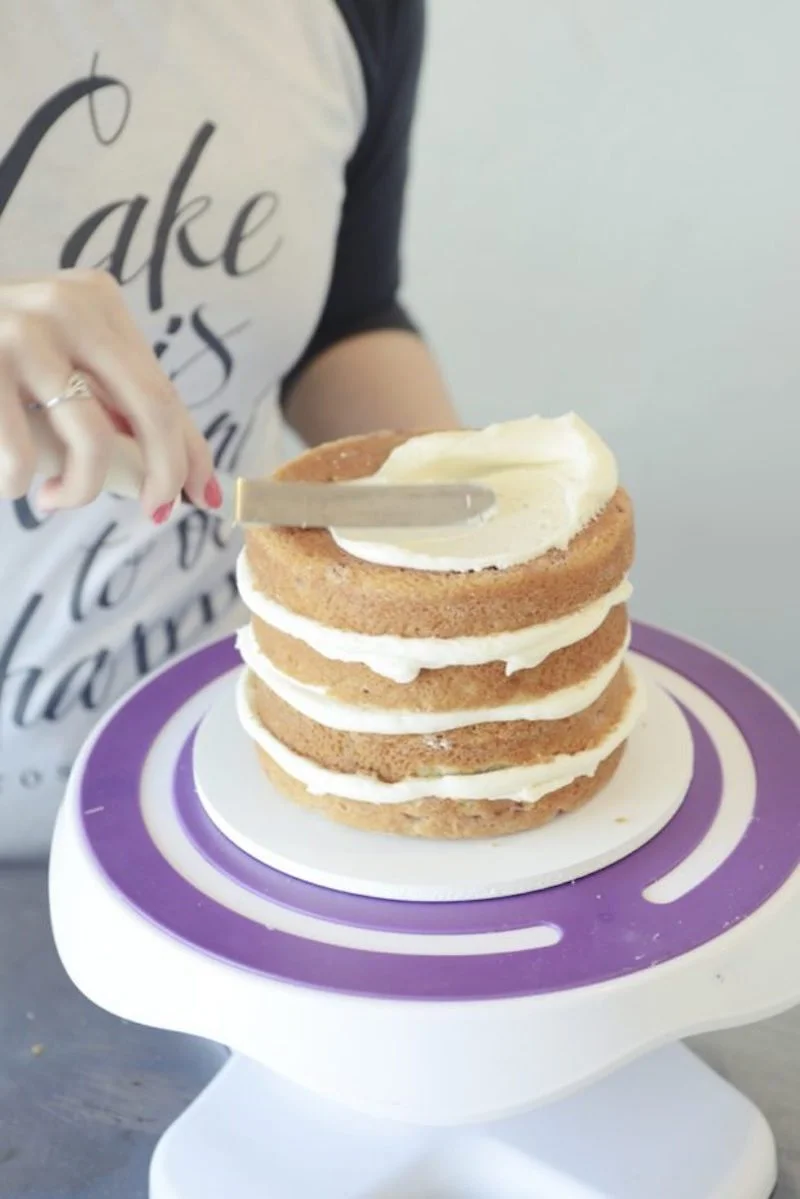
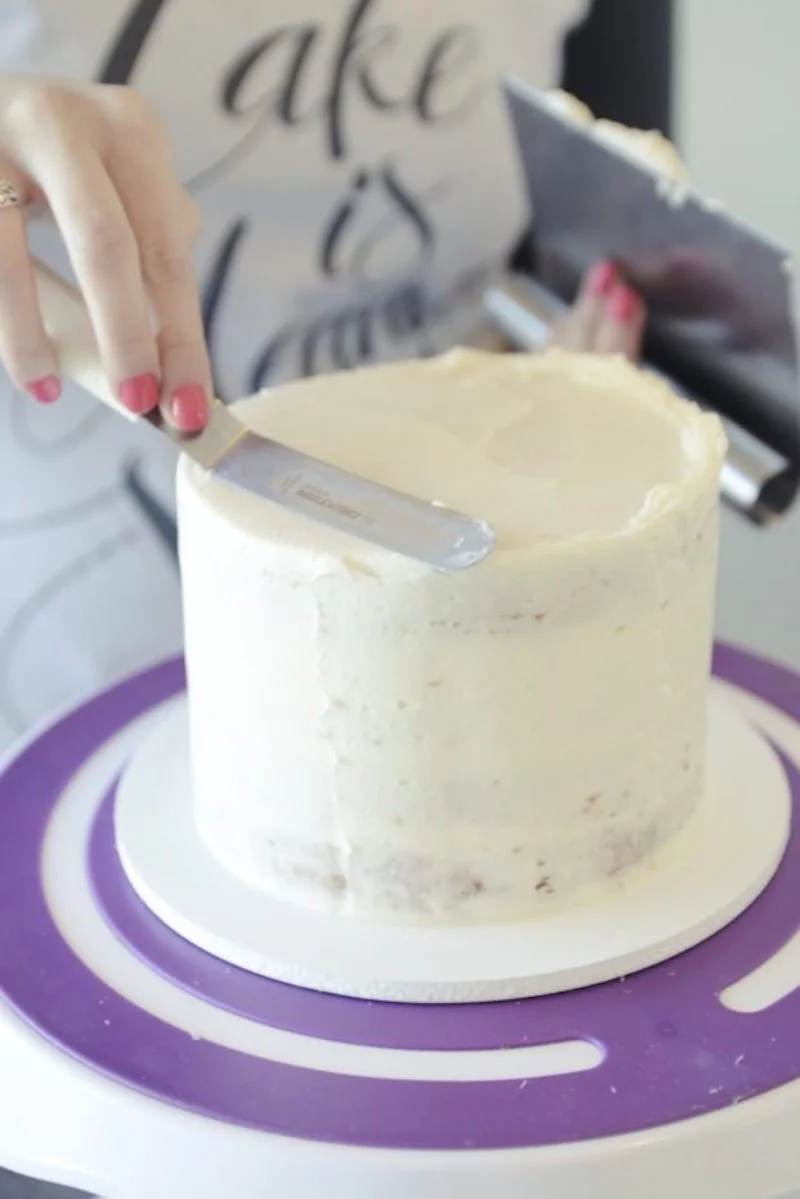
6. Using a small amount of frosting, ice the top of your cake with the angled spatula. It’s all right if you see some crumbs come loose and mix with the frosting, that’s the purpose of the crumb coat!
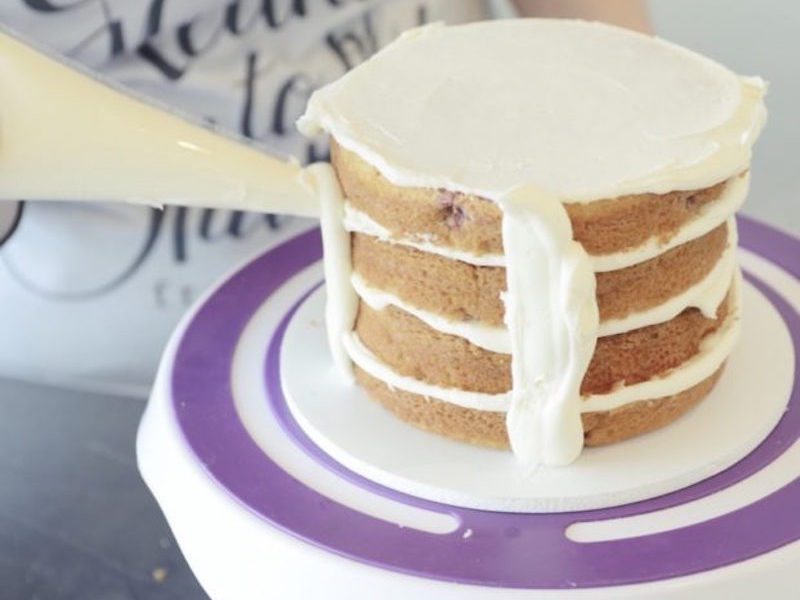
7. Take the icing bag and pipe vertical stripes every few inches around the cake
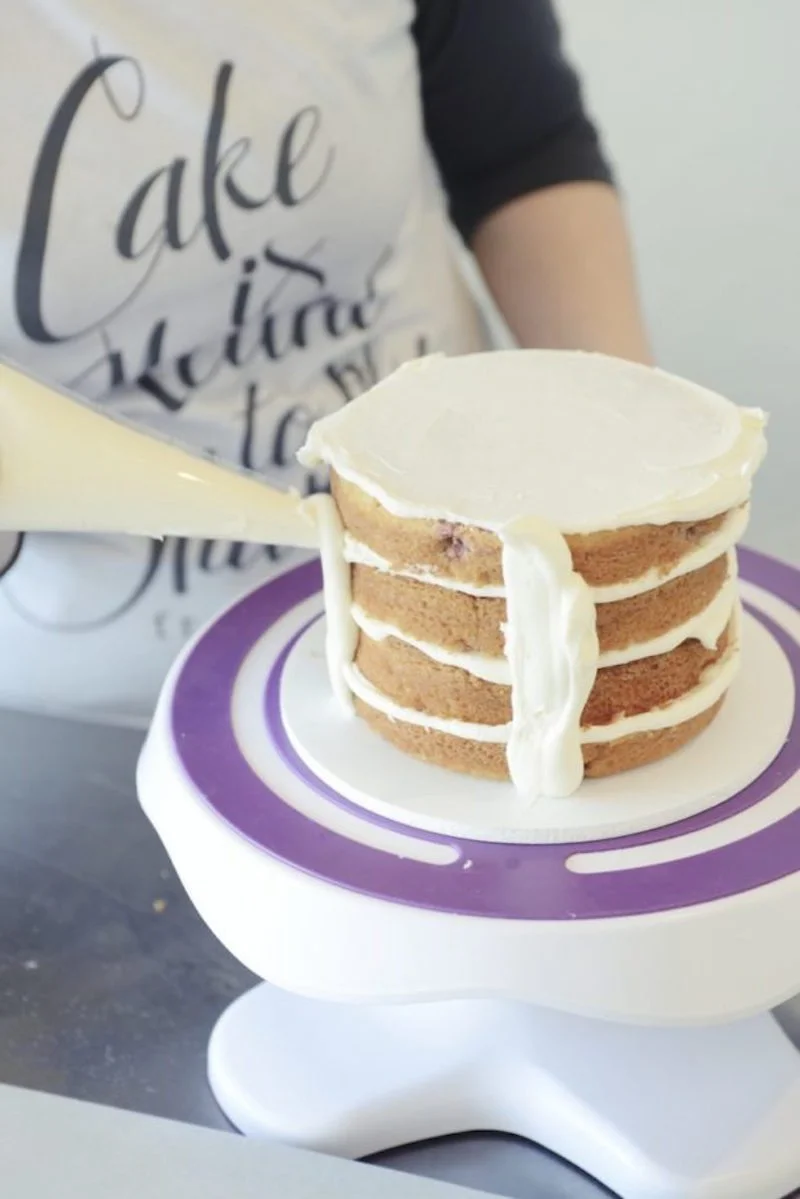
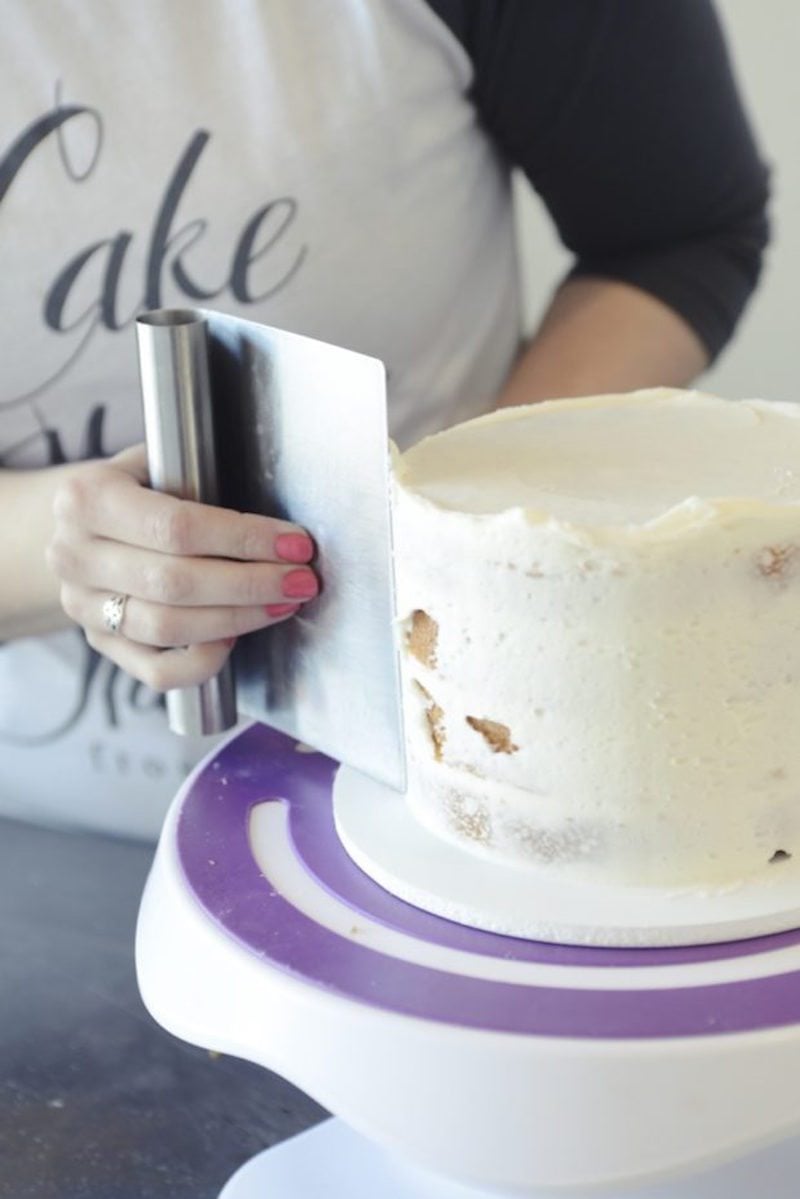
8. Starting with one stripe, drag the bench scraper along the side of the cake while rotating the stand. This will create a thin and uniform layer. You should see the layers underneath the thin coat—otherwise, the frosting has been applied too thick.
9. Remove any excess frosting from the sides or top using the angled spatula and bench scraper. Place the cake in the fridge until the icing is chilled and set (about 30 minutes). This will make the final frosting a breeze.
For frosting styles, see here.
This article has been posted with permission and originally appeared as, “How to Stack and Crumb Coat a Layered Cake” by Relish.

Very informative. Thanks for the tips!