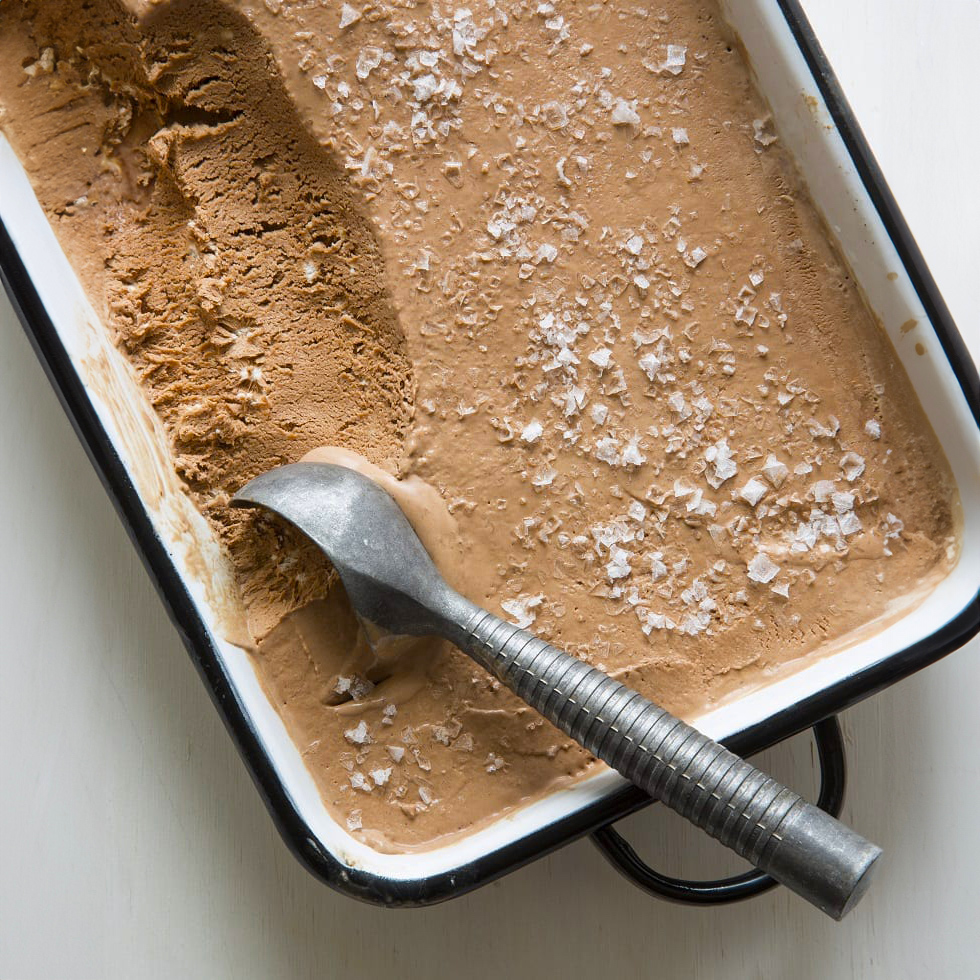
A deliciously simple recipe that brings chocolate ice cream to new tasty heights with a magical sprinkle of salt.
Who can resist the temptation of devouring a scoop (or perhaps, a bowl) of silky, luscious, and creamy chocolate ice cream?
Not us, that’s who!
What if it was sprinkled with a gentle hint of salt to enhance its flavor, and you could make it right in your kitchen without a churn?
Not us, again!

Ok, let’s do it.
Step by Step Guide to Making No-Churn Salted Chocolate Ice Cream
-
Chocolate Base Preparation:
- Place the chopped chocolate in a large heatproof bowl.
- Heat the milk until just below boiling, then pour over chocolate.
- Let sit for 5 minutes, then stir until smooth.
-
Mixing the Ingredients:
- Stir in sweetened condensed milk, vanilla, cocoa powder, lemon juice, and ½ teaspoon of the salt until well combined.
-
Whipping the Cream:
- In a separate bowl, whip the heavy cream to soft peaks.
-
Combining Cream and Chocolate Mixture:
- Gently fold the whipped cream into the chocolate mixture.
-
Freezing the Ice Cream:
- Transfer to a freezable container.
- Sprinkle with the remaining ½ teaspoon salt.
- Cover with plastic wrap, pressing directly onto the surface.
- Freeze for about 6 hours or until firm.
Recipe Notes:
- Ensure all ingredients, especially the heavy cream, are cold to help achieve soft peaks.
- For a smoother texture, stir the ice cream once or twice during the freezing process.
- If the chocolate mixture is too thick, gently heat to ease folding with whipped cream.
- Customizable: Replace salt with different flavored salts or add-ins for variety.

No-Churn Salted Chocolate Ice Cream
- Total Time: 10 hours 15 minutes
- Yield: 1 Quart 1x
Description
A deliciously simple recipe that brings chocolate ice cream to new tasty heights with a magical sprinkle of salt.
Ingredients
Units
Scale
- 1 cup bittersweet chocolate, chopped (or bittersweet chocolate chips)
- 1 cup whole milk
- 1 (13-ounce) can sweetened condensed milk
- 1 teaspoon pure vanilla extract
- 1 teaspoon unsweetened cocoa powder
- 1 tablespoon fresh lemon juice
- 1 teaspoon unrefined flake salt, divided
- 2 cups heavy cream
Instructions
- Chocolate Base Preparation:
- Place the chopped chocolate in a large heatproof bowl.
- Heat the milk until just below boiling, then pour over chocolate.
- Let sit for 5 minutes, then stir until smooth.
- Mixing the Ingredients:
- Stir in sweetened condensed milk, vanilla, cocoa powder, lemon juice, and ½ teaspoon of the salt until well combined.
- Whipping the Cream:
- In a separate bowl, whip the heavy cream to soft peaks.
- Combining Cream and Chocolate Mixture:
- Gently fold the whipped cream into the chocolate mixture.
- Freezing the Ice Cream:
- Transfer to a freezable container.
- Sprinkle with the remaining ½ teaspoon salt.
- Cover with plastic wrap, pressing directly onto the surface.
- Freeze for about 6 hours or until firm.
Notes
- Ensure all ingredients, especially the heavy cream, are cold to help achieve soft peaks.
- For a smoother texture, stir the ice cream once or twice during the freezing process.
- If the chocolate mixture is too thick, gently heat to ease folding with whipped cream.
- Customizable: Replace salt with different flavored salts or add-ins for variety.
- Prep Time: 15 mins
- Cook Time: 600 mins
- Category: Dessert
- Method: Freezing
- Cuisine: American


I’ve been very disappointed by the results from my electric ice-cream churner. I’m looking forward to trying another method. Thanks for this!
Couldn’t believe how easy this was to make. The texture is perfect, and the flavor is out of this world!
Just made this and WOW! The salt really brings out the chocolate flavor. Huge hit with the family!
So freaking delicious!
I experimented with smoked sea salt on top, and it was divine. Thanks for this easy and delicious recipe!