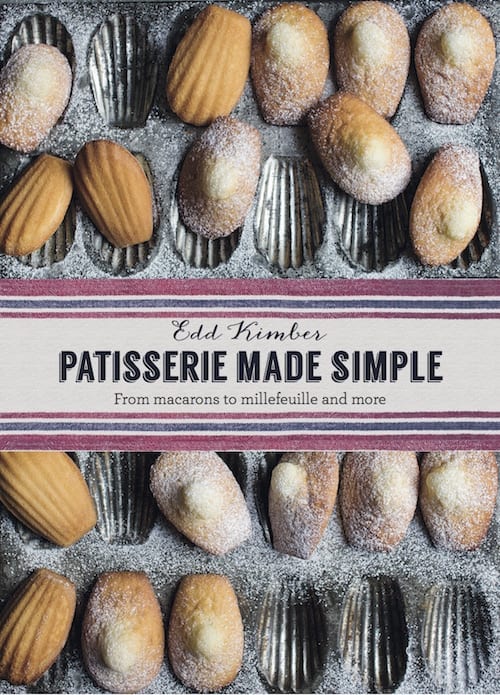
A beautiful gift or addition to any baker’s bookshelf, this French pastry cookbook simplifies classic recipes and inspires modern sweet with traditional methods. Each recipe is easy enough to be accomplished in a home kitchen.
Since a young child, cookbook author, baker, and food writer, Edd Kimber, has been enamored with the French culture. As a boy, he spent holidays in the country gobbling up all the croissants and macaroons he could.
Edd took his adoration for French pastries and their elegance and combined it with his talent for baking. His cookbook, Patisserie Made Simple, make seemingly daunting sweet classic assessable to the home cook. The pages are a combination of traditional sweets, new interpretations on classics, and modern recipes with a French influence. This variety gives any user a plethora of dessert ideas to choose from.
Dive into over ten tart recipes, more than fifteen gâteau recipes, and enough macaroon flavor combinations to inspire. If you love to bake, this is a new must-have book. Each recipe comes with a thorough description and even a history behind the sweet.
Check out Edd’s recipe for the classic Kouign Amann pastry. His version calls for a simplified croissant dough that uses yeast and is ready in a fraction of the time.
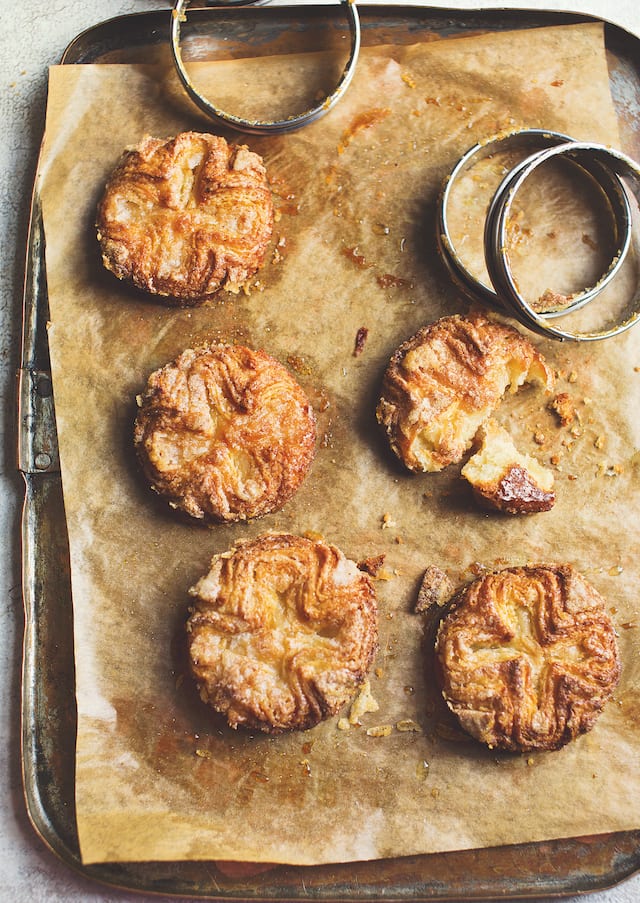

Kouign Amann
- Yield: 10 Pastries 1x
Description
This pastry from Brittany is a thing of beauty. It uses a croissant pastry with added sugar so that as it bakes it caramelizes, similar to a palmier, but even better and unbelievably delicious. Thanks to my quick croissant dough, it is now also very easy to make. Traditionally, it is made as one large cake, but in recent years it has become very common to see individual versions, sometimes referred to kouignettes, and this is the form I prefer. It is also one of the pastries that has jumped across the Atlantic to the US, where bakeries in New York and San Francisco are putting their own spin on the classic.
Ingredients
- 1/4 cup/60ml whole milk (lukewarm)
- 1 scant cup/125g all-purpose flour (plus extra for dusting heaping)
- 3/4 cup/125g white bread flour
- 21/4 teaspoons 1/4-ounce envelope active dry yeast
- 3/4 cup/150g superfine sugar (plus extra for dusting)
- 1/2 teaspoon salt
- 8 ounces 2 sticks/225g unsalted butter, chilled
Instructions
- Put the milk and 1/4 cup/60ml lukewarm water in a medium bowl and mix to combine, then let sit. Put the flours, yeast, 21/2 tablespoons of the sugar, and the salt into the bowl of a food processor and pulse to combine. Dice 41/2 ounces (11/8 sticks/125g) of the butter into 3/8-inch pieces. Add to the food processor and pulse once or twice to mix together. This is the most important stage: if the butter is mixed too much into the flour, the dough won’t expand and puff up as it bakes, so it is better to err on the side of caution. If you can’t see chunks of butter, you have processed the dough too much. (Alternatively, mix all the dry ingredients together in a medium bowl.
- Add the diced 41/2 ounces [11/8 sticks/125g] butter, as above, and very lightly rub it into the flour, or use a pastry cutter. Do this briefly, just to start to combine it—you still need to see chunks of butter.)
- Transfer the butter and flour mixture into the liquid, and using a spatula, fold the dry ingredients into the liquid, trying to combine everything without making the butter pieces any smaller. Once you have formed a rough dough, transfer to the countertop and very lightly work it into a ball of dough.
- Form the dough into a flat rectangle, wrap in plastic wrap and put it in the refrigerator for 45 minutes.
- Meanwhile, put the remaining chunk of butter in the freezer to chill it thoroughly (it needs to be hard). Lightly flour a countertop and roll the dough out with the short edge facing you into a long rectangle three times as long as it is wide, about 6 Å~ 18 inches (although the exact measurements are not crucial). Brush off any excess flour. Take the butter out of the freezer and coarsely grate it over the bottom two-thirds of the dough. Fold the top third of the dough over the middle third, then fold the bottom third over the other two-thirds, as if folding a business letter. This is known as the first turn. Wrap the dough in plastic wrap and chill in the refrigerator for 20 minutes. Remove the dough from the refrigerator and turn the dough 90 degrees so that the open ends are facing you.
- Repeat the rolling process, and before folding, sprinkle the dough with half the remaining sugar. Fold the dough into thirds as before and repeat this a second time. Wrap the finished dough in plastic wrap and chill for 30 minutes before using.
- Line two baking sheets with parchment paper. Remove the dough from the refrigerator and cover the countertop with a small amount of superfine sugar. Roll the dough into a 20 Å~ 8-inch rectangle. Using a sharp knife, trim the edges of the dough, cut the pastry into two strips, and divide each strip into five equal squares. Fold the corners of each square into the center and press gently to secure in place. Put each pastry on the prepared baking sheets, preferably inside 31/4-inch tart rings (these help to give the pastries a better shape; if you don’t have them, you can bake without them). Leave the pastries to rest for30 minutes.
- Preheat the oven to 375F.
- Bake for 20 to 25 minutes until golden brown and the sugar has caramelized. Remove from the oven and remove the tart rings, if using, then leave the pastries to cool on the baking sheet. I prefer to serve these at room temperature when the sugar on the outside has set, giving you a wonderful texture. They are best served on the day they are made.
Notes
If you don’t have tart rings,you can also bake the dough in muffin pans. Simply grease them well with softened butter and press the formed pastries into the molds. Bake as for the tart rings and, once baked, let cool in the pans for 5 minutes before removing them and leaving them to cool completely.
- Category: Baking, Dessert
- Cuisine: French